Showing posts with label Exterior. Show all posts

Wednesday, June 11, 2014

All Around the House


Ba-bada-ba! Bada-ba-bada-ba-ba!

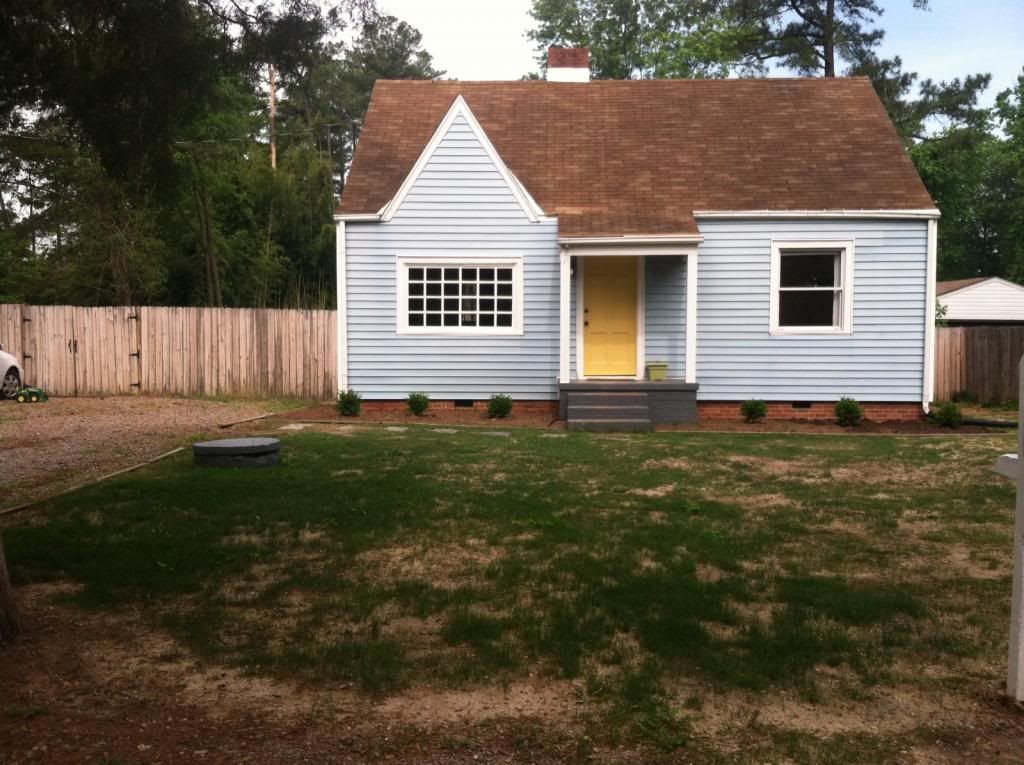
We are celebrating this week; it is our one year anniversary (what?!) of living in our little blue house. (The above "ba-bada-ba" was my attempt at transcribing a glorious fanfare. Or, maybe a fanfare played by a lone woman on a kazoo.) 

It's a little bit of a shock; it certainly doesn't feel like an entire year has passed. (Wasn't it just yesterday we were picking up our keys and unpacking boxes?) 


Well, in honor of our House-iversary, we would like to invite you to take a walk with us on our Very First (super-awkward, mildly cringe-inducing) House Tour Video! 


Well, actually, that's not quite true. You see, while uploading some pictures the other day, we came across, not one, but two (!!) House Tour videos (well, one's more of a "yard tour") that we shot last year, the day after we closed on this house. 

And, we thought, what the heck, these videos are so incredibly dorky and embarrassing, let's put them on the Internet! And, then, let's make another one and share that, too!

So, that's exactly what we did. 


Some things you'll see in these first two include:

- Our house almost totally empty except for our bedroom, which is where we stored tools. 

- My five-month baby Alice bump. 

- Our backyard nearly bamboo-free. (Oh, but it's still there, it's just waiting...)

- Our front yard, with all of its original trees, bushes, "landscaping rocks" and weeds still intact. 

-  The "Ghost Door".


Now that you've seen the previously unreleased "First House Tour", here's this years Updated (but still majorly in progress) House Tour Video: 


Some of the gems included in this new video tour are:

- Just under seven minutes of me talking too fast while trying to recall what we've been working on over the past year. 

- A chair is tripped over. 

- Me, seriously over-using the word "fantastic". 

- Us completely leaving out big chunks of things we've done (i.e. tearing up the walk and the random arrows in Grayson's room). 

For a more in-depth breakdown of every project and tweak, we've also added a House Tour page. Like sand through the hourglass everything else in our lives, the page is still majorly a work in progress, but we'll be updating it regularly so, hopefully, things will be a little more put together over there soon. 

Well, we've definitely got a lot of work ahead of us, but looking back at what we've done so far just makes me feel like, "Yeah, we got this!" Then Joseph and I high-five each other and immediately pretend we didn't just do that.

Sunday, June 8, 2014

Goo (Be)gone!

The people who used to live here were Christmas light enthusiasts.


No, we've never actually met them, but they left us some tell-tale signs: a few nails tacked into the shingles of the roof and these:


Squares that have long ceased to be sticky and are now crusty, yellow splotches roughly the consistency of cement. Or diamonds. 

Now, if we were also Christmas light enthusiasts, this might be okay. We'd nail our own lights to the roof (except we wouldn't, because that's just not a good idea) and cover those crusty squares with our own plastic hooks. But, alas...we are not. 

So these once-useful little tabs are now just...house boogers. 

(Ew, did I really just type that? Should I delete it? Gross.)

But...they are gross! 

We've already lived with them for a year, but this weekend I was over it. They were coming down. By any means necessary. 

We first tried just plain old soap and water. 


Meh. Not a lot happened, as you can tell by my "not impressed" face. 

Then we brought out the bleach (diluted with water). 

Which worked no better than the plain soap and water and smelled much worse. (Does bleach smell like old socks to anyone else? Oh, my goodness, boogers and old socks in one post. My mother is so proud right now.)

Next up, we broke out the Big Guns: Goo Gone. Which smells great, by the way. Mmm, chemicals. 


The way the Goo Gone works ( as it says on the label) is you apply it directly to the, uh, "goo" and then let it sit for " a few minutes" - I left it on for about five - then, using a "clean" "white" rag, you scrub it til it kind of flakes away. They specify "clean" and "white" for a reason, as I learned the first time I tried it. I read "clean" and "white" and thought, "Surely 'dirty' and 'red'  are the same thing."

Well, let me tell you, they are not. 


Whatever removes the "goo" apparently also leaches any color from whatever rag you're using and smears it all over your "was clean a second ago, but now is coated with red-ish grime" surface. 

But, thankfully, a little more Goo Gone (applied with the correctly specified kind of cloth) removes that residue, too. Yay!

So, the Goo Gone worked like a dream on they sticky pads adhered to our vinyl flashing. But...not so well on the ones above our porch, where it's painted aluminum. 


This was after ten minutes of letting it sit and a few more of hard scrubbing. 

It's still the best way we've found to de-sticky pad our house, but it takes a lot of elbow grease. Not that the results aren't totally worth it. 

We've still got a few more hanging around, so if anyone has any suggestions, we'd love to try some other techniques! 

In the meantime, I'm going to go make some cocoa and watch a Chevy Chase movie. Oh, wait, it's 90 degrees outside...make that some lemonade and Blue Hawaii. 

Wednesday, June 4, 2014

Lawnmower Man

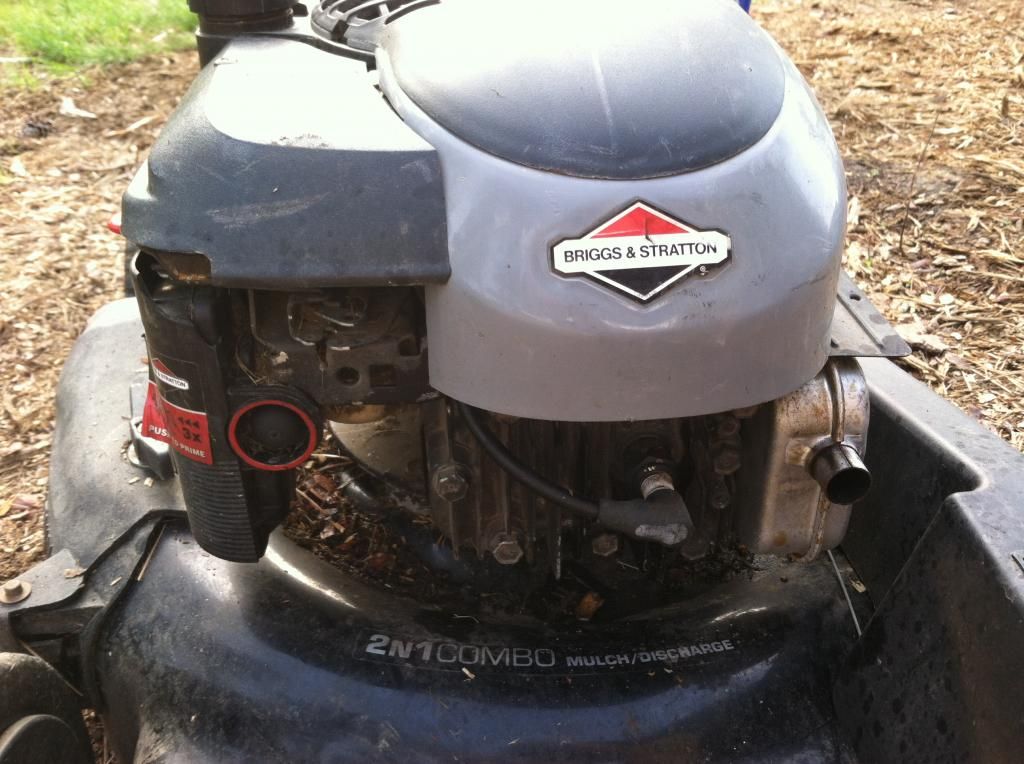
So, in preparation for my birthday party this past weekend I got to have a fun little freak out moment adventure definitely out of my usual comfort zone. Due to various busyness/laziness I had skipped mowing the lawn the weekend before so it was looking rough. One night during the week I decided I best get on it and pulled my old lawnmower out. It was a freebie from an uncle who was upgrading but it runs great and he even gave me a new blade since the one he had on it was pretty worn out. Either way, when I went to start it up the starter cord snapped. All I could think was that I was glad I hadn't waited until the last minute since now I had some time to do something about it.

I headed over to Home Depot and picked up a new starter cord for $4. To be honest I'm still kind of surprised they're so cheap. I had to ask an employee where they were because they were on a back end cap, like two aisles away from the lawnmowers.

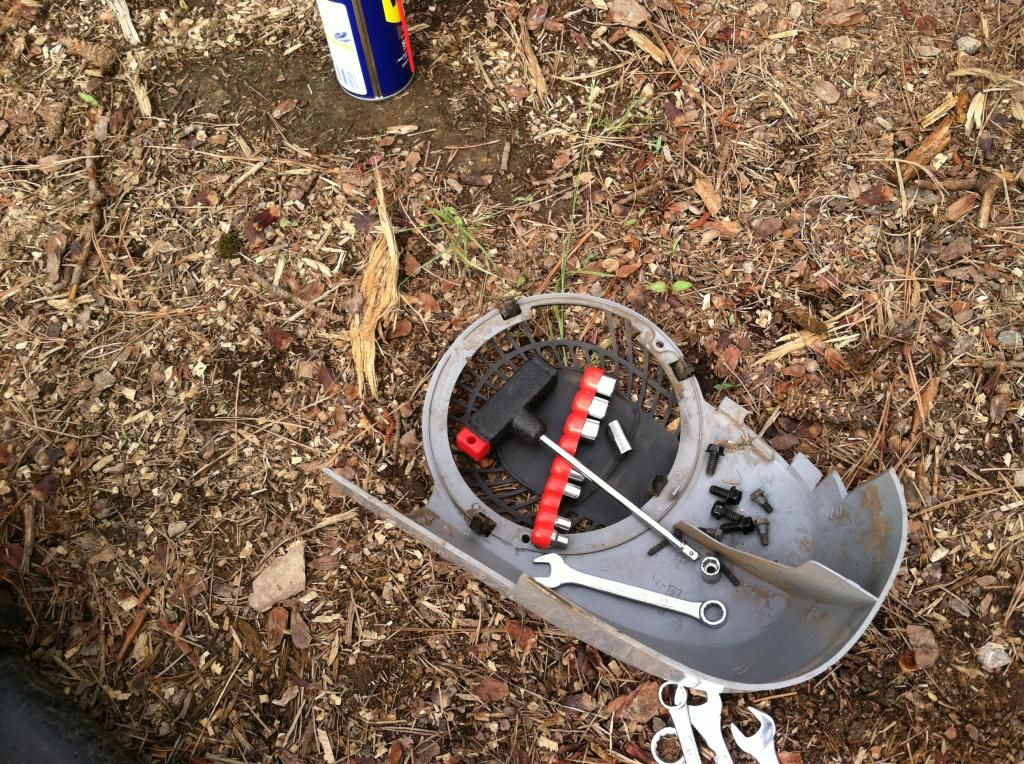
I started by unhooking the spark plug and removing this plastic cover from the top. It was attached with two screws.


Once I had the cover off it provided a handy-dandy place to keep all of the bolts and screws.


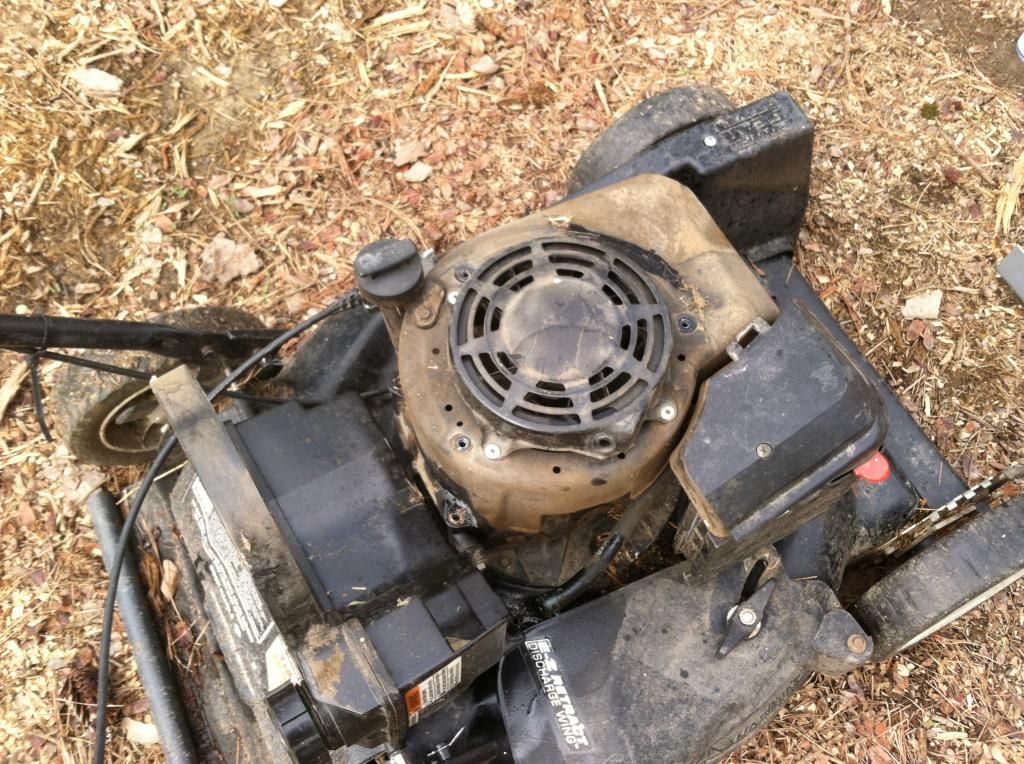
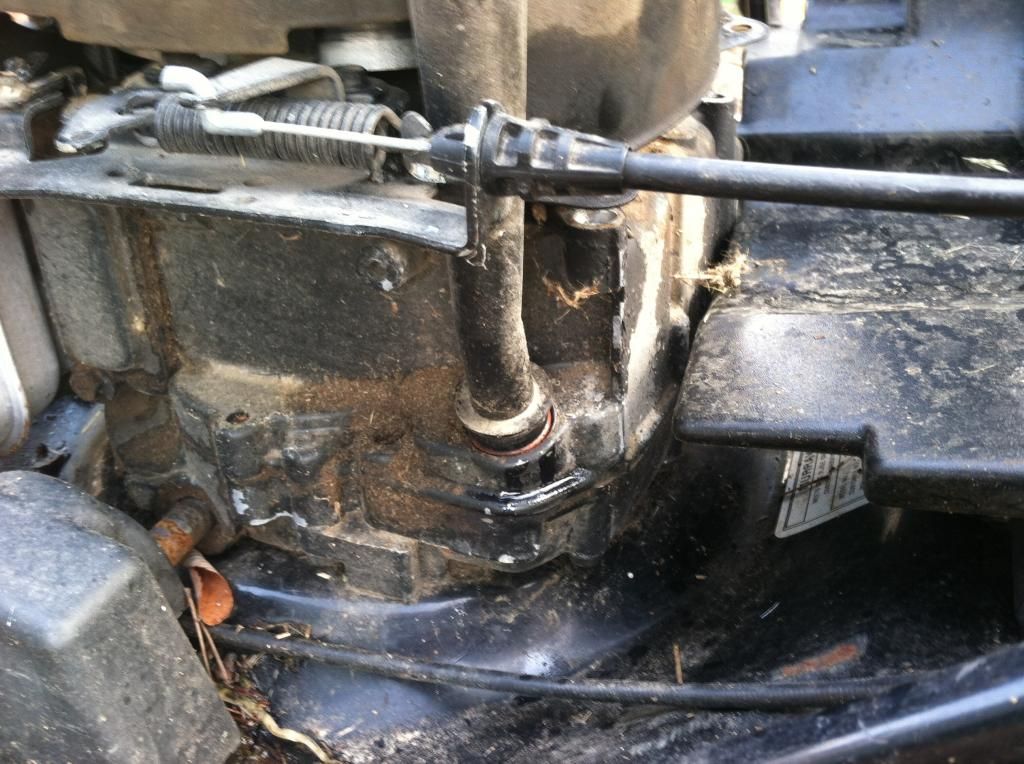
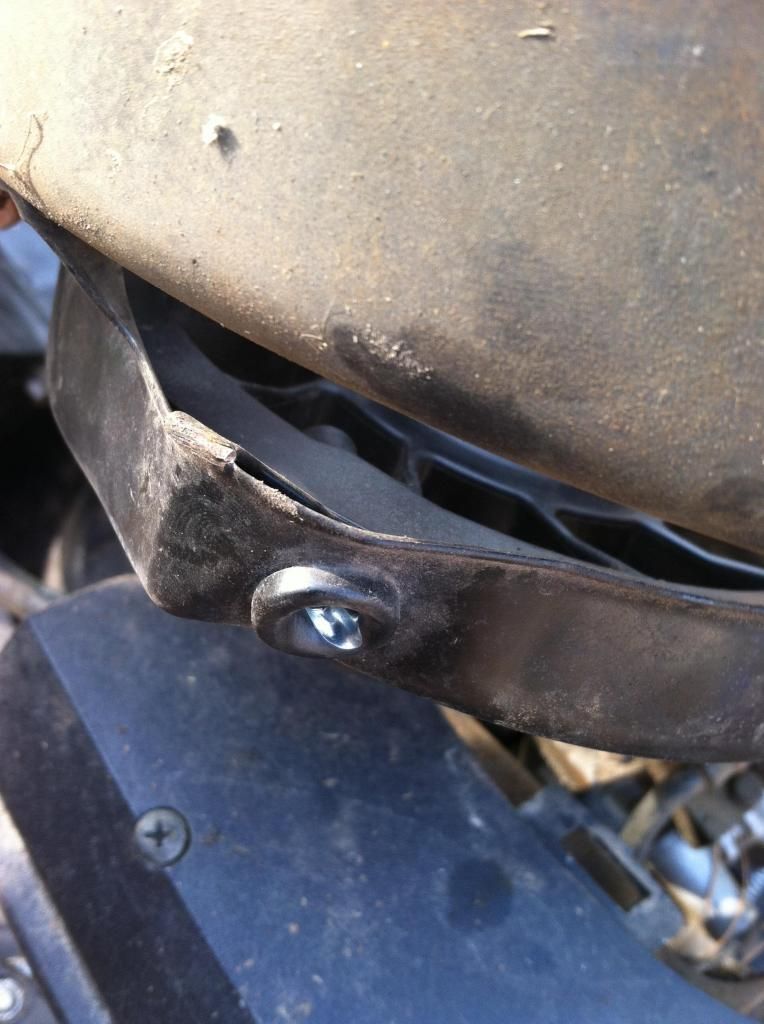
Then I undid the bolts holding the gas tank in place. Once undone it sort of folded down out of the way. The fuel line had to be detached for it to fold completely over (you can see it just above the guard for the discharge shoot) but once it was on its side none of the gas could spill out.


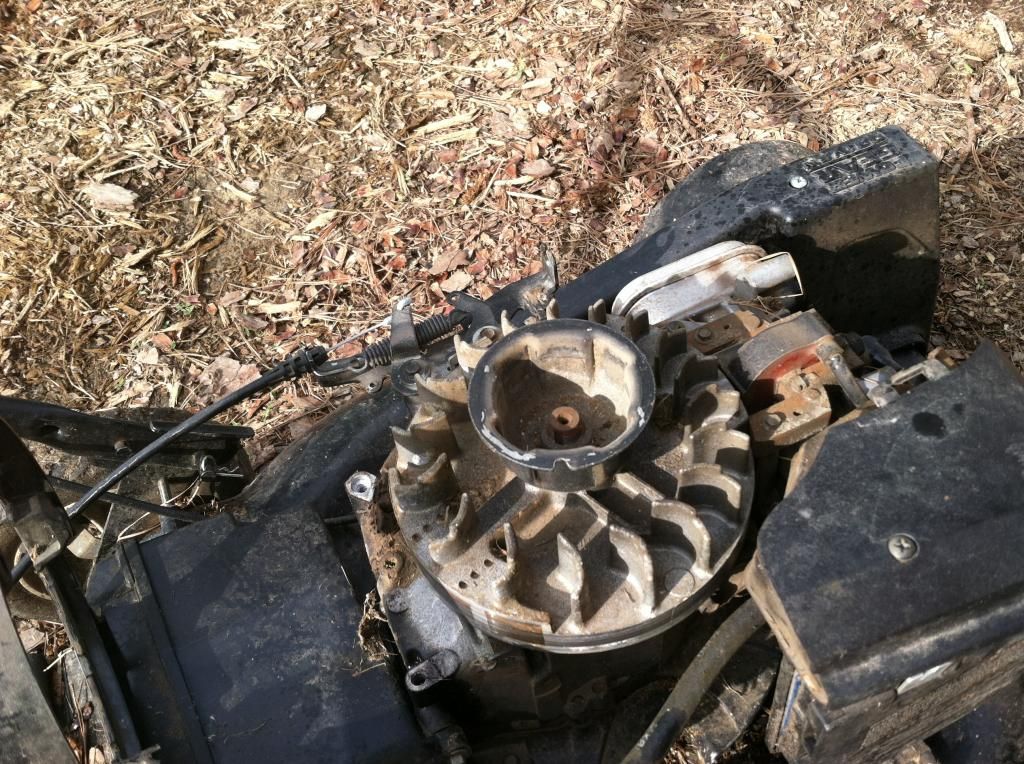
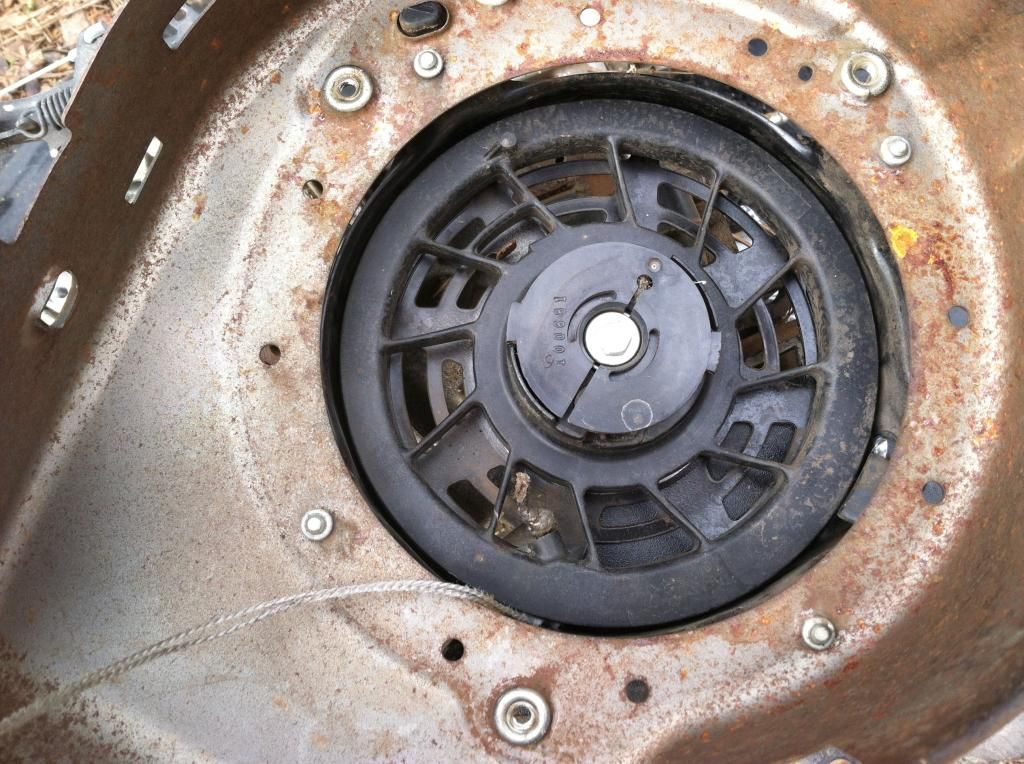
Once that was off I could remove the bolts holding the starter assembly. Here's what it looks like with it off:


One thing I noticed was that when I pulled this part off it took with it the whole pipe (for lack of the technical term) that holds the oil dipstick. It was basically just seated in there with rubber washers and it just popped right out.


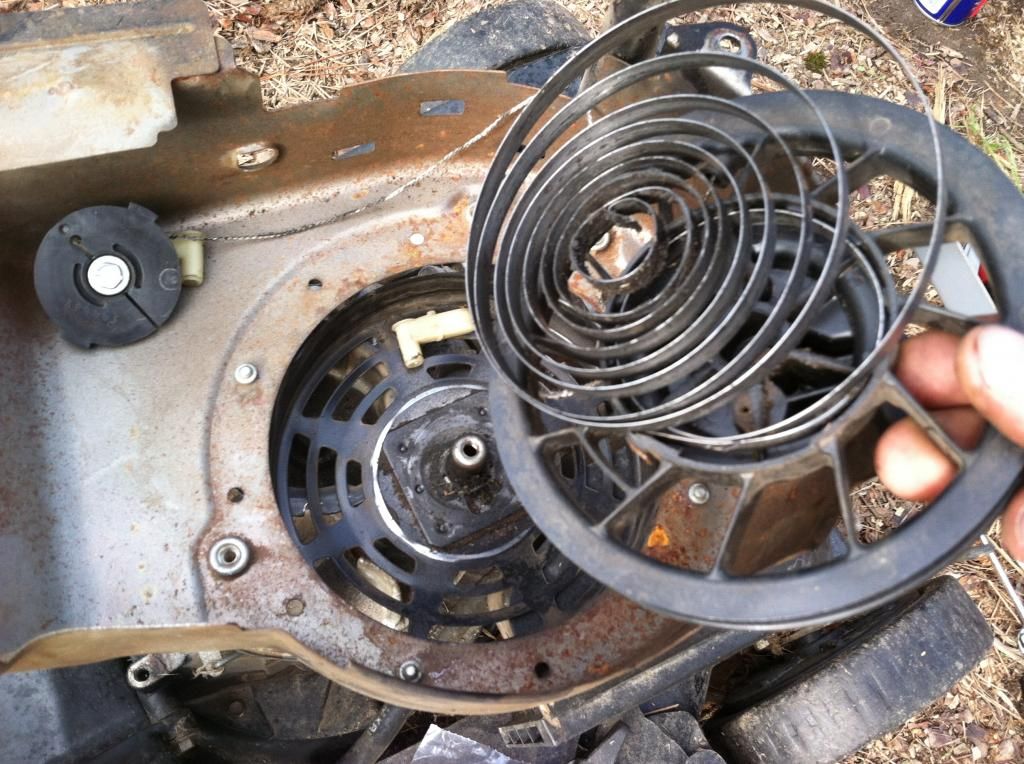
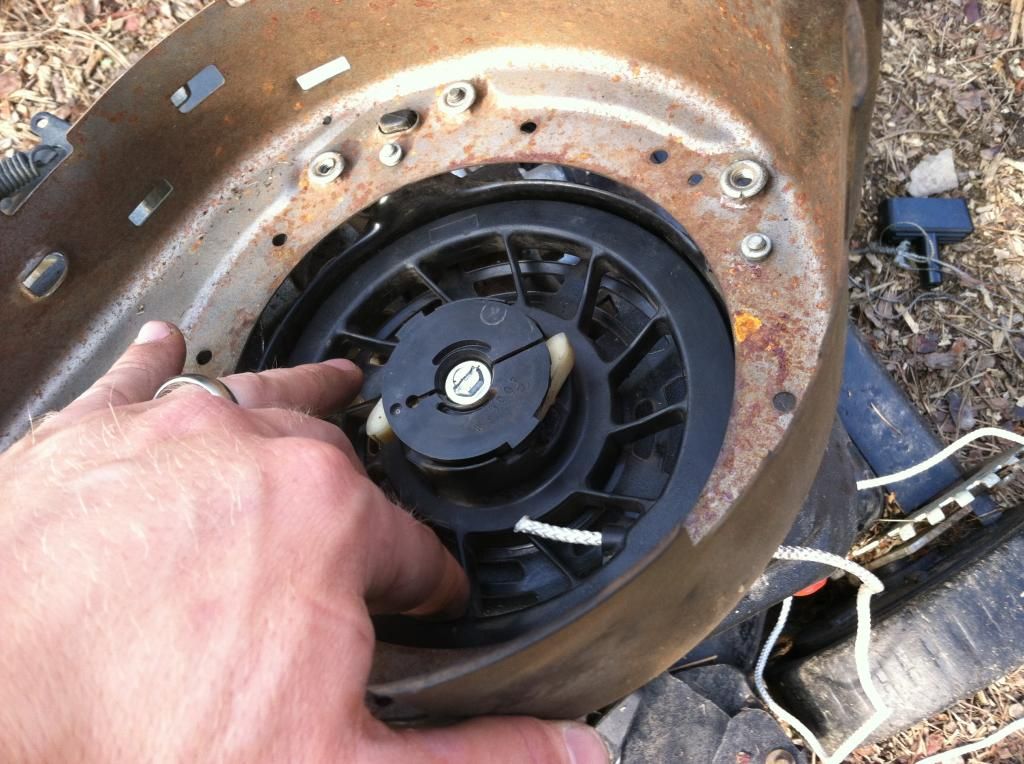
Flip over the starter assembly and it looks like this:


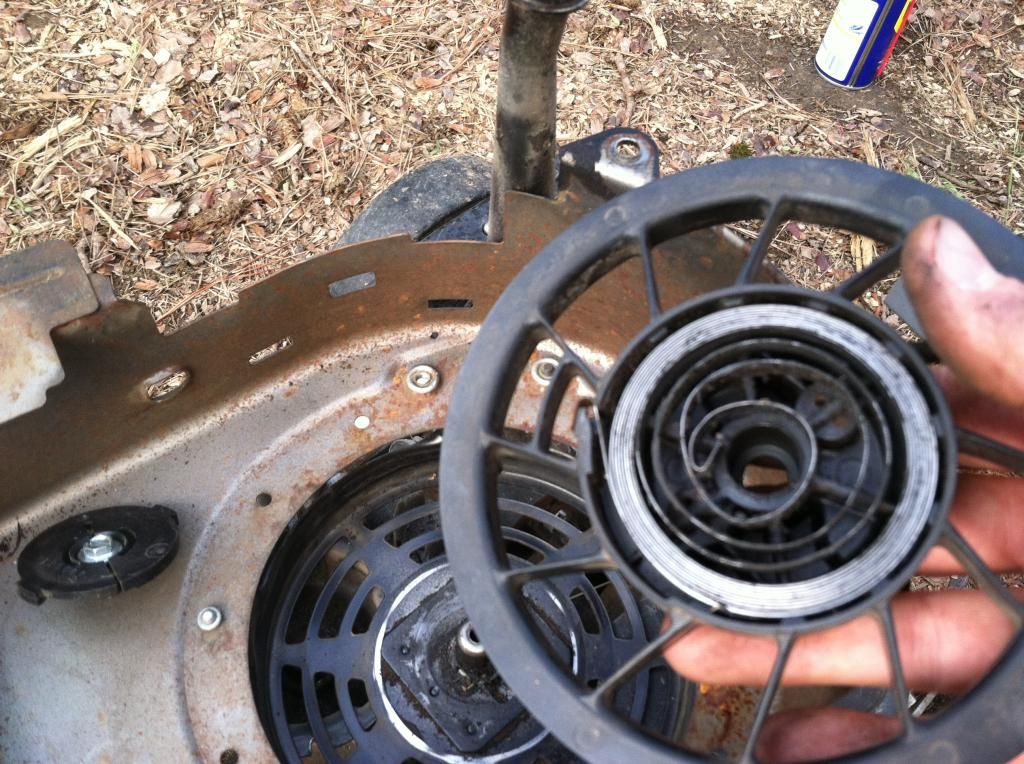
Once I had this piece off I wasn't sure how to actually switch out the cord so I just unscrewed the screw in the middle and pulled it out, which was a terrible idea. I heard a *sproing* and this happened:


Noooooooo!


It wasn't the end of the world though. I just wound it back into the spring housing and screwed it back in place. I did have to make sure that the little bent end of the spring caught on a little tab when I set it in but either through sheer dumb luck or because it wasn't that hard I got it on the first try.


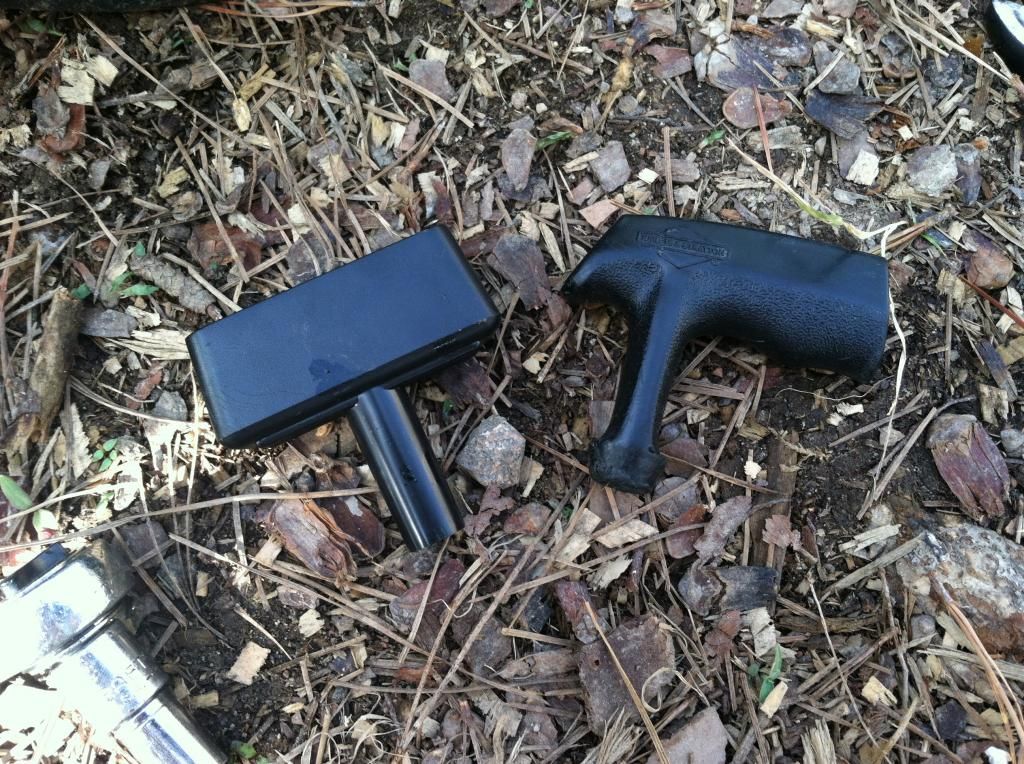
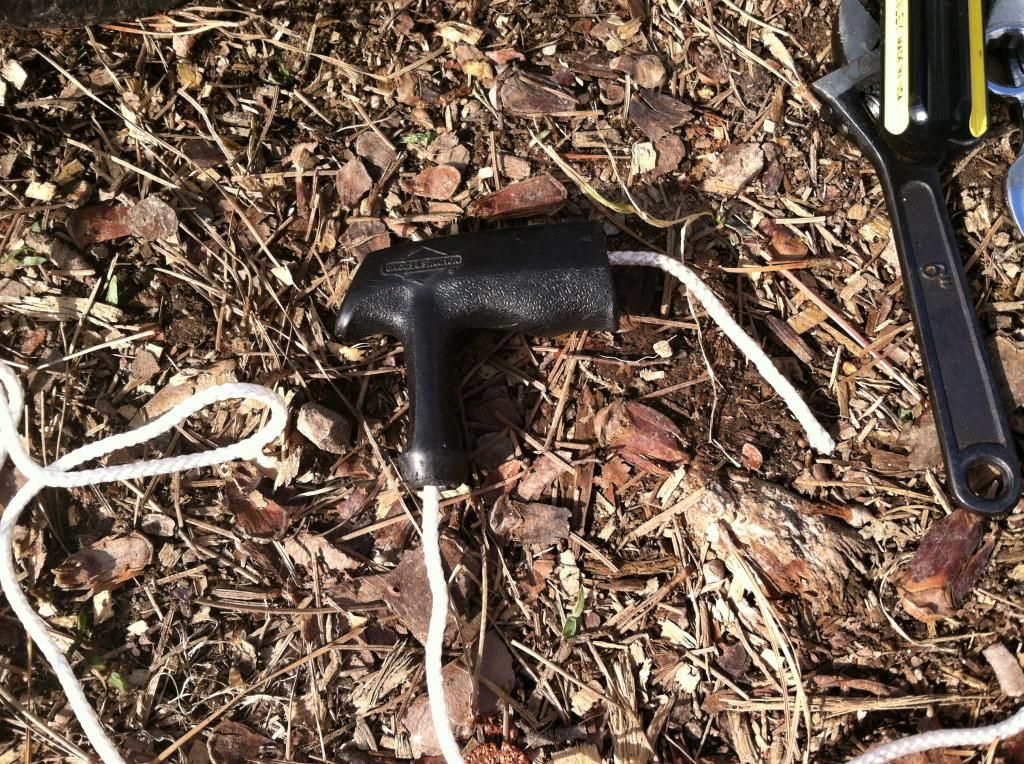
Now that everything was disconnected I pulled the new cord out. It said to measure how long it needed to be, add 6 inches for knotting and then cut the excess off but it was already the right size so, yay! It came with a new handle but frankly it looked downright uncomfortable next to the one I already had.


New < Old


The old one was harder to attach than the new one but it really wasn't so bad. I just kind of jammed the cord in as far as it would go and then ended up having to get a pair of tweezers to reach into the handle and pull it through. After knotting the cord that part was done.


Now back to figuring out how to get this thing attached. I realized that if I held the rotating piece in the middle in the right place I should be able to run the cord from the outside right straight through to the other side.


On the directions that came with the new pull cord it said something vague like, "Wind in a counter-clockwise motion until tight. Then unwind one turn." Well, I wound and I wound and it never seemed to get tight. It got tight-er, but how was I to know what was tight enough? So I took a guess, ran the cord through and knotted it.


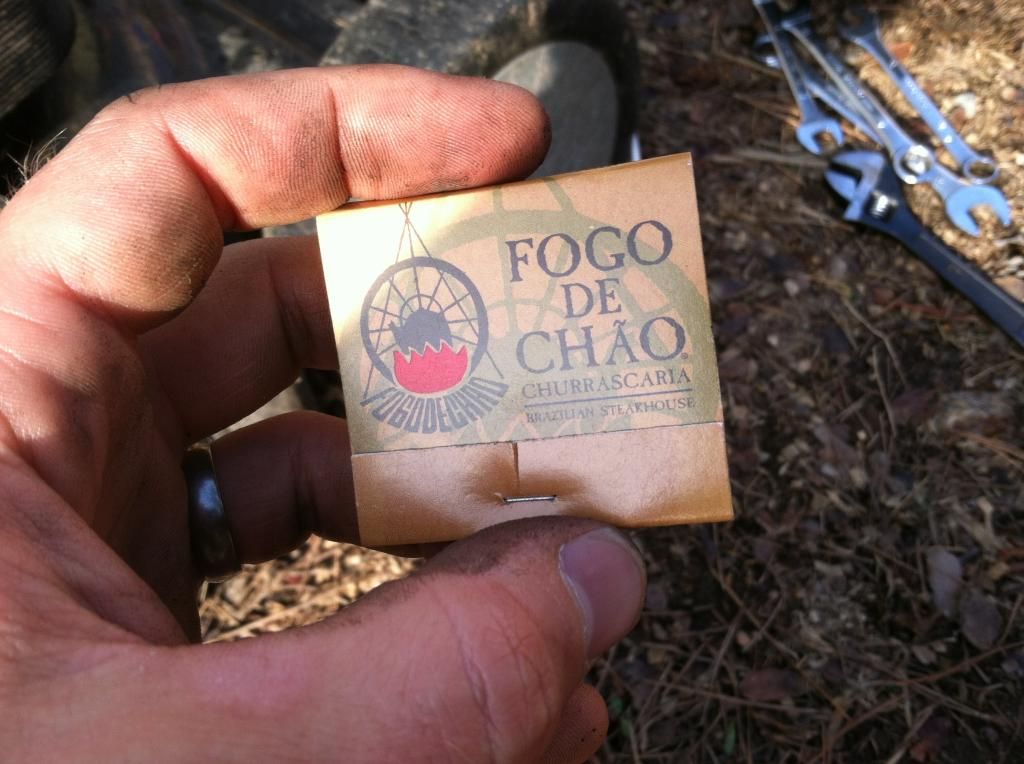
The package suggested using heat to seal the knot. I didn't have a lighter around so I grabbed a pack of matches and tried using those. Fortunately it was breezy and kept blowing out the matches (I'll explain why that was fortunate in a second) so after about eight of them I gave up.


Nothing but the best Brazilian steakhouse matches for my lawnmower!


Even though I had already tried sealing the knot something told me not to bother putting everything back together or bolting anything on too tight so I loosely bolted the assembly back in place and draped the cord into the little pull-starter rest and stood back.


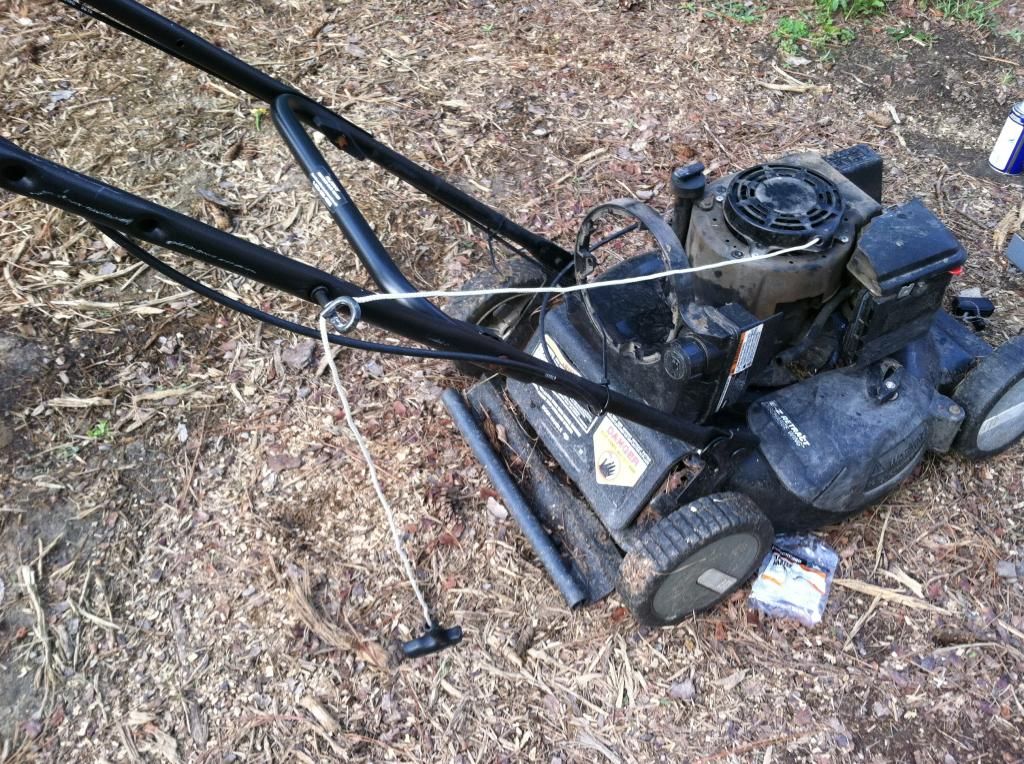
Yeah, that's definitely too much cord. So I took the assembly back off, untied the knot (thank goodness I couldn't seal it with those matches am I right?), wound it about three or four more times (the slack in the line seemed to be equal to about three or four turns) and put the cord back through. Of course, getting it to go back through was about ten times harder than the first time but I finally got it to go through. Once that was done I rechecked the cord length, threaded it through the top "grate thing", and bolted everything back on.


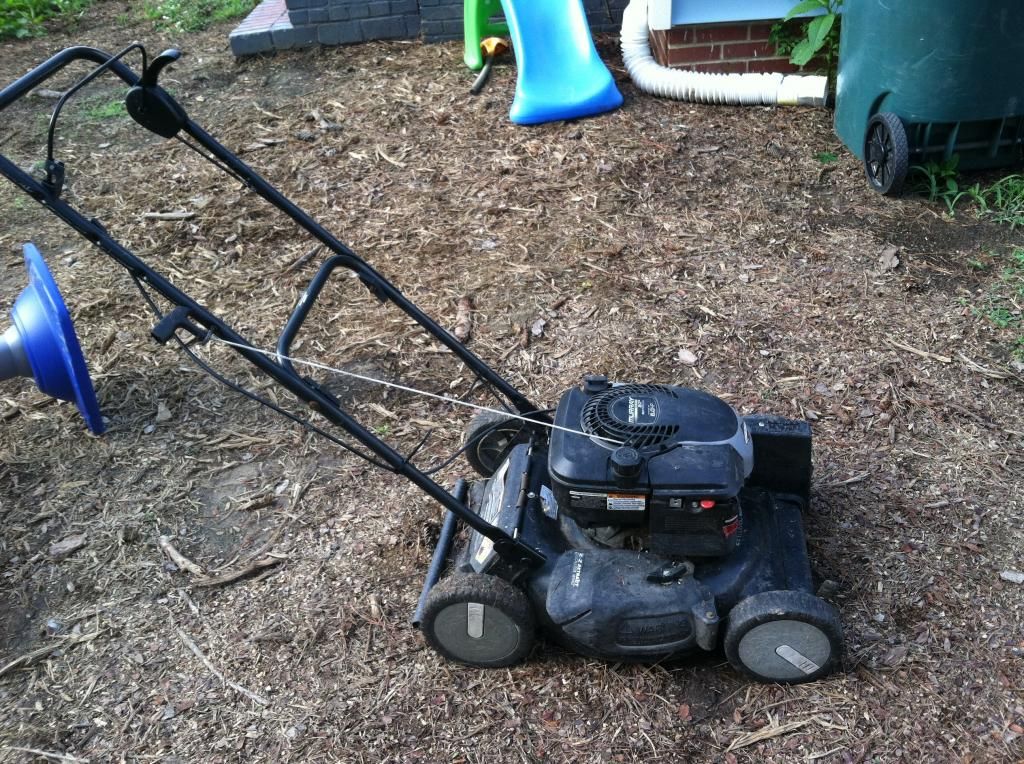
Ta-Da! Good as new and it started right up.


This was definitely one of those projects that intimidated me a little at the get-go but I didn't have the time or the money to take it somewhere and get it fixed and it ended up being easier than I had anticipated by a long shot.

I apologize to anyone who actually knows a thing or two about lawnmower repair for all of the horrible mislabeling of parts I've probably done and for using terms like "grate thing".


So, have you been pushed out of your comfort zone lately? Did it go smoothly or did you come out with a hilarious story you can pass on to all your friends and family for years to come?

Thursday, May 22, 2014

Frontin'


We've talked about it before, when we got our trees cut down and also when we excavated the sidewalk, but we've sort of danced around a lot of the details. Today will change all of that. 

Today is about what we've done to the yard so far and why, as well as what we plan on doing in the future.

 
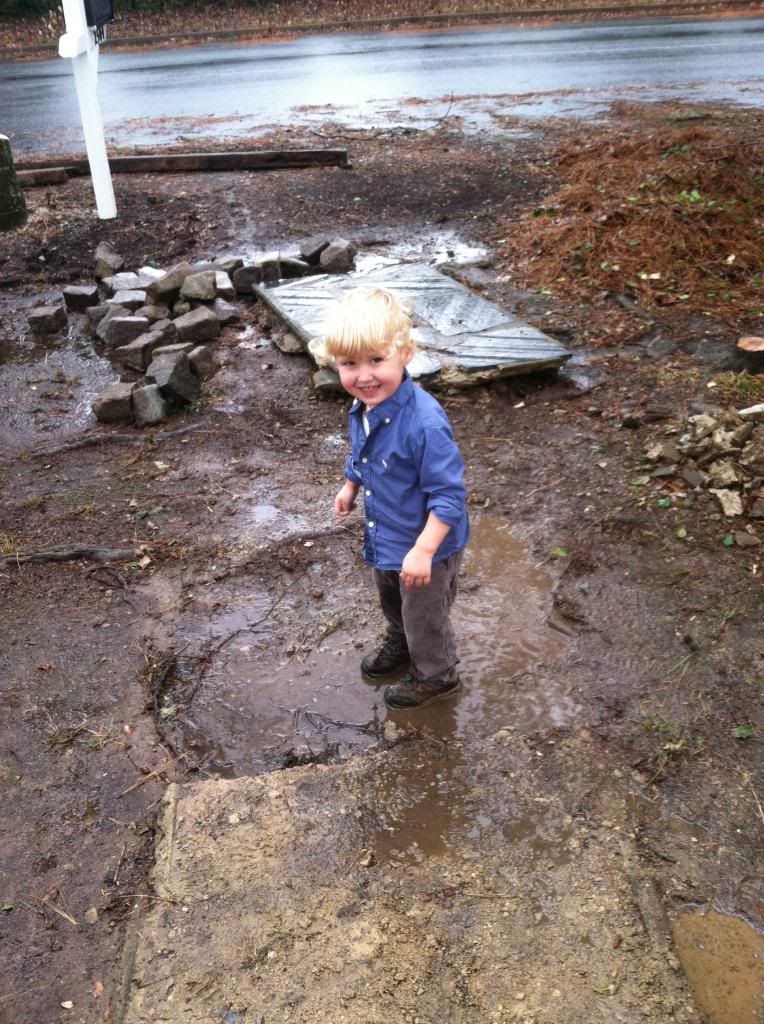
We have some drainage issues. Nothing serious; no pools of water in our crawl space or moats containing crocodiles. Our street is on an incline and we're somewhere in the middle, which means we see a lot of water pass our yard but we also see a lot of it stop and stay a while.
 

It might not look like it but this is a pond waiting to happen (especially in that bare spot on the right side near the walk).
  

 Our goal was to put an end to this. It's kind of a long train of thought, but, humor us, hop on board! It goes like this: These giant trees don't allow the yard to get enough sun which means the grass can't thrive, which means when the water sweeps in it erodes the soil. 

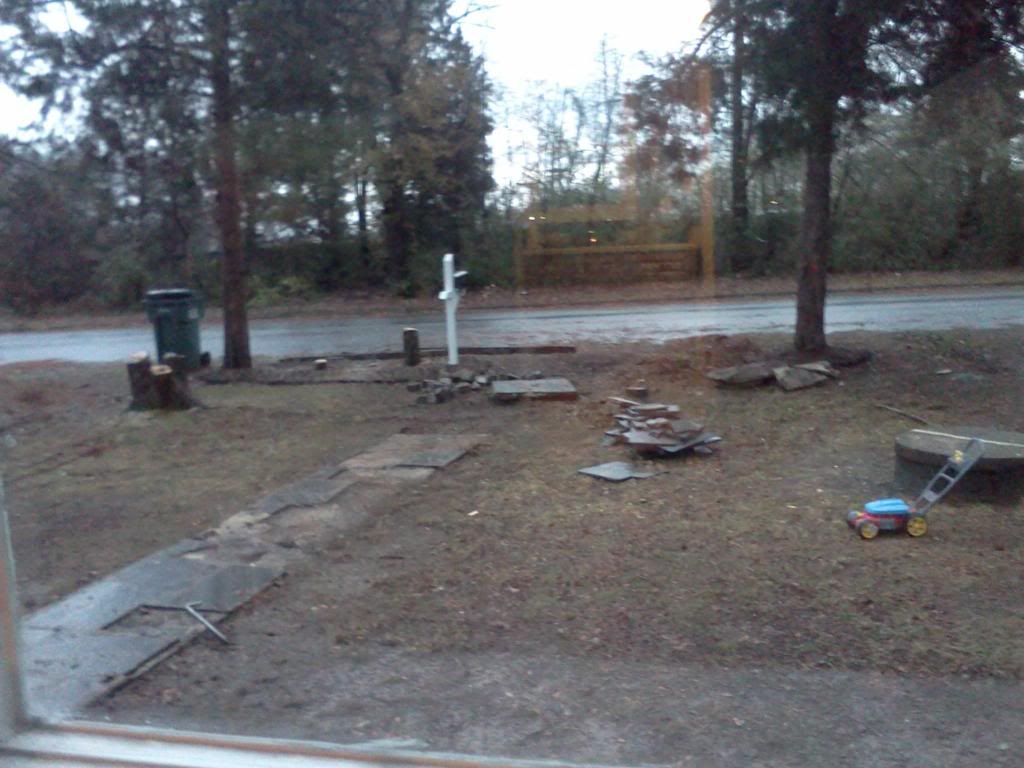
So the first step was to get the trees down. Once that was done we thought it best to raise the level of the yard so that the water didn't feel quite as welcome. This meant the sidewalk needed to be removed so it wasn't underground after we added dirt. Once these two projects had been completed we were left with a muddy dreary, wintry, mess of a "yard". 


I didn't edit the coloring of this picture. Even the sun was sad about our yard.


Blech.

So, in early spring (yes, yes we know that's not when you're supposed to do this. Our timing was less than perfect) we bought a truckload of dirt. It was the biggest truckload they sold and probably ran us about $275. It was actually pretty difficult to acquire because it was so rainy that the dirt sifters couldn't handle the dirt being so wet and we actually had to wait a few weeks before we could get ours. They dumped it in the yard and we got to work.
 

This picture doesn't do the size of that pile justice. It went on forever.
 

Initially we had plans of doing it perfectly, but as we shoveled and raked the dirt out and tried to get everything done before summer came we began to let go of visions of getting out there with stakes and twine and levels and bow rakes and transforming it into a perfect zen garden front yard with trowel marks curving gently around awaiting the planting of our grass seed. 

Instead we just spread it out. And eyeballed it. And called it done. 

It's not exactly level. But that's okay. We figured this was more of a phase one deal anyway. We'll come back later and add dirt here, or remove some there.  It's a work in progress. 

After the dirt was spread, I ran around with a tamp pretending I knew what I was doing. Tamping here and there but not exactly everywhere. Then we ran around with a hand crank grass spreader and covered everything in seed, raked a little, and waited. 

And watered. 

And waited. 

And watered. 

And then we got nervous. 

Did we do something wrong? We didn't use straw because the guy at southern states said it wasn't necessary! Should we call them? Did we wait too long? Is this seed defective? The birds didn't eat it all, I can see it right there!

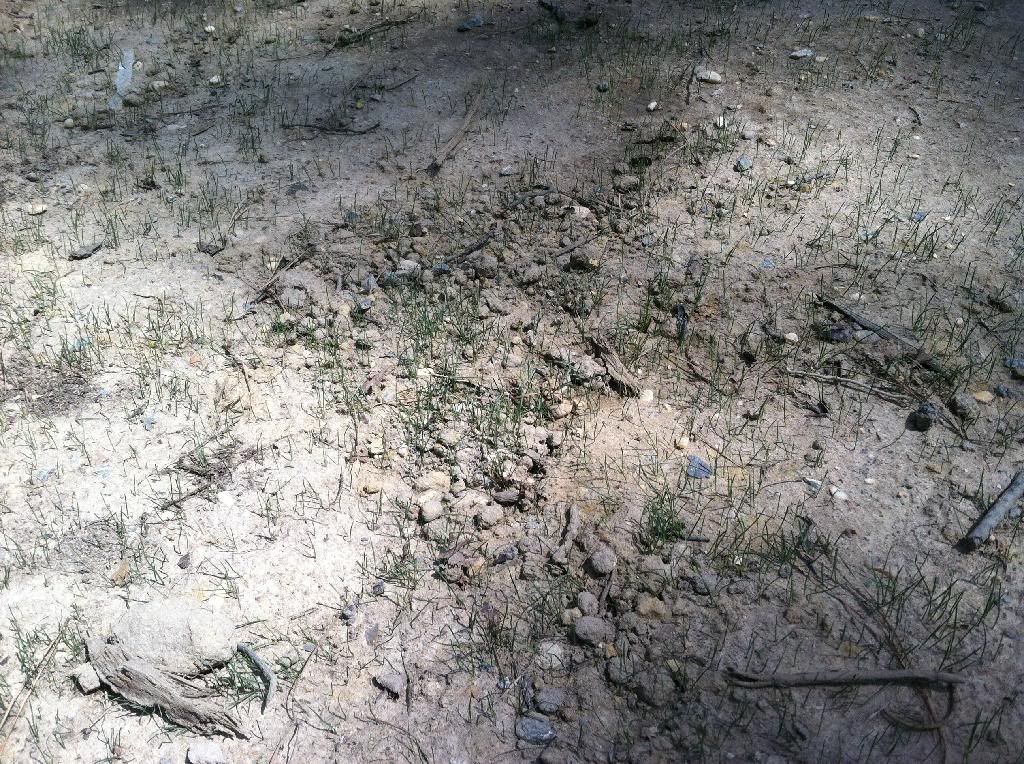
Finally we gave Southern States a call to ask them what was up. You know what was up? Not the ground temperature that's for sure. Apparently, the ground temperature needs to be consistently above 50 degrees for the seed to do anything. All that hurrying didn't amount to a hill of beans with an unexpectedly cold spring. 

So, armed with some other pointers we got back out there and did a little reseeding in a few areas, did a lot of raking to stir up the dirt and make it more habitable for the grass seed, got on a better watering regimen, and as the temperature rose we started to see some baby grass come up.


It was so sparse at first that it was still a tad disheartening but we just kept watering and now we have this:


It's even nice enough for Alice to enjoy it a little, though she seems a tad skeptical.
 

There are still plenty of bare spots but we knew we'd have to reseed in the fall anyway (which is really when you should be doing all of this). 

We got so jazzed about our grass that we started to work on other things out there as well. 

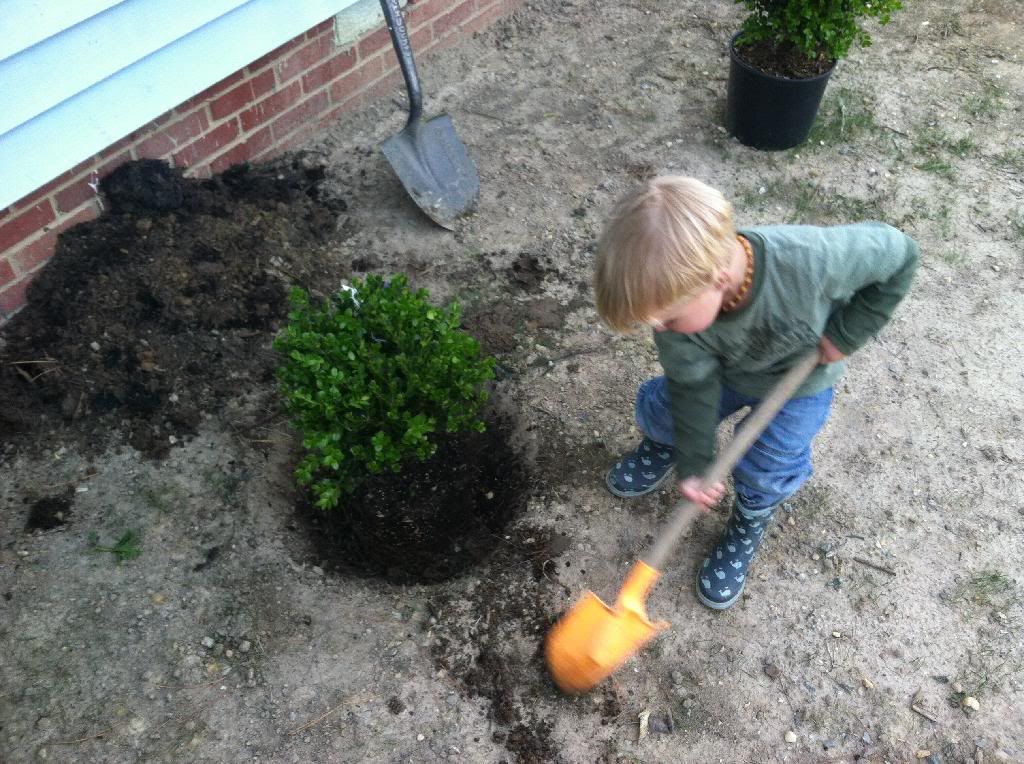
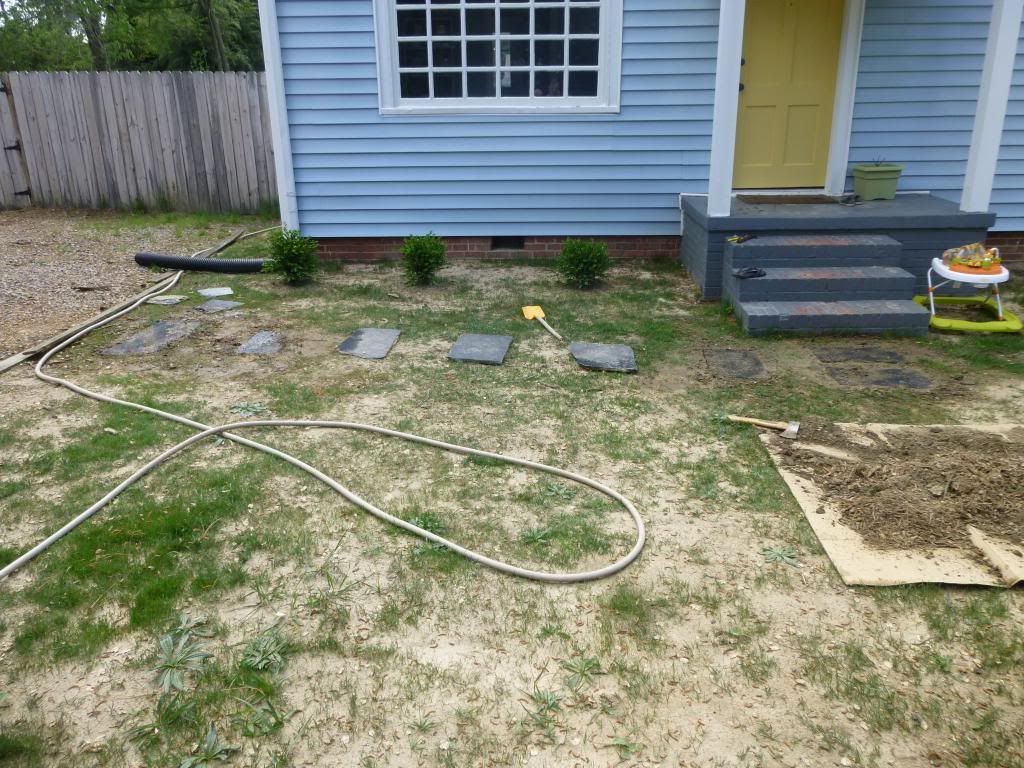
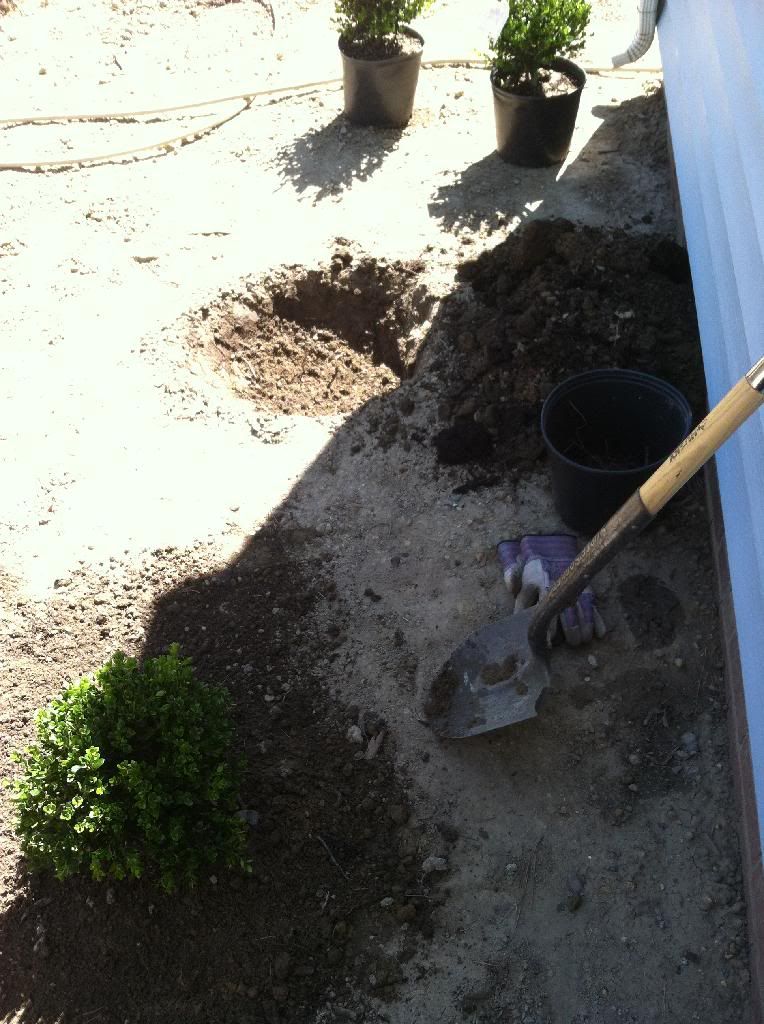
Meredith painted the well and we planted some boxwoods across the front of the house and redid the mulch beds that we had lost when we resoiled.


Worker man doesn't have time to stand still for a picture. Blurry pictures on your blog are not his concern.

 
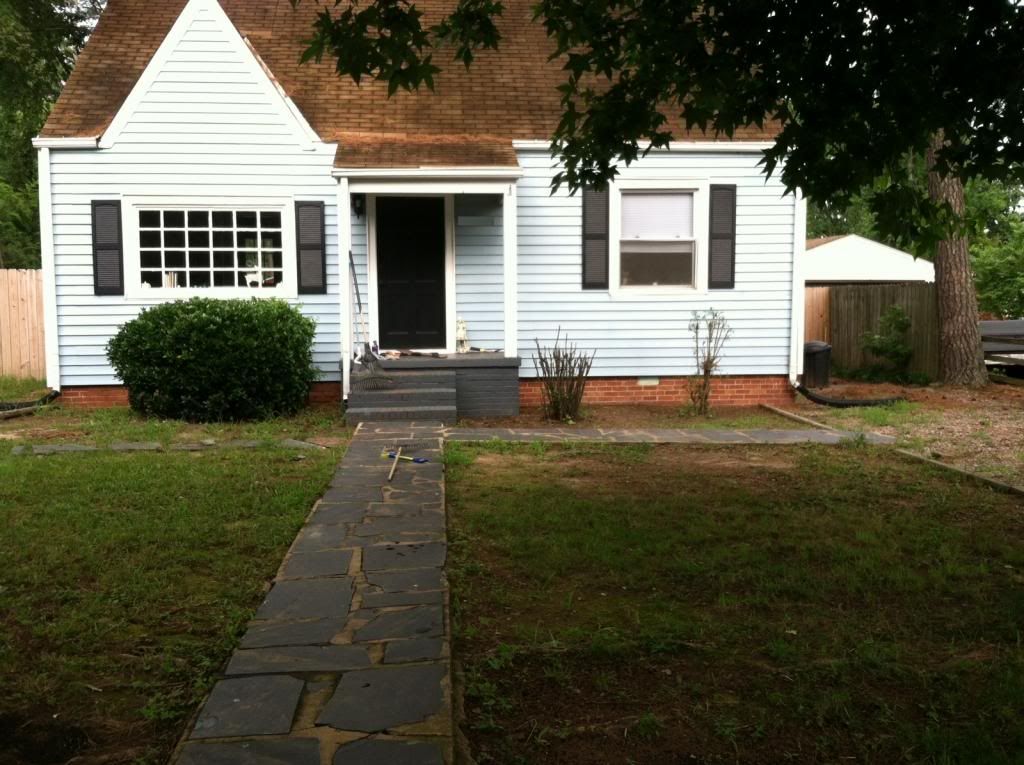
We also temporarily laid some slate for a walk. 


We basically just outlined each slate and then dug up the area underneath (similar to how Young House Love installed their much more precise/professional looking walk). We threw down some more seed around where we dug up but don't expect it to do much over the summer. We sold all of the slate from our first walk so we pulled this slate out of the short bit of sidewalk that we had at the bottom of the stairs on our back porch. 

And what did we find under that walk?

Another sidewalk!
 

This is me grimacing at the sense this makes.
 

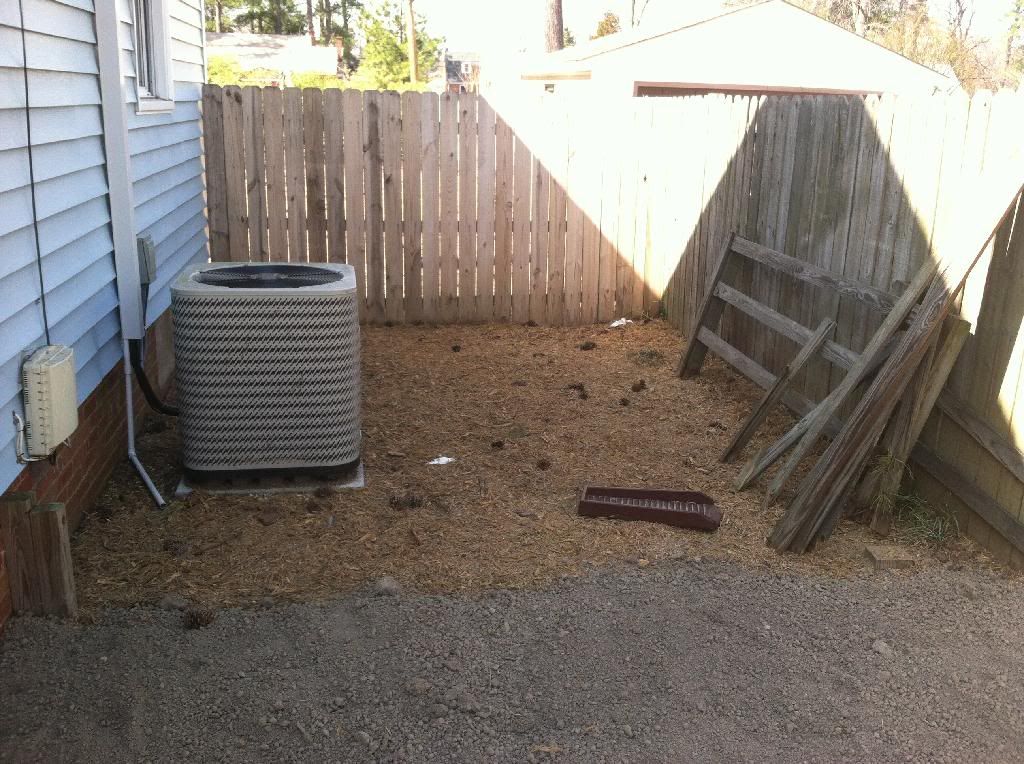
As far as future plans go we've been throwing around ideas and we think we're going to change things around quite a bit. As you may have noticed we've already gotten rid of the smaller driveway. It just didn't seem necessary and cutting a little extra grass is more appealing than maintaining a useless driveway. This left us with a small unattractive, grass-less section, where the air handler is but we realized that if we move the fence up about six or eight feet all that stuff will get shifted to the back yard and the fencing would then be even with the other side of the house. So that's the plan for over there.


We took down a lot of the short fence bordering the small driveway when we found out it was ours, since it was falling apart anyway. Now we are going to replace it with a cross beam fence that would wrap around the front of the yard to the driveway and then a small section of it on the other side of the driveway to balance it out. 

Rather than redo the sidewalk that went to the street we're just going to have a sidewalk that goes to the driveway. The only thing we used that sidewalk for was to check the mail and if we move the mailbox to the end of the driveway we don't need it at all. This should save us quite a bit of money when we finally lay a more permanent walk (we're thinking brick, to match the steps and foundation) as well as get rid of an unnecessary feature that cuts through the yard.

But for now here we are. One driveway, six scrawny hedges, and eight trees down. Six boxwoods up. A slightly improved well. Dirt. Mulch. Some grass. Temporary mulch bed dividers and a temporary walk. We're feeling pretty confident that we'll actually make something of this yard. One day soon we intend for this to be the most charming yard on the street.


Right now it's in that "awkward phase".

Monday, April 21, 2014

It's the Little Things

So after our recent string of big projects like putting up board and batten, pulling up the sidewalk, getting all of our trees cut down, and covering our yard in top soil and reseeding it (maybe we'll do a post on that once the grass has fully come in) we haven't been terribly keen on jumping into something huge. Instead we've been working on small things, or doing some small steps for things that have been sitting on our to-do list forever.
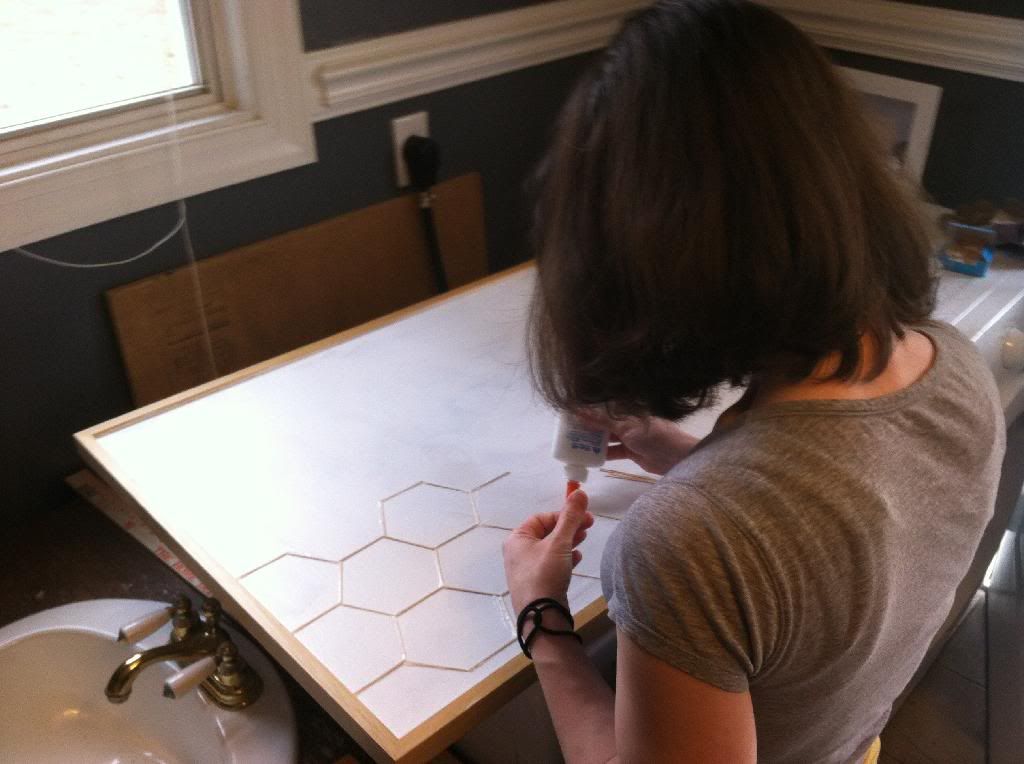
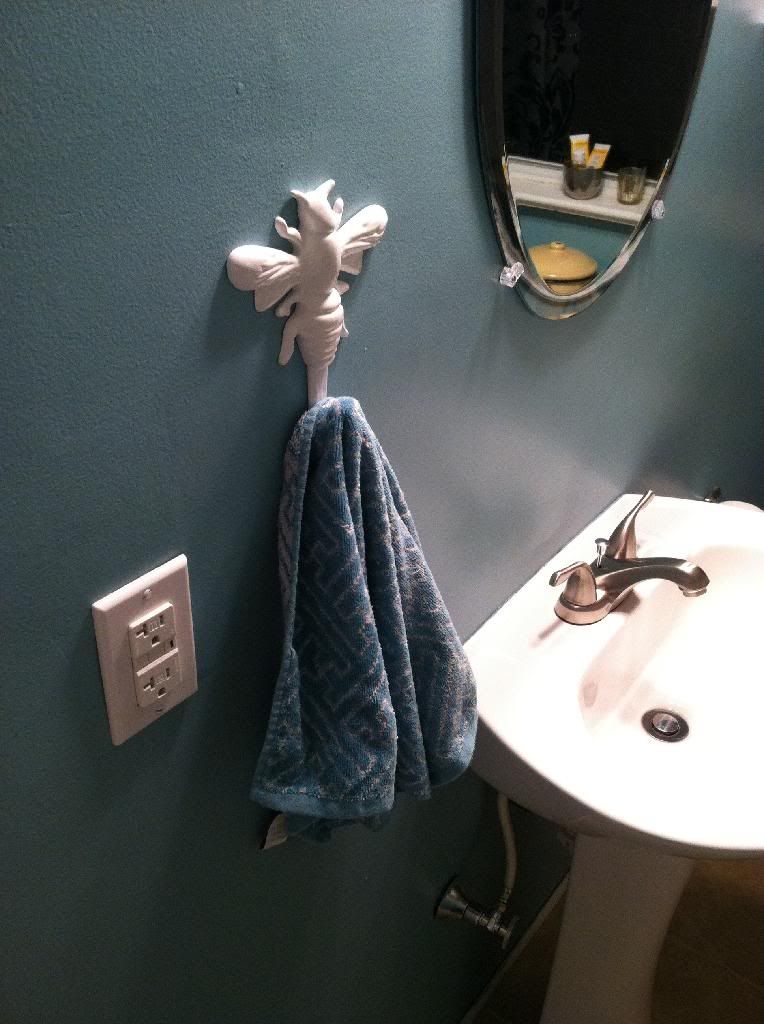
We picked up a wall hook from the Young House Love line at Target to use as a towel hook in the bathroom.


There's kind of a bumble bee theme in there so it was perfect.


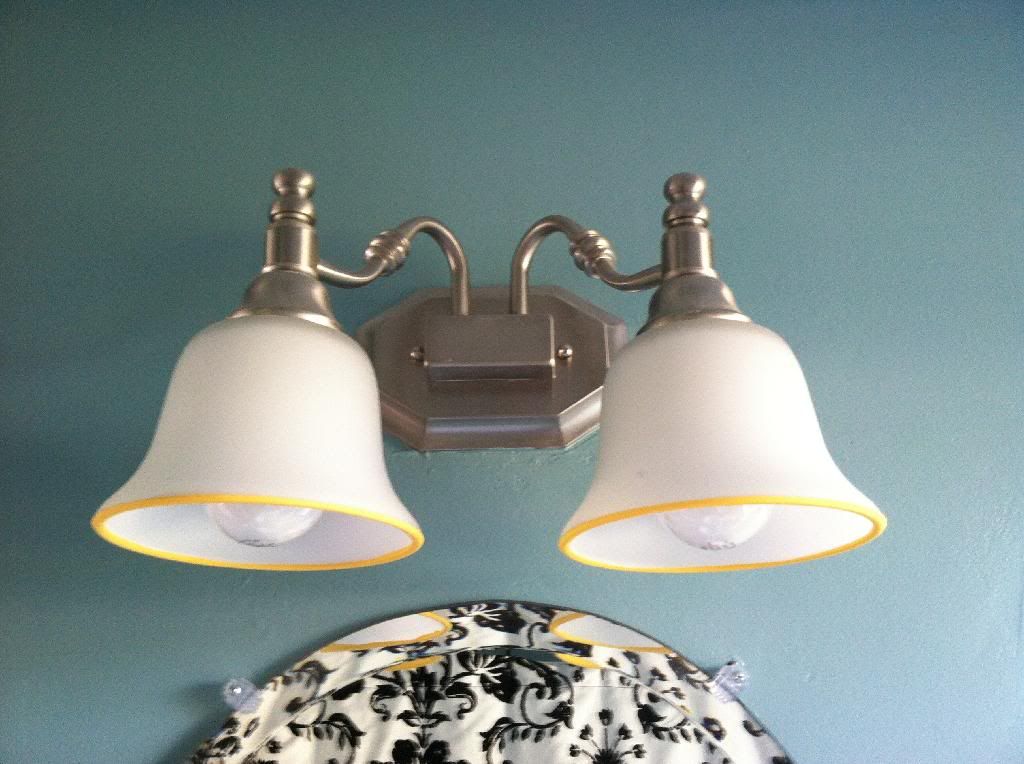
Whatever you want to say about the energy efficiency and long life of those twirly new fangled light bulbs they are huge and ugly. Meredith replaced the ones in our bathroom with some standard old school bulbs and they look better, their light is better, and they don't make a buzzing sound (I don't know if you've ever noticed but those new bulbs hum). She also added a little detail on the rim of the lamps that looks quite nice.


Ain't it purty?


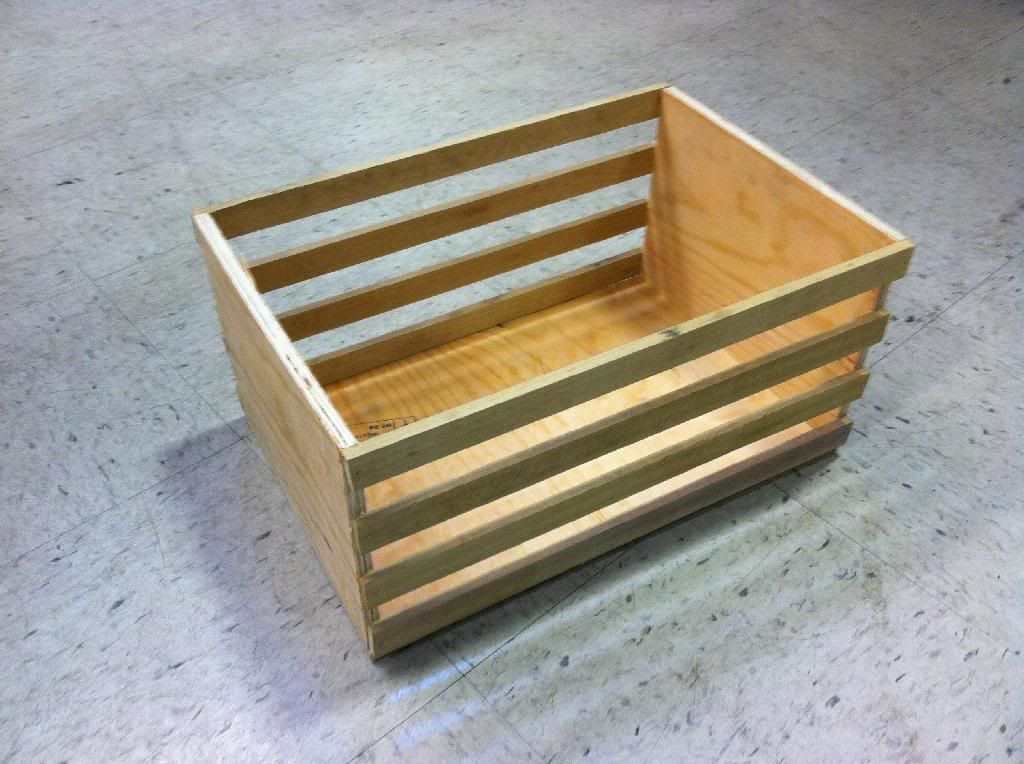
Meredith liked some decorative mud room/shoe storage options she saw online that utilized wooden crates so I made one out of scrap I got fo' free at work.


That's right, I saved us like five bucks! Really it was just for the fun of making it.


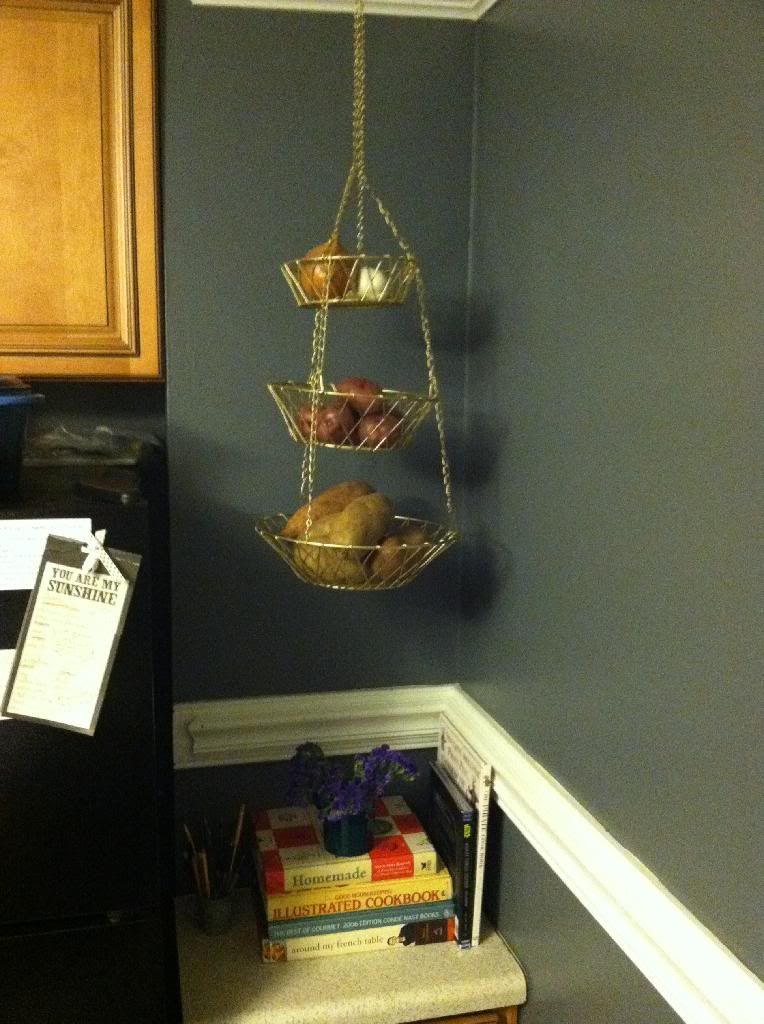
We hung this fruit basket that Meredith painted gold in our kitchen. Now this space feels more useful and we don't have to have as many bowls of produce taking up all of our counter space.


The observant nerd will notice The Wookie Cookbook amongst our more traditional cookbooks.


Meredith started some artwork that will be revealed as soon as she completes it and we think of a place to hang it.


Steps have been taken to replace the old ugly hedges we removed shortly after we moved in. This is only about halfway done so you'll have to wait for the full reveal on this as well.


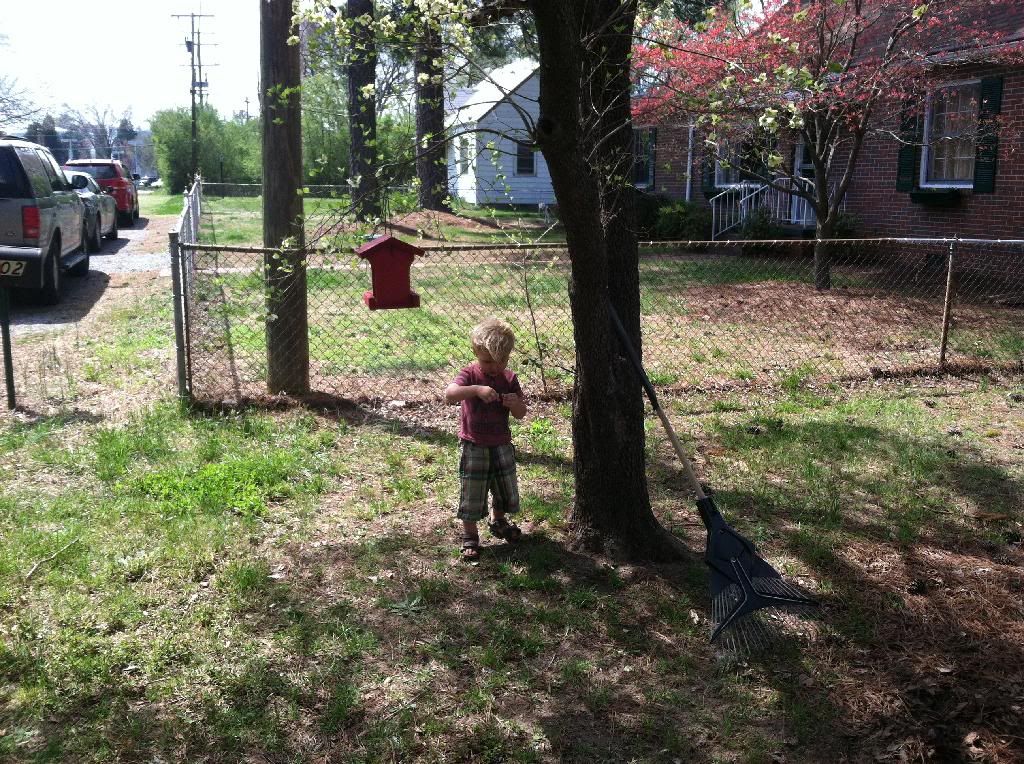
Grayson and Meredith painted and hung this adorable bird house which I think adds a nice homey touch to the front yard.


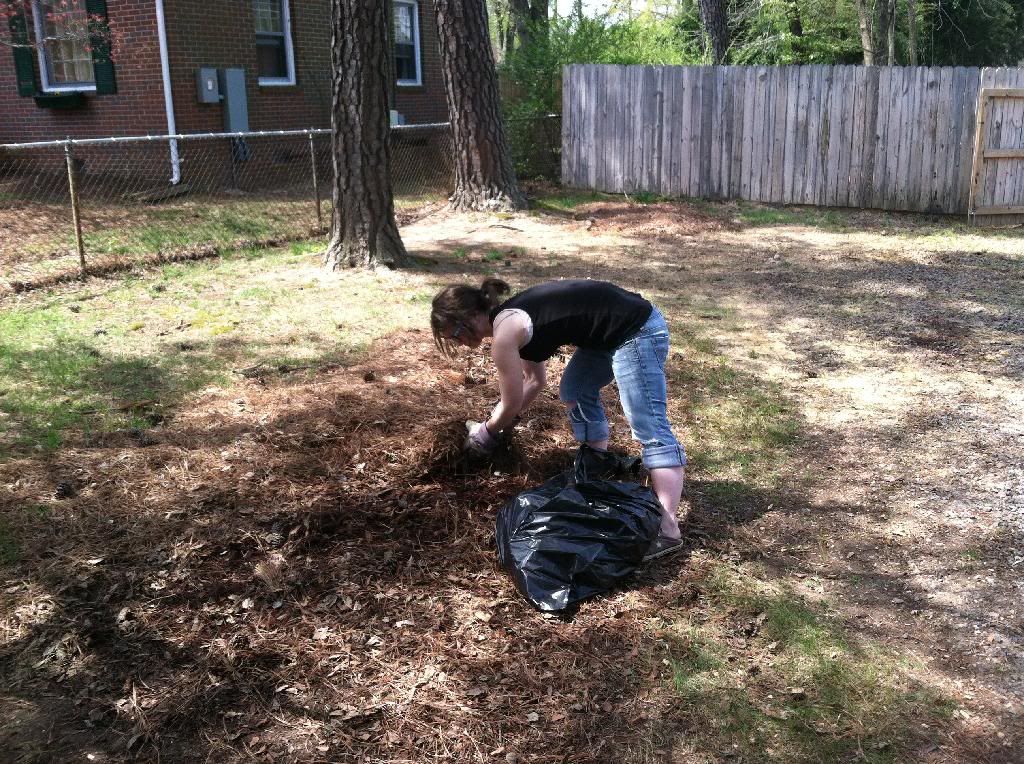
We've started to remove the piles of pine needles we let sit all winter. After ten bags and not even being half done I'm really starting to feel this shouldn't be consider a "little thing"...


So. many. pine needles.


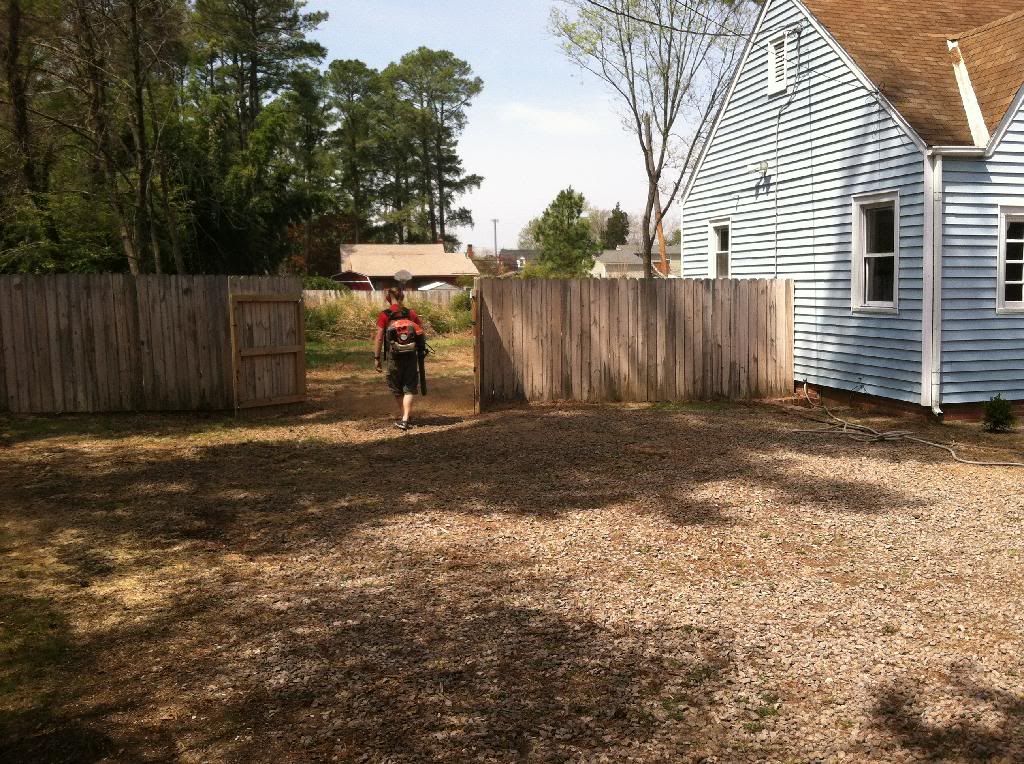
Meredith's brother Jesse was kind enough to come over with their dad's industrial strength leaf blower and blow off the driveway. After getting the trees taken down it just looked like a mess. Thank God for fathers-in-law with overpowered tools and brothers-in-law willing to wield them.


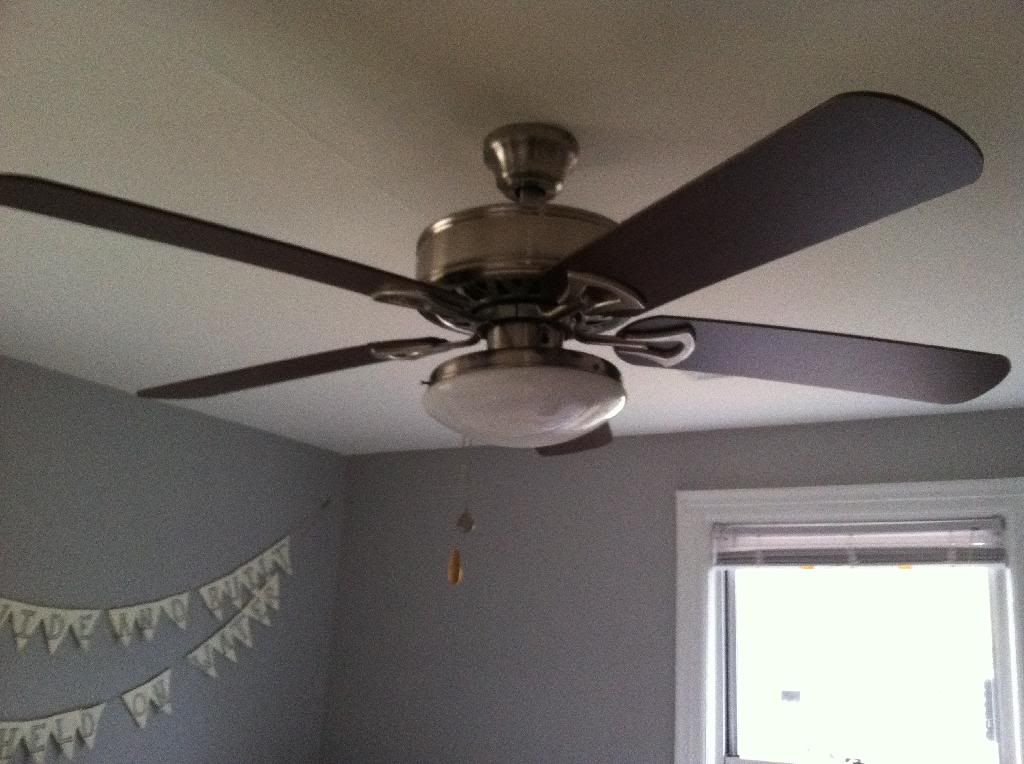
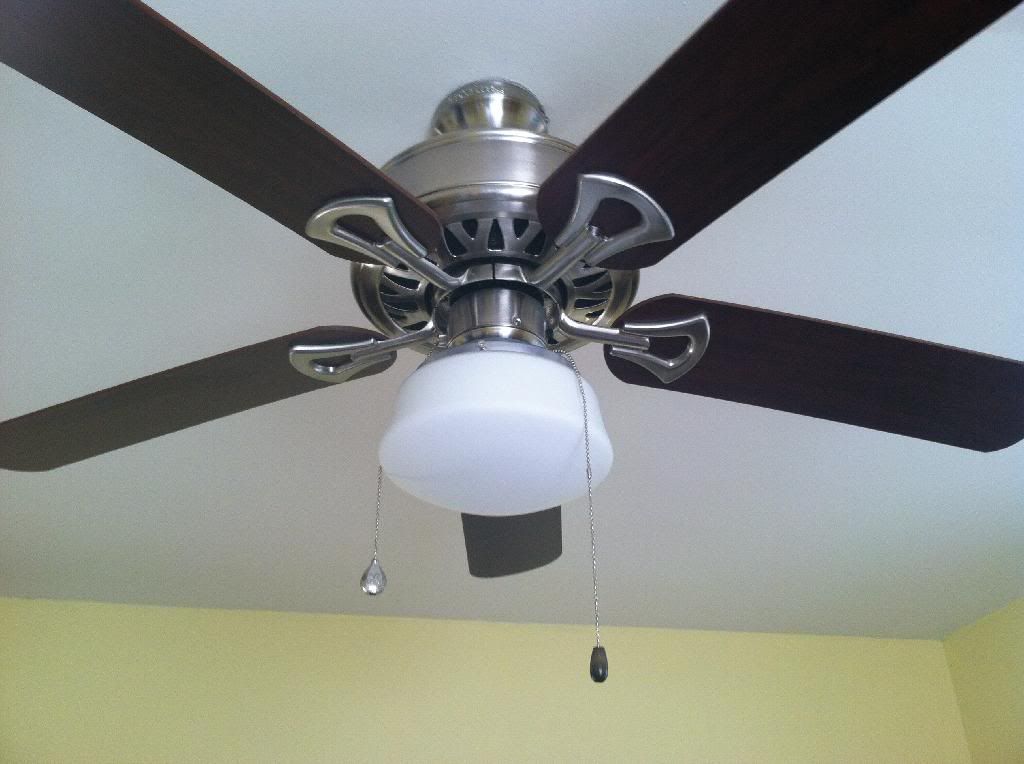
We added light kits to both bedrooms, which HOLY CRAP MAKES ME WONDER WHY WE HAVEN'T DONE THIS BEFORE.


This one was actually the wrong color (we got it on clearance at Decorator Outlet) so we painted it silver. It's not a perfect match but we just wanted it up. We'll probably fix it later.


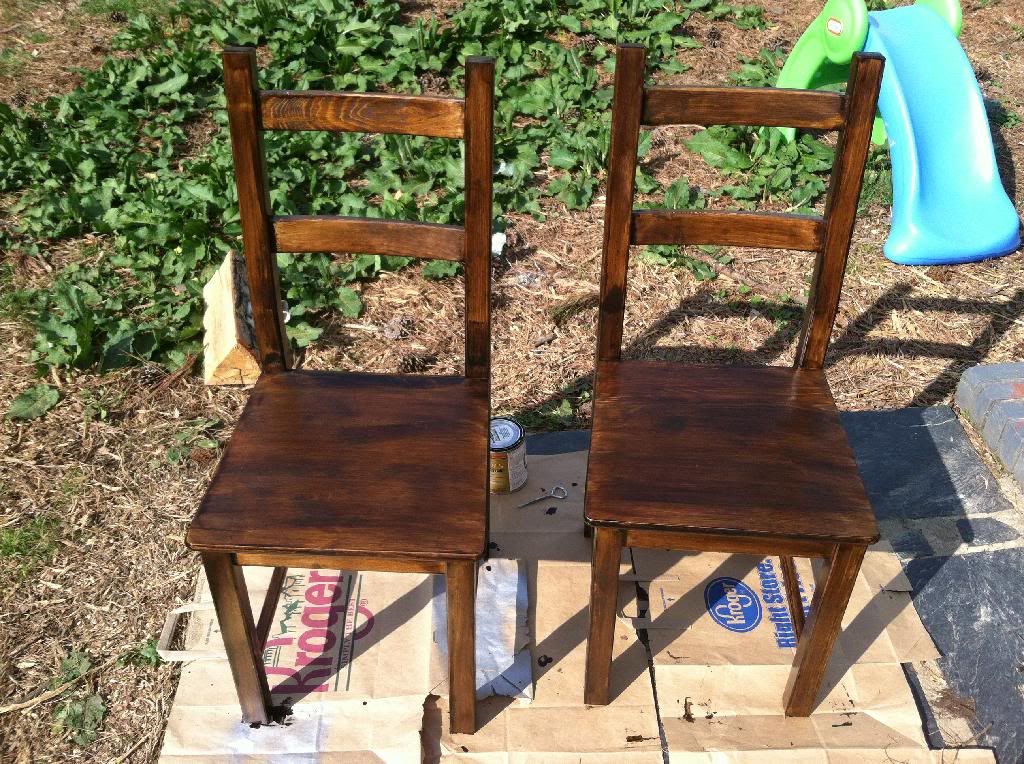
We stained two of our dining room chairs. Just two of them because, frankly, we need a place to sit. Once these have a second coat and get sealed we'll do the other two.


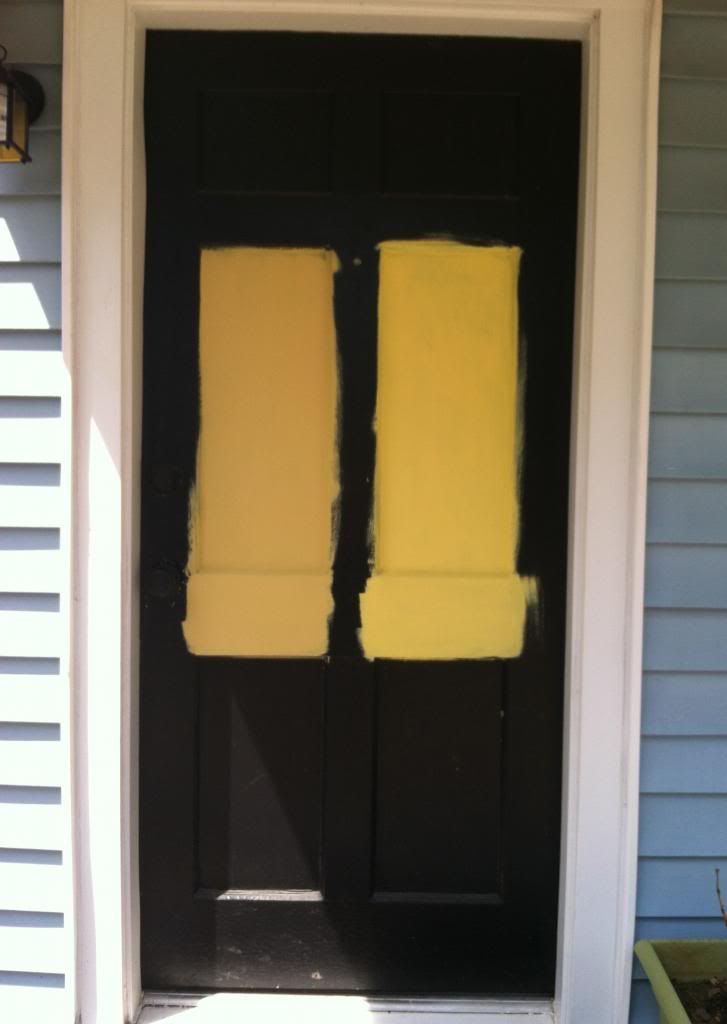
We got some sample colors on our door. I actually really like the idea of a black door for some reason but it's just not the right choice for this house. We'll probably go into more detail about our choices when we complete this project but here's the two samples Meredith painted on. Guess which one we're going with?


And of course I saved the best for last. The most important little thing that's happened, and the one we're most excited about is our new baby... grass!


YAY! GRASS!
 
 
Have you knocked anything off of your to do list lately? Big things? Small things? Care to hazard a guess which paint color we picked?

Wednesday, April 2, 2014

I Been Workin' on the Sidewalk

So, chronologically I'm a bit out of order but I really wanted to include this post for my own posterity's sake and since we're mostly just waiting for grass to grow right now any update about our yard project would be rather underwhelming.


Have you ever watched grass grow? I have.  ...or at least I hope I'm watching it grow.


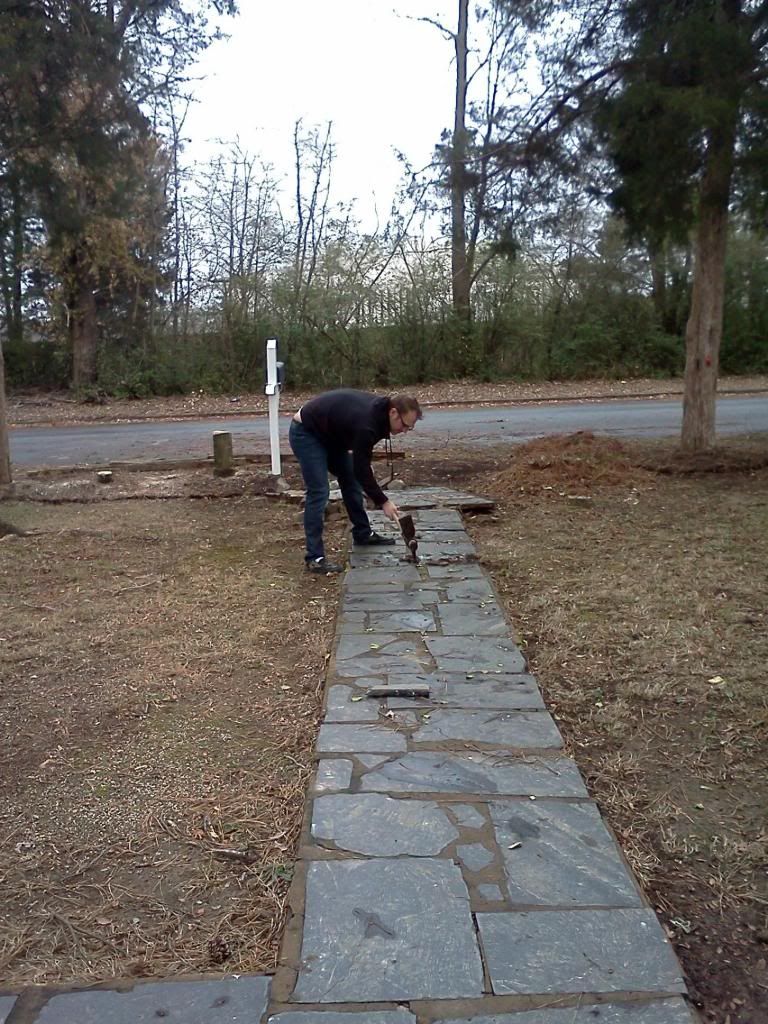
As we already explained in this post we decided to excavate our slate walk. There were lots of non-pictorially documented reasons why. There was the fact that we wanted to raise the level of the yard, the fact that tree roots had caused elements of the walk to not be level, the fact that it was pointed toward the driveway we don't use, the general sloppiness and lack of skill it was originally installed with, and the crumbling edges, loose slate, and general disrepair of its current state. Strike that, EX-current state.


To start off, this project was made easier by the state of our walk. Existing cracks made it come apart easier and loose slate gave me plenty of space to pick-axe the concrete without damaging the slate itself. I started by pulling up all the loose slate. Then working my way from the end of the walk toward the house I just started picking away at it, mostly with the pick side of the pick-axe. This worked pretty well for the end because it was in pretty bad shape and didn't need much strategy. Some of it broke off in huge chunks and, rather than continuing to break it up with the pick I would just prop it up and then tip it over onto other pieces of concrete. Usually the force of the fall and the hardness of the other pieces was enough to break it into smaller pieces. When the slate pieces were lodged in really well I would pick the sides until it crumbled away and then apply leverage under the walk which usually caused the concrete to crack away from the slate. If that didn't work I just had to pick all the way around the slate until I could pop it free. I also used the leverage under the sidewalk to break it up after I had removed the slate as well.


The sidewalk was actually a large L shape and unfortunately the side part that extended toward the old driveway was in much better shape than the main part. I used the same techniques to remove as much slate as I could but it was much harder and I had to fight a lot more to get them out intact. After I had removed a sufficiently large enough section of slate I would take the pick-axe and start picking in a line across the sidewalk. Then I would go back over the line until I had kind of a dotted line across it. Then I would jam the axe (or technically maddox) side under the sidewalk under the line I had done and leverage it until it cracked along where I had picked. If it didn't crack I would pick at the line more until it worked. I had to do this in 1'-2' sections because anything more than that I couldn't move very well. If the section ended up a little big I would use the same method of propping it up and letting it fall over on another piece.


I basically just kept at it until I had demo'ed the whole thing that way. Sometimes I would work at it for a while and get a lot done. Other times I would take out a couple feet when I got home from work. The main length of sidewalk was 32' long with another 15' on the side portion. In total it ended up being a whopping 158 square feet of sidewalk.

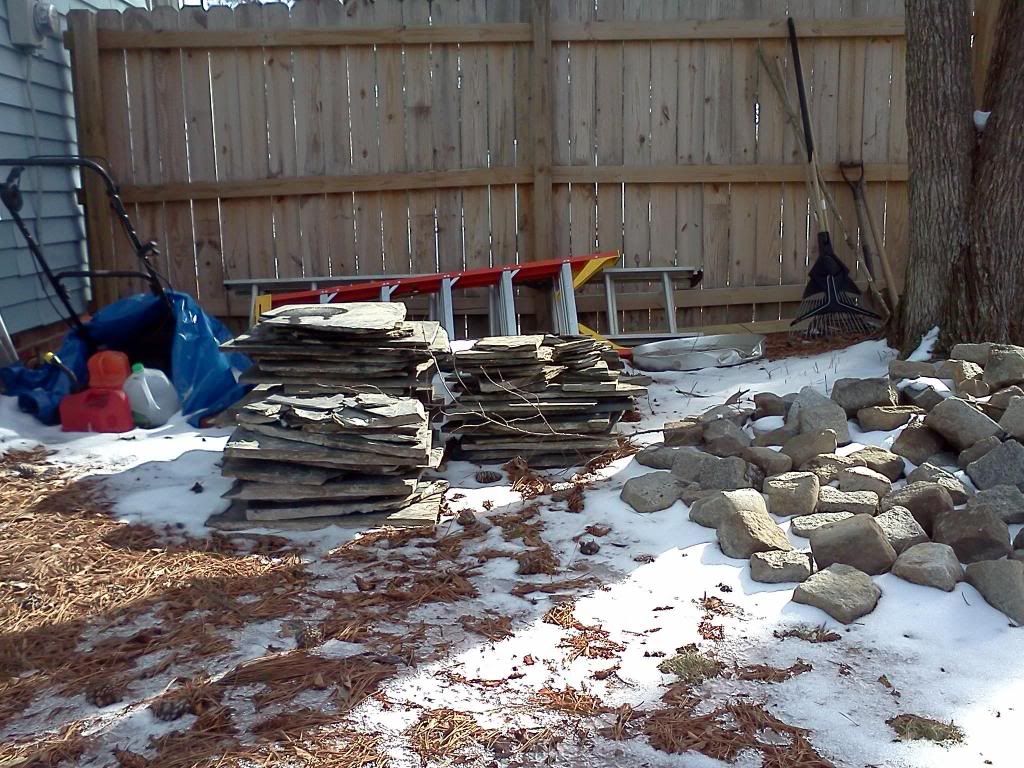
After I was done I was left with quite a lot of slate and concrete rubble. I've spent a fair amount of time on Craigslist and I've always laughed at the listings that appear to be people attempting to get others to haul their junk away for them, but Meredith was reading in This Old House and they recommended using concrete rubble as filler for the bottoms of raised garden beds. So, we figured, heck, what's to lose. I posted it on craigslist and within the first day we had three people asking about it. Half of it was gone that night and the other half the next evening.


Note: Concrete rubble not shown.

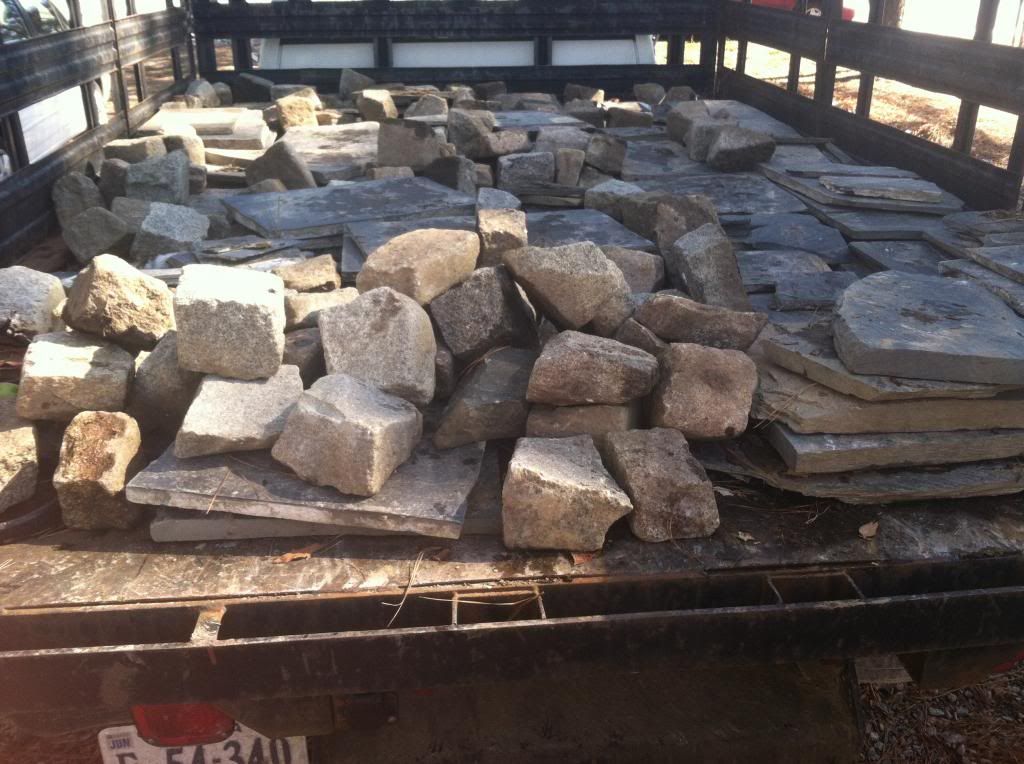
The slate was a different story. On a weekend visit to The Great Big Greenhouse I saw pallets of slate about the same size as what we had going for around $300 so there was no way I wasn't going to make some money off that stuff. We listed it on Craigslist and sure enough we got some bites on that one as well. Several of them fell through before we actually caught one but finally someone showed up and I helped them load it into their truck.


While we were loading it up they asked about the cobblestones we had, which had previously been around the mulch beds around our trees, and I made them a deal on those as well. We had already talked about wanting to find a different solution for those so I was happy to not have to list those separately, or lug them around anymore.


So that's the story of how we got rid of our cracking, crumbling, pointing in the wrong direction sidewalk, AND made a pretty penny doing it! Anyone else have any fun Craigslist stories? Or advice on what to do while waiting for grass to grow? Seriously, we're just twiddling our thumbs here.