Showing posts with label Painting. Show all posts

Wednesday, June 25, 2014

Take A Dip

This is one of those Projects That Almost Wasn't. Not quite dramatic enough to make the Pinterest Fail page... but it definitely didn't work out exactly the way I had intended.

Our house came outfitted with these lights:


Bland. 

Meh. 

They're fine. Whatever. 

They could be lots worse:


We have a double set in the bathroom that I gave the teeny-tiniest update to:
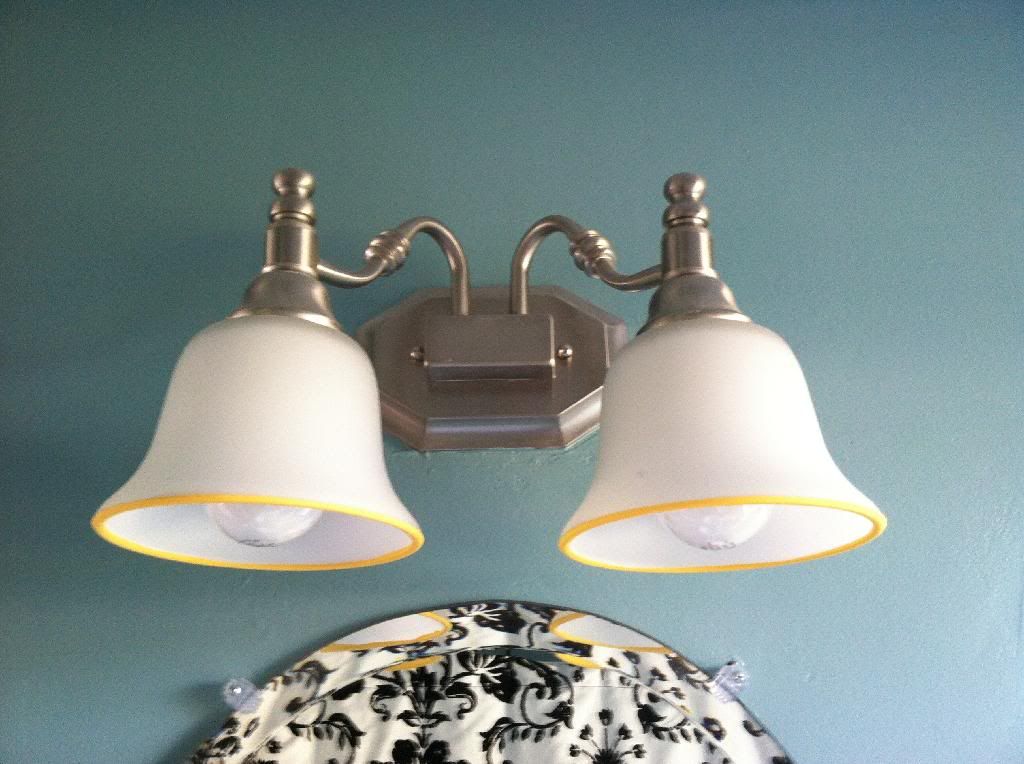


Just dipped the rims in some yellow craft paint. I think they're kinda cute. 

Our hallway also has one of these light; a single one:


Now, I think this light is kind of odd to begin with. It looks stuck there, almost like an afterthought. Which it may well have been when someone realized that the space needed a light but the ceiling space is taken up by the door to the attic.


One day, if we put in stairs, we will get rid of the attic door and replace it with a real ceiling and run wiring for an actual hall light. But that is a good ways off. We've casually looked at wall mounted lights to replace this one, but we haven't seen anything that we really loved. To me, a lot of them just look like a porch light that you put inside. 

So, while we're waiting, I decided this light needed a tiny tweak. I thought it would look cool to dip the shade in white 
paint, similar to the bathroom light but...more!


I assumed that I could just dip the shade into the gallon of white latex-based paint that we had kicking around in the back of the closet. But...


...the shade was too fat. 

So, I thought, I'll pour the paint into a wider container (aka: a glass pie plate, cause...why not?).


It didn't coat as much of it as I had originally wanted, but I was just going with whatever worked at this point. (Inside I was already thinking, "I have ruined this lamp shade. It was fine bland and now I am making it aggressively unattractive.) 

My plan had been to hold the shade until the paint was set enough to leave it upside down on the table without it dripping. 

Well, no dice. 

If I had been smart, or just patient, I would have waited until Joseph was home so there was an extra pair of hands for lamp holding/child-minding.

But, lest you forget, I like to do things NOW! (Because my interests are mercurial and I am easily distracted.) 

So, thinking the paint was probably set "enough", I put the shade down so that I could change a diaper/fix a snack/play Firemen. 

Spoiler: it was not. 


When I checked on it a little while later, this is what I found:


I promptly texted Joseph:

Me: AHHHH! I can't do this! I ruined our boring light! And everything is painty and I'm a terrible person!

(Or something like that.)

I also sent him the above picture. 

He sent back:

Joseph: I'm confused because what you said sounds like it didn't turn out but the picture looks awesome.


...

How sweet. 

To me, it looked like Albino Cthulhu was eating my lamp shade.


Rrraawwrr! Nom-nom-nom-lamp...

I decided to just let it dry fully and then see what I could do. 

I knew I was going to have to remove the paint that had run down the inside of the shade; I didn't want to have swapped out a bland lamp for a fire hazard.  Once the paint was dry, I tried just peeling the drips off to see what happened. 

Oh, the magic of latex paint on glass; they came off perfectly. I still wasn't sold on the drippy look, no matter what my enabler supportive husband said. So, on a whim, I took a paring knife and, veeeery carefully, ran it around the top of the rim of paint, just below where the drips started. 

I don't have any pictures of this step because I was pretty sure this was A: not going to work, B: ruin my shade or C: all of the above. 

But, surprise, it did!

Pretty much. 


It's not exactly the "dipped" look I wanted, but it's much better than I thought it was going to look about halfway into this project. 

I hope writing this experience down will help me remember that, in the world of DIY, not everything works out perfectly. And for every amazing thing on Pinterest, there are dozens of "fails".

And we should hold up our mangled, gluey ball of twine (or poorly painted lamp shade) and say, "Yep. I tried. It didn't work.  I'm awesome anyway."


Wednesday, June 18, 2014

Chalk It Up

"Chalk it up....chalk it up, you'll never stop..."
(Apologies to the Stones. And to anyone who heard me singing that while I worked on this project.)

We posted this picture on Instagram last week:


With the caption, "Consider our tickets for the Chalkboard Bandwagon purchased". 

Well, that was our ticket and this is our souvenir:


Our Awkward Wall is now our Chalk Board Wall!

A few weeks back we asked you guys some "Awkward Questions" and discussed our options for this weird little space. We got some different suggestions, but, ultimately, we just couldn't resist the siren call of the chalkboard paint. I mean, all the cool kids are doing it. 
All the cool kids also have tutorials on how to do it, which is great, so we'll keep the how-to portion of this post brief. 

(The directions on the can are pretty straight forward, as well.)

Essentially, we wiped down the wall with a damp rag (to get rid of any lingering dust or splotches that might keep the paint from adhering) then went over it again with a dry cloth. 


When it was fully dry, we applied the chalkboard paint very thinly with a two inch brush. A small roller would probably have worked well, but we didn't have one on hand and it's such a little space, we didn't feel like it was worth it to go out and purchase one. But if you've got one, great! 

Here's what it looked like after one coat:  


Lookin' good....

Well, maybe not...


The directions say you can recoat in four hours, so that's what we did! We were careful, since we were just using the brush and not a foam roller, to keep our brushstrokes going the same direction, up and down, to avoid overworking the paint and leaving splotchy marks. We also worked from top to bottom, so we weren't leaning against wet paint while we worked on the top. 

And here it is after the second coat: 


Much better. 

We assumed we'd be doing a third coat but, it looked so good after two, we called it done. 

A few things we noticed about the paint itself: it's pretty thin. We were expecting the consistency to be similar to regular house paint, but it was much waterier. Which meant we had to be mindful of not loading up the brush with too much paint so we wouldn't drip. Also, probably because it's so thin, it dries very quickly. The container says it "dries to the touch in 30 minutes" but we noticed it drying while we were still painting, probably less than ten minutes, which is why we were very careful about working in one direction. 

After the second coat was fully dry, it was time to "prep" or "condition" the chalk board. (This makes the board more "eraser-friendly". If you don't condition first, the chalkboard can just kind of soak up the chalk while you're drawing and it much more difficult, sometimes impossible, to fully erase. Conditioning it gives the new, "thirsty" chalkboard something to soak up first and keeps your drawings from "sticking"; almost like oiling a pan.)

Anyway, we grabbed some white chalk (you can use any color, but we thought white was a little less messy.) and, for easier clean up, we threw down an old sheet to catch some of the chalk dust. All you do to condition your chalkboard is rub the chalk aaaallll over it. We did it once vertically:


And once horizontally:


Til we had a beautiful blizzard happening. (It took about two full pieces of chalk.) 


And then took a soft rag (we actually used a dust cloth) and rubbed all that chalk in. 


This was messy. There was lots of chalk dust. It was not enjoyable. 

But it went quickly and the clean up was a breeze (just ball up sheet, throw in washer) and then...


...it was done!

And you know I just had to break it in...


What? Do dishes while my kids nap? Pay some bills? Nah, I'm just gonna doodle over here in the corner. 

And then someone else wanted to test it, as well. 


"This is Saturn," he told me. "And here are it's rings. They go round and round and round and round..."

Yeah, we're having a good time. 

Tuesday, May 27, 2014

All Dressed Up


Note: apologies for the terrible pictures in this post. It was a "put down baby, take picture, pick baby back up" kind of photo shoot. Also, I didn't do anything to "style" this project, which another reason why the pictures are kind of sad. But, considering what usually lives on top of this dresser is our (10 year!) old television and that television's antenna, the bare surface is actually an upgrade. I love you guys and hope you will forgive me for this post's lack of sparkling visuals. Man, a new t.v., we have got to get on that...

Some of you may remember us posting this photo a while back:


That was the morning I looked at that dresser long hard and thought, "Something's gotta change...and that something, Dresser, is you".

Well, a month and a half later...here it is!


Okay, not the most mind-blowing furniture update, but it's a little fresher, a little brighter and (except for one part, which I'll get to in a minute), it was quick and easy. 


To start off, I removed the knobs. A simple task, I just held the screws in place with a Phillips Head screwdriver and unscrewed the knobs from the front. 


Then I removed the screws and put them in a cup while I was working on the knobs, because leaving them exposed turned the dresser into a terrifying Medieval torture device.

I laid the knobs out on some cardboard we had kicking around and gave them four very thin coats of white, high-gloss spray paint, waiting about an hour between each coat and alternately flipping them over to make sure I got good coverage. (I probably didn't need to wait an hour between coats, but, because they're something that's going to see a lot of handling, I didn't want to risk them being even the slightest bit tacky or drippy.) 

After they had dried fully ( I let them sit on the porch til they didn't smell like spray paint anymore; about two days. This also ensured they were super dry), it was a simple matter of remembering where I'd put the screws inserting the screws and attaching the knobs back on to the drawers. 

Here's what it looked like:


Originally, I had just planned on doing the knobs, but the too was looking in need of a little...something. 


So, I thought, why not? And painted the top, too!


I wiped it down really well to get any residue off, then sanded it lightly, followed by another wipe down and then three thin coats of Behr Pure White in Semi-gloss. (The above picture is one coat in, which is why it looks terrifying.)


I think it's pretty cute. And one of those projects where the effort to result ratio weighs pretty heavily toward the "result" side; I always like those. 

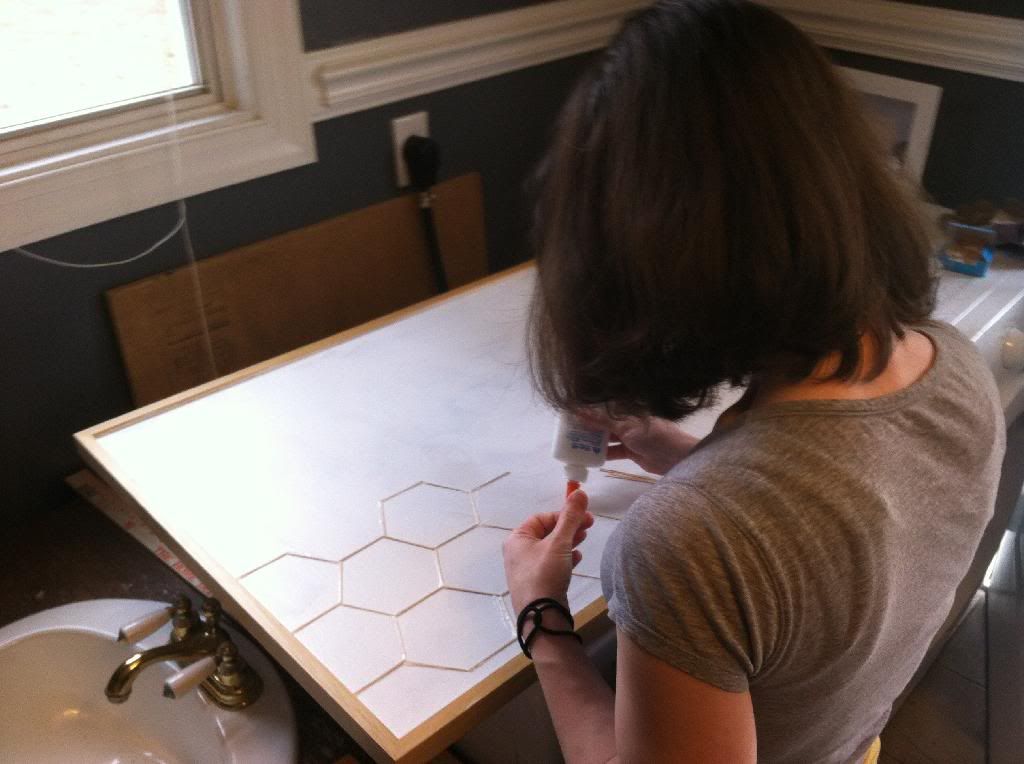
I should say that, since I can never seem to leave well enough alone, I am adding a stenciled pattern to the top:


It's slowly progressing; five minutes here, a half-hour there. Hopefully, it will be done soon. Then we can seal it and post actual finished (!) pictures. 


Anyone have any projects that they've done with a high result to effort ratio? I'm always looking for something I can knock out in a couple of afternoons (with help from the Nap Fairy) that just makes things pop in a new way. 

Thursday, May 22, 2014

Frontin'


We've talked about it before, when we got our trees cut down and also when we excavated the sidewalk, but we've sort of danced around a lot of the details. Today will change all of that. 

Today is about what we've done to the yard so far and why, as well as what we plan on doing in the future.

 
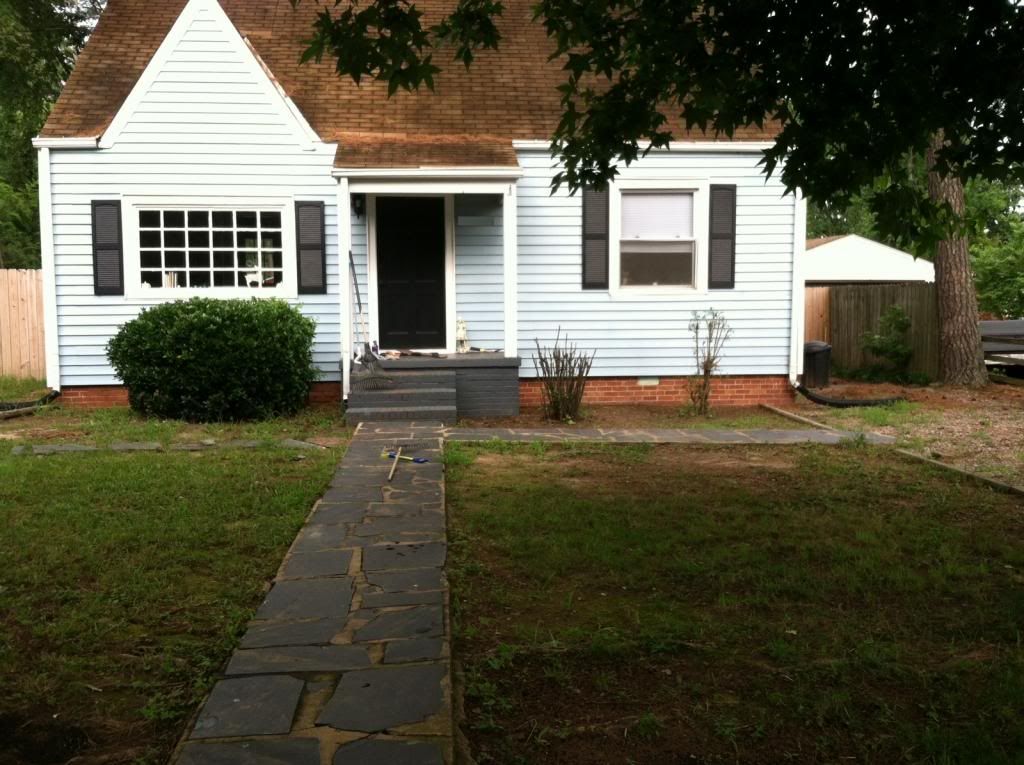
We have some drainage issues. Nothing serious; no pools of water in our crawl space or moats containing crocodiles. Our street is on an incline and we're somewhere in the middle, which means we see a lot of water pass our yard but we also see a lot of it stop and stay a while.
 

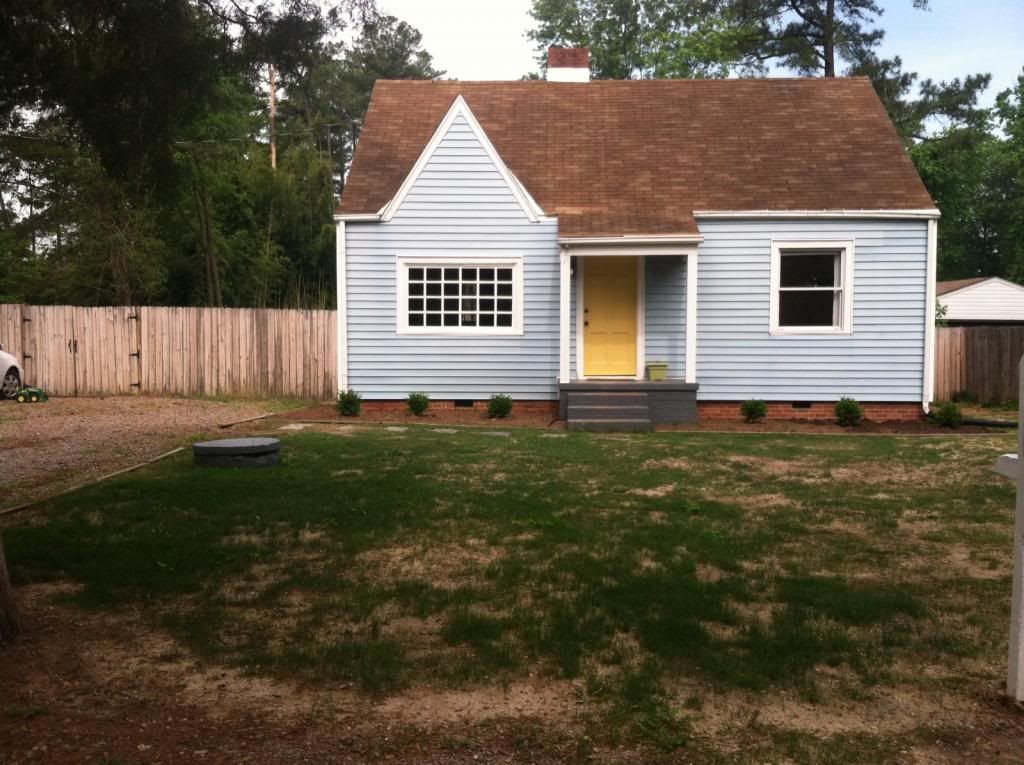
It might not look like it but this is a pond waiting to happen (especially in that bare spot on the right side near the walk).
  

 Our goal was to put an end to this. It's kind of a long train of thought, but, humor us, hop on board! It goes like this: These giant trees don't allow the yard to get enough sun which means the grass can't thrive, which means when the water sweeps in it erodes the soil. 

So the first step was to get the trees down. Once that was done we thought it best to raise the level of the yard so that the water didn't feel quite as welcome. This meant the sidewalk needed to be removed so it wasn't underground after we added dirt. Once these two projects had been completed we were left with a muddy dreary, wintry, mess of a "yard". 


I didn't edit the coloring of this picture. Even the sun was sad about our yard.


Blech.

So, in early spring (yes, yes we know that's not when you're supposed to do this. Our timing was less than perfect) we bought a truckload of dirt. It was the biggest truckload they sold and probably ran us about $275. It was actually pretty difficult to acquire because it was so rainy that the dirt sifters couldn't handle the dirt being so wet and we actually had to wait a few weeks before we could get ours. They dumped it in the yard and we got to work.
 

This picture doesn't do the size of that pile justice. It went on forever.
 

Initially we had plans of doing it perfectly, but as we shoveled and raked the dirt out and tried to get everything done before summer came we began to let go of visions of getting out there with stakes and twine and levels and bow rakes and transforming it into a perfect zen garden front yard with trowel marks curving gently around awaiting the planting of our grass seed. 

Instead we just spread it out. And eyeballed it. And called it done. 

It's not exactly level. But that's okay. We figured this was more of a phase one deal anyway. We'll come back later and add dirt here, or remove some there.  It's a work in progress. 

After the dirt was spread, I ran around with a tamp pretending I knew what I was doing. Tamping here and there but not exactly everywhere. Then we ran around with a hand crank grass spreader and covered everything in seed, raked a little, and waited. 

And watered. 

And waited. 

And watered. 

And then we got nervous. 

Did we do something wrong? We didn't use straw because the guy at southern states said it wasn't necessary! Should we call them? Did we wait too long? Is this seed defective? The birds didn't eat it all, I can see it right there!

Finally we gave Southern States a call to ask them what was up. You know what was up? Not the ground temperature that's for sure. Apparently, the ground temperature needs to be consistently above 50 degrees for the seed to do anything. All that hurrying didn't amount to a hill of beans with an unexpectedly cold spring. 

So, armed with some other pointers we got back out there and did a little reseeding in a few areas, did a lot of raking to stir up the dirt and make it more habitable for the grass seed, got on a better watering regimen, and as the temperature rose we started to see some baby grass come up.


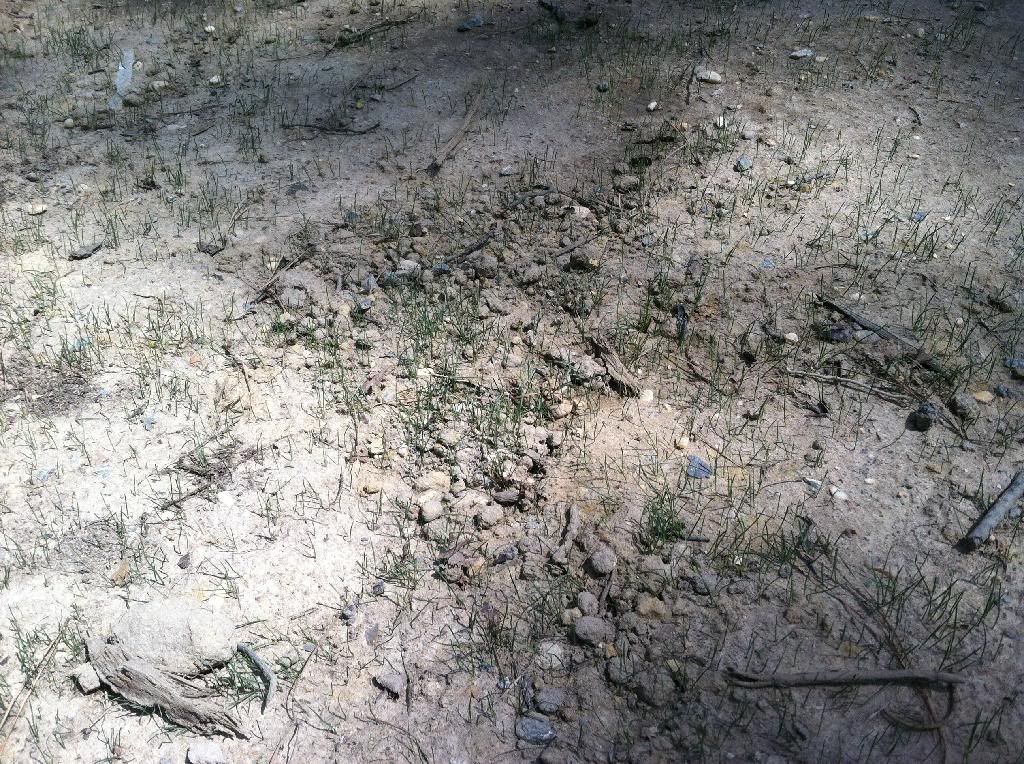
It was so sparse at first that it was still a tad disheartening but we just kept watering and now we have this:


It's even nice enough for Alice to enjoy it a little, though she seems a tad skeptical.
 

There are still plenty of bare spots but we knew we'd have to reseed in the fall anyway (which is really when you should be doing all of this). 

We got so jazzed about our grass that we started to work on other things out there as well. 

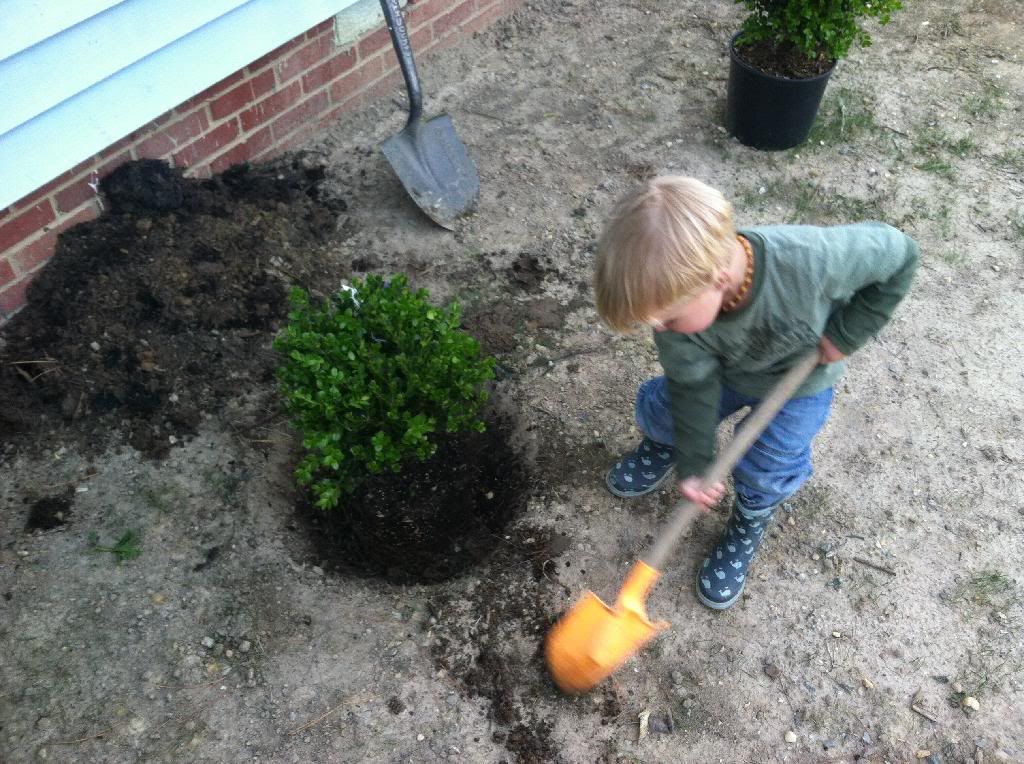
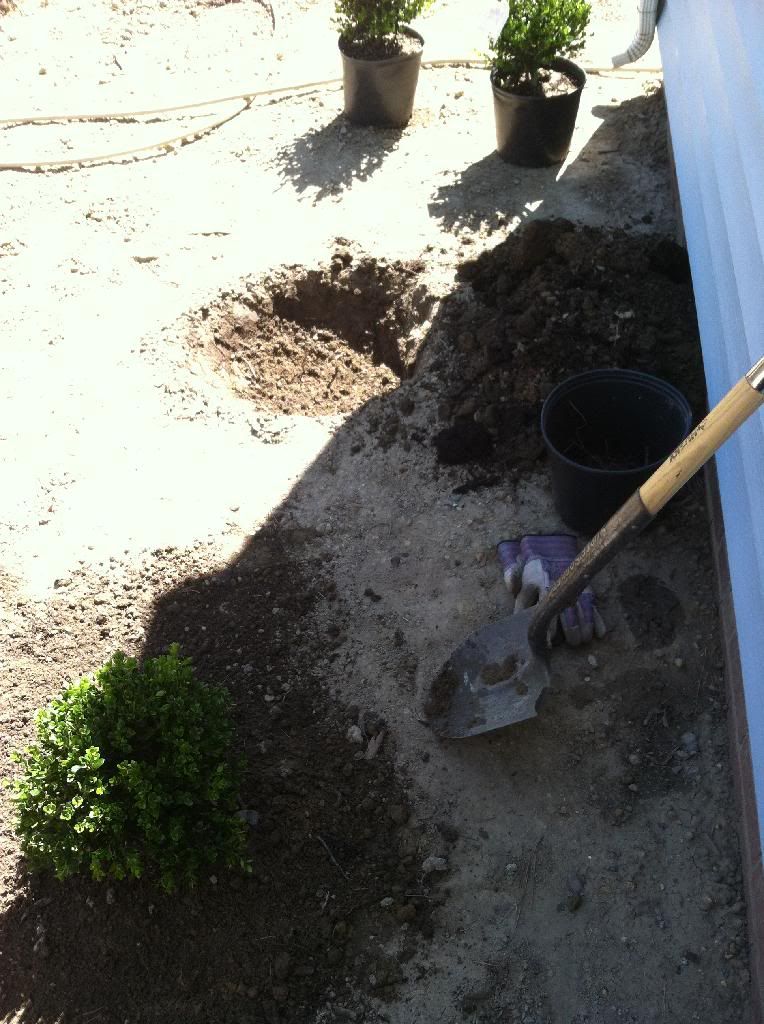
Meredith painted the well and we planted some boxwoods across the front of the house and redid the mulch beds that we had lost when we resoiled.


Worker man doesn't have time to stand still for a picture. Blurry pictures on your blog are not his concern.

 
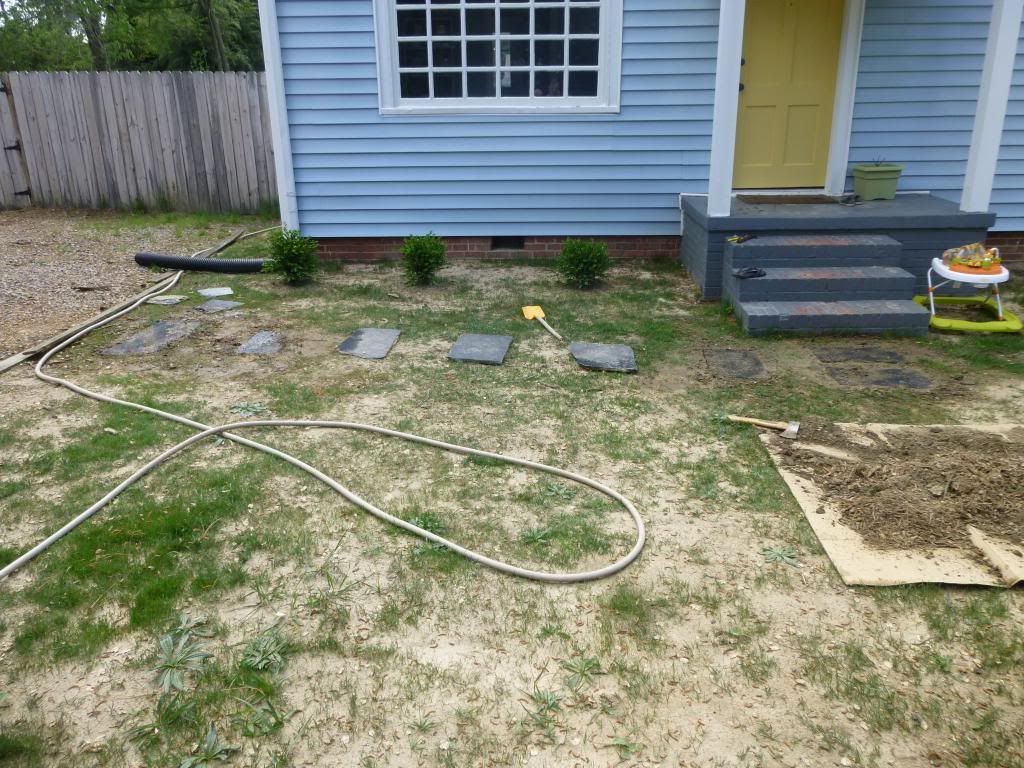
We also temporarily laid some slate for a walk. 


We basically just outlined each slate and then dug up the area underneath (similar to how Young House Love installed their much more precise/professional looking walk). We threw down some more seed around where we dug up but don't expect it to do much over the summer. We sold all of the slate from our first walk so we pulled this slate out of the short bit of sidewalk that we had at the bottom of the stairs on our back porch. 

And what did we find under that walk?

Another sidewalk!
 

This is me grimacing at the sense this makes.
 

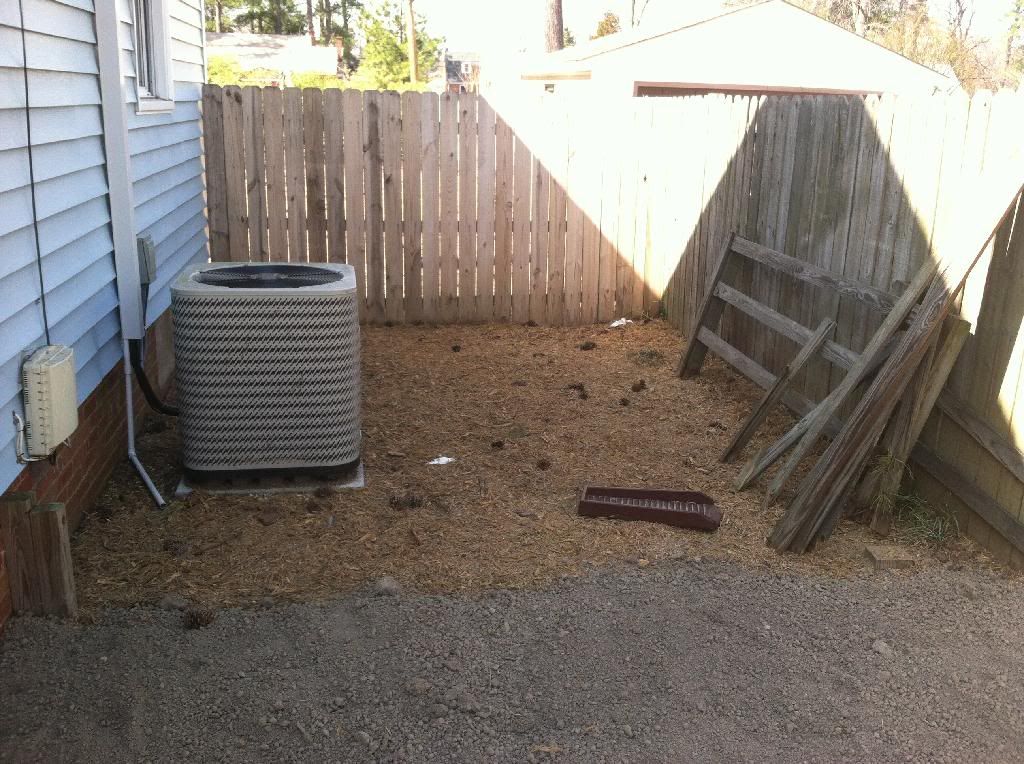
As far as future plans go we've been throwing around ideas and we think we're going to change things around quite a bit. As you may have noticed we've already gotten rid of the smaller driveway. It just didn't seem necessary and cutting a little extra grass is more appealing than maintaining a useless driveway. This left us with a small unattractive, grass-less section, where the air handler is but we realized that if we move the fence up about six or eight feet all that stuff will get shifted to the back yard and the fencing would then be even with the other side of the house. So that's the plan for over there.


We took down a lot of the short fence bordering the small driveway when we found out it was ours, since it was falling apart anyway. Now we are going to replace it with a cross beam fence that would wrap around the front of the yard to the driveway and then a small section of it on the other side of the driveway to balance it out. 

Rather than redo the sidewalk that went to the street we're just going to have a sidewalk that goes to the driveway. The only thing we used that sidewalk for was to check the mail and if we move the mailbox to the end of the driveway we don't need it at all. This should save us quite a bit of money when we finally lay a more permanent walk (we're thinking brick, to match the steps and foundation) as well as get rid of an unnecessary feature that cuts through the yard.

But for now here we are. One driveway, six scrawny hedges, and eight trees down. Six boxwoods up. A slightly improved well. Dirt. Mulch. Some grass. Temporary mulch bed dividers and a temporary walk. We're feeling pretty confident that we'll actually make something of this yard. One day soon we intend for this to be the most charming yard on the street.


Right now it's in that "awkward phase".

Monday, April 21, 2014

It's the Little Things

So after our recent string of big projects like putting up board and batten, pulling up the sidewalkgetting all of our trees cut down, and covering our yard in top soil and reseeding it (maybe we'll do a post on that once the grass has fully come in) we haven't been terribly keen on jumping into something huge. Instead we've been working on small things, or doing some small steps for things that have been sitting on our to-do list forever.

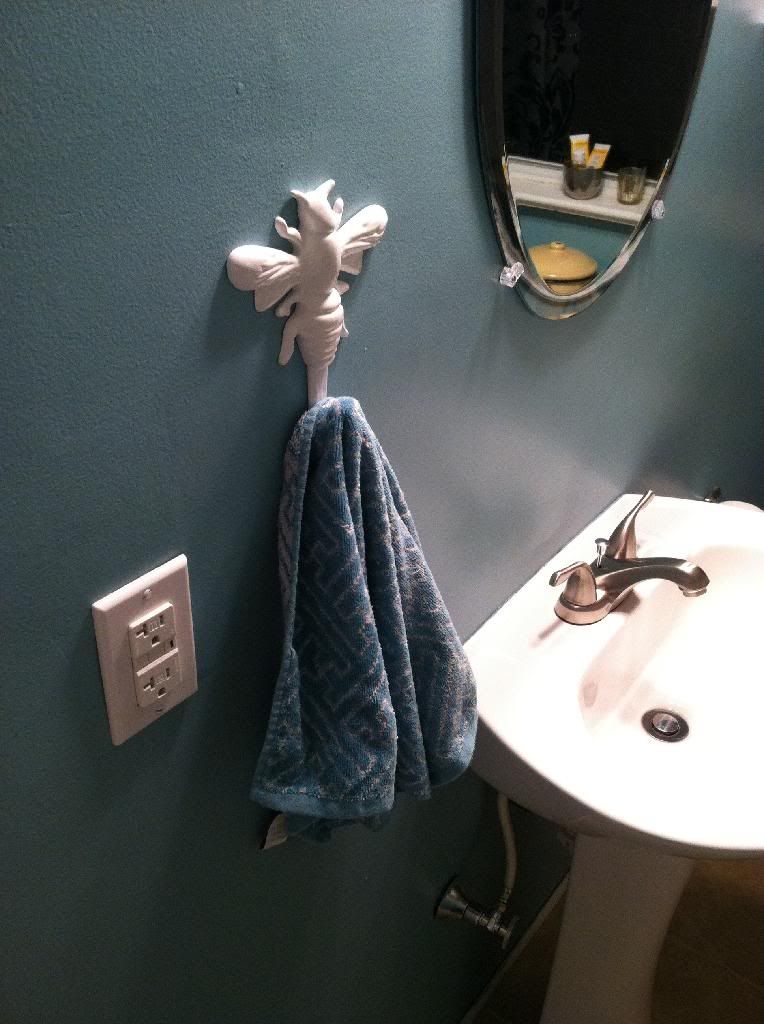
We picked up a wall hook from the Young House Love line at Target to use as a towel hook in the bathroom.


There's kind of a bumble bee theme in there so it was perfect.


Whatever you want to say about the energy efficiency and long life of those twirly new fangled light bulbs they are huge and ugly. Meredith replaced the ones in our bathroom with some standard old school bulbs and they look better, their light is better, and they don't make a buzzing sound (I don't know if you've ever noticed but those new bulbs hum). She also added a little detail on the rim of the lamps that looks quite nice.


Ain't it purty?


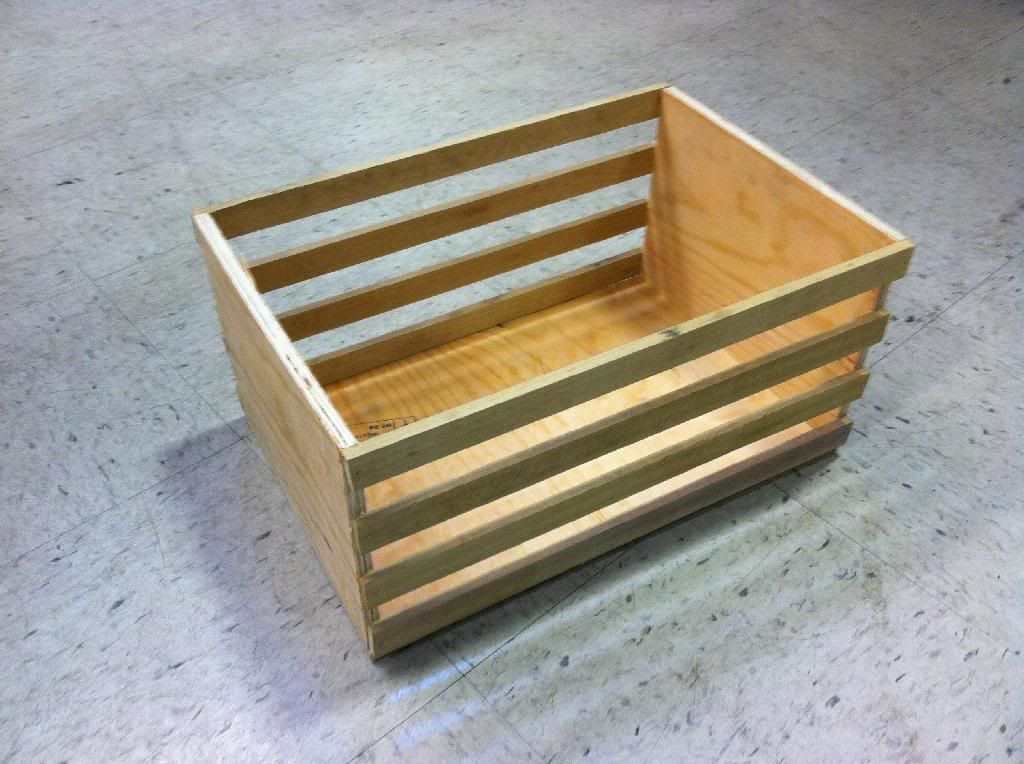
Meredith liked some decorative mud room/shoe storage options she saw online that utilized wooden crates so I made one out of scrap I got fo' free at work.


That's right, I saved us like five bucks! Really it was just for the fun of making it.


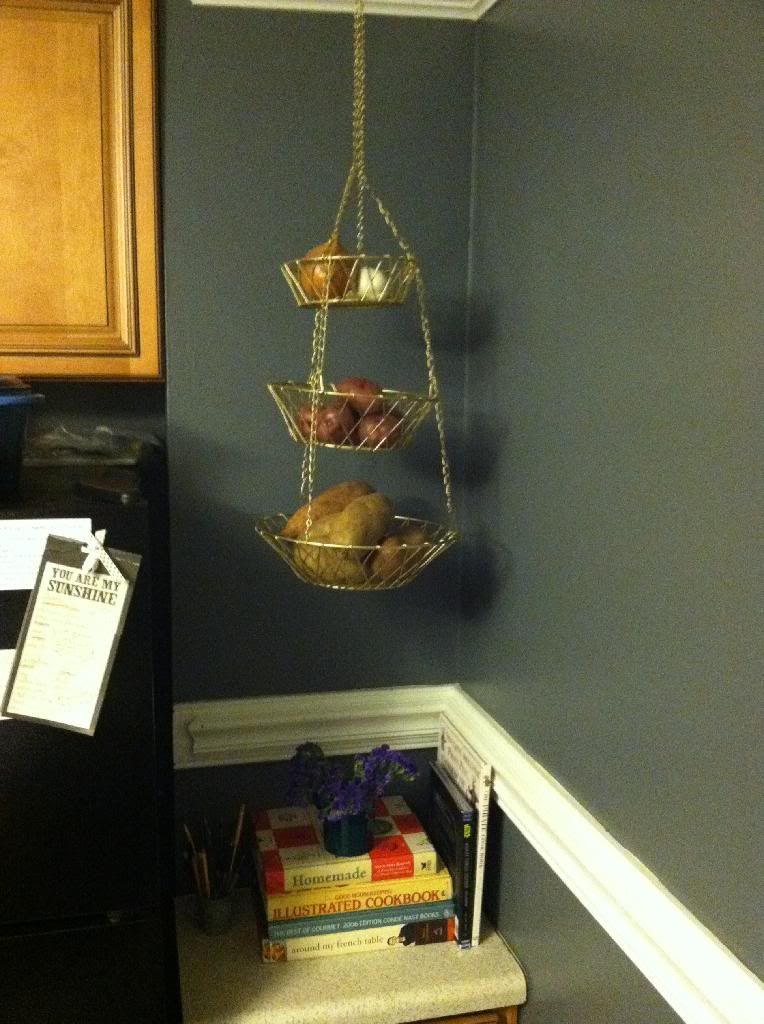
We hung this fruit basket that Meredith painted gold in our kitchen. Now this space feels more useful and we don't have to have as many bowls of produce taking up all of our counter space.


The observant nerd will notice The Wookie Cookbook amongst our more traditional cookbooks.


Meredith started some artwork that will be revealed as soon as she completes it and we think of a place to hang it.


Steps have been taken to replace the old ugly hedges we removed shortly after we moved in. This is only about halfway done so you'll have to wait for the full reveal on this as well.


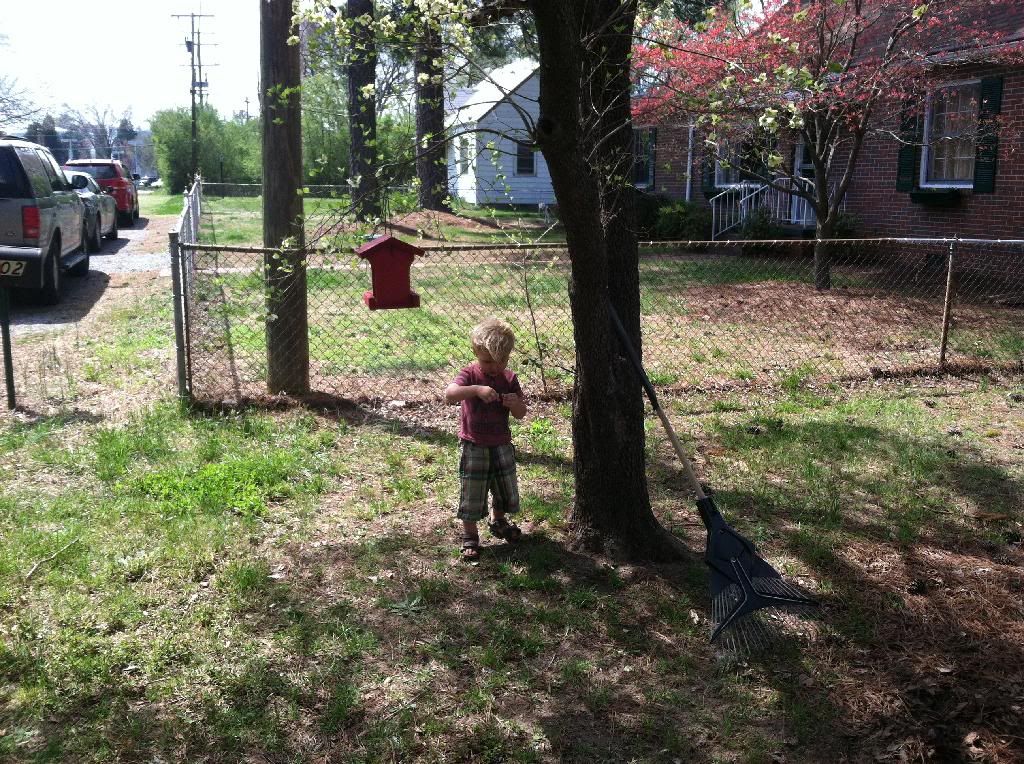
Grayson and Meredith painted and hung this adorable bird house which I think adds a nice homey touch to the front yard.


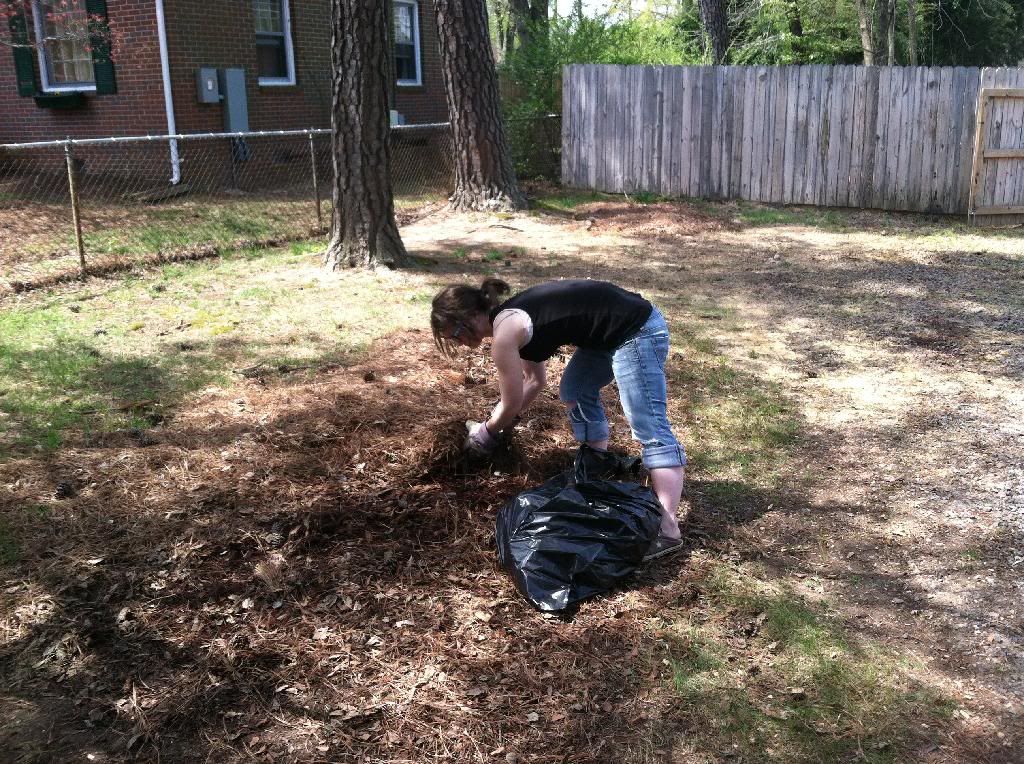
We've started to remove the piles of pine needles we let sit all winter. After ten bags and not even being half done I'm really starting to feel this shouldn't be consider a "little thing"...


So. many. pine needles.


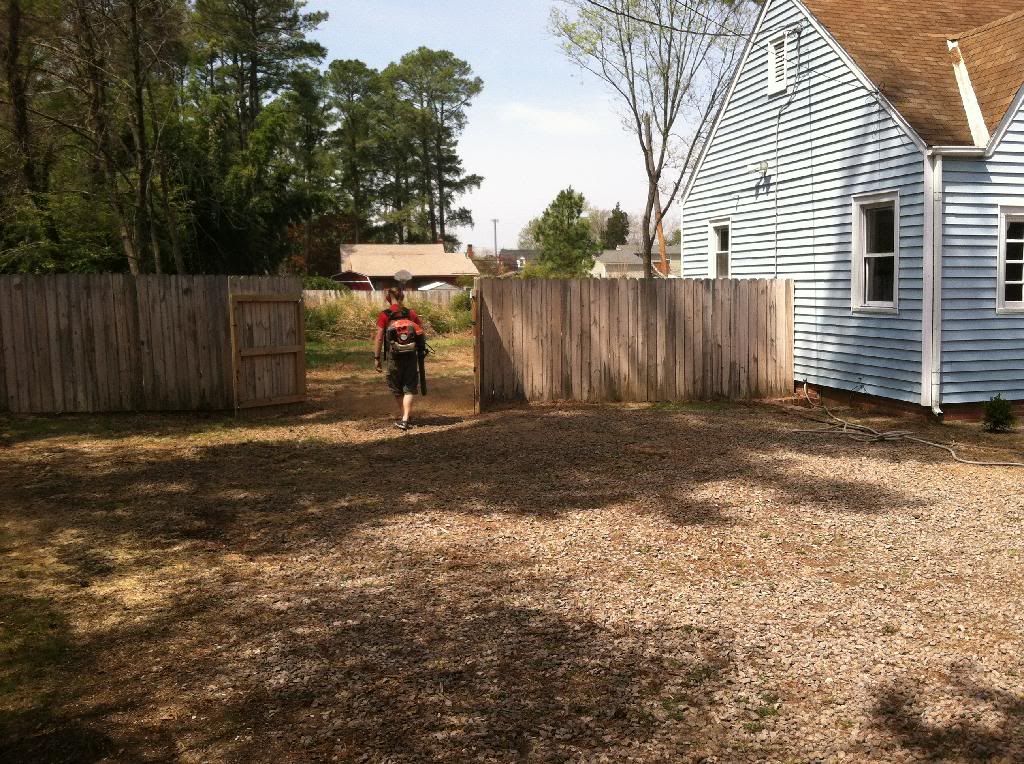
Meredith's brother Jesse was kind enough to come over with their dad's industrial strength leaf blower and blow off the driveway. After getting the trees taken down it just looked like a mess. Thank God for fathers-in-law with overpowered tools and brothers-in-law willing to wield them.


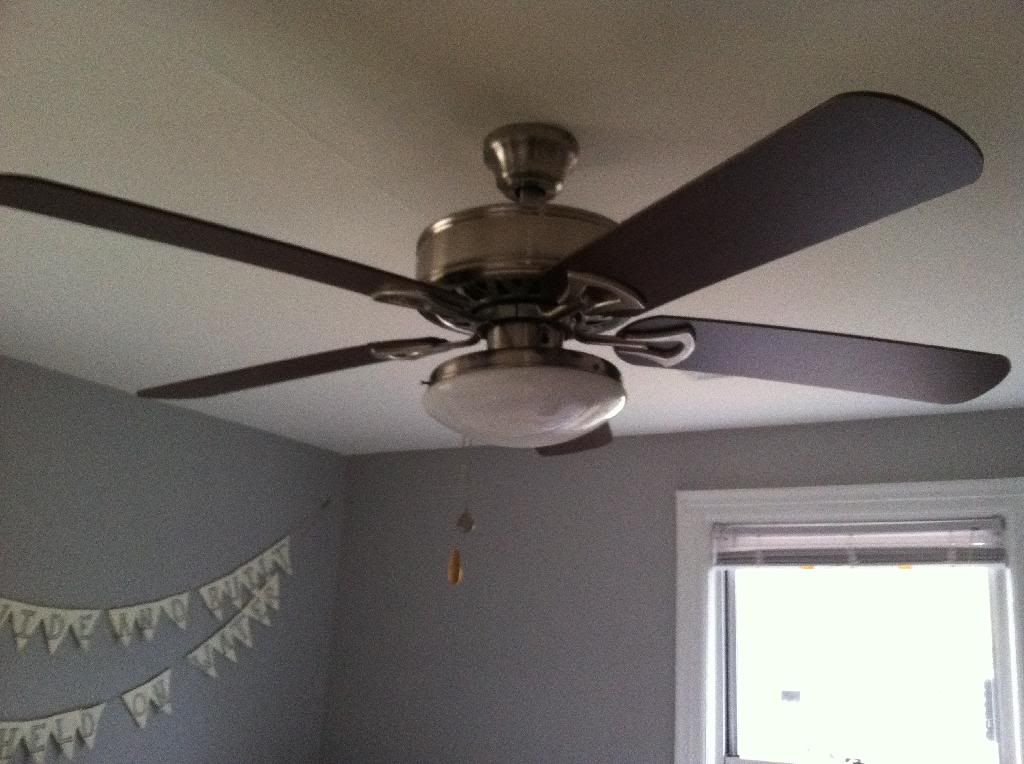
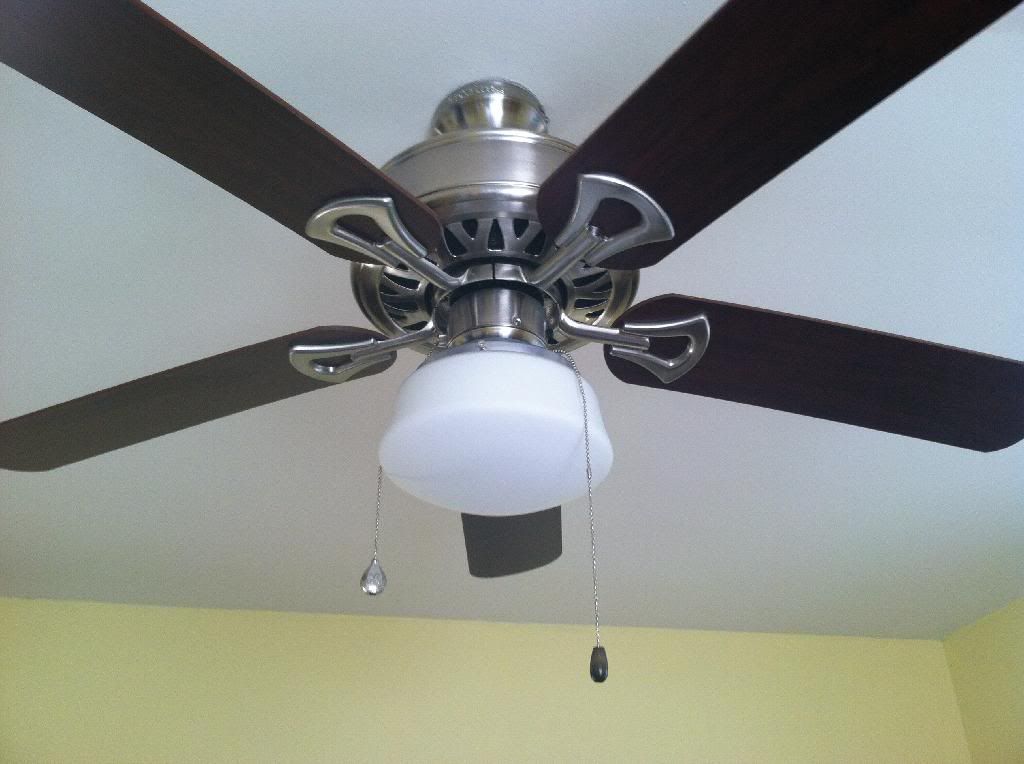
We added light kits to both bedrooms, which HOLY CRAP MAKES ME WONDER WHY WE HAVEN'T DONE THIS BEFORE.


This one was actually the wrong color (we got it on clearance at Decorator Outlet) so we painted it silver. It's not a perfect match but we just wanted it up. We'll probably fix it later.


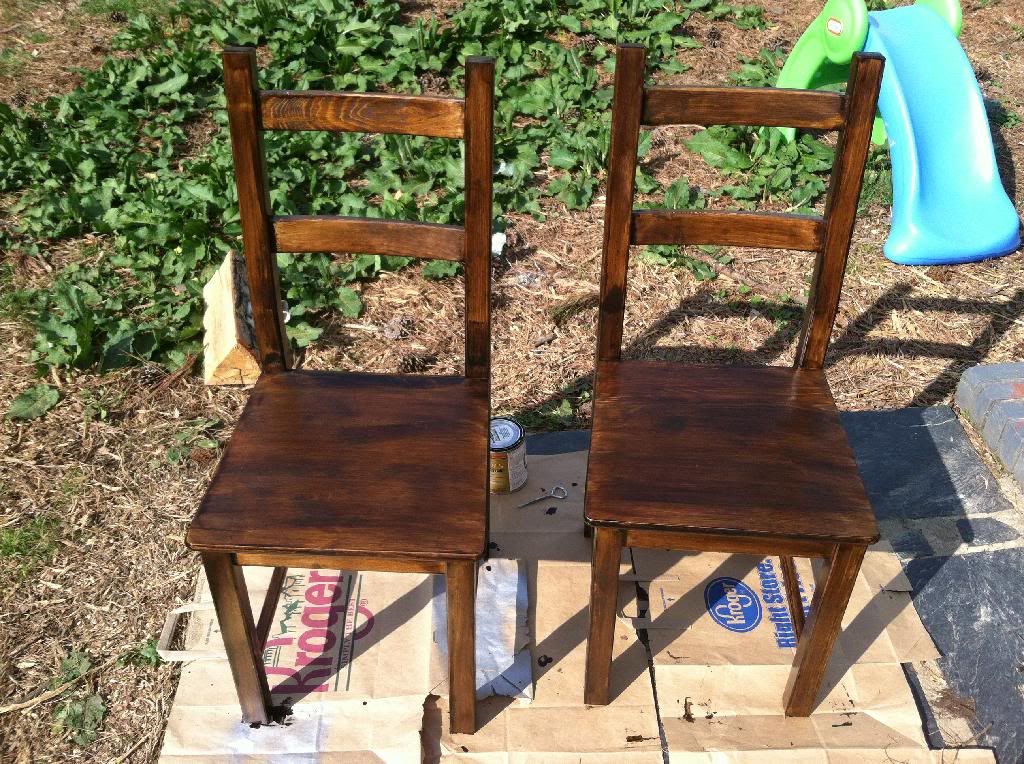
We stained two of our dining room chairs. Just two of them because, frankly, we need a place to sit. Once these have a second coat and get sealed we'll do the other two.


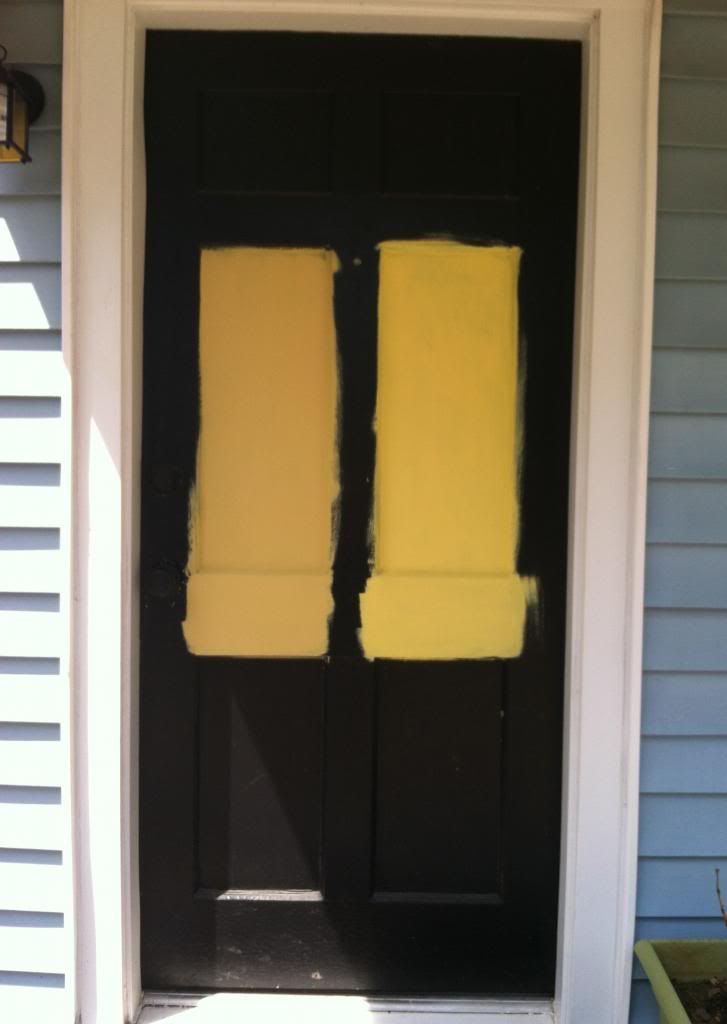
We got some sample colors on our door. I actually really like the idea of a black door for some reason but it's just not the right choice for this house. We'll probably go into more detail about our choices when we complete this project but here's the two samples Meredith painted on. Guess which one we're going with?


And of course I saved the best for last. The most important little thing that's happened, and the one we're most excited about is our new baby... grass!


YAY! GRASS!
 
 
Have you knocked anything off of your to do list lately? Big things? Small things? Care to hazard a guess which paint color we picked?