Monday, April 28, 2014

Some Awkward Questions ...

So, we've gotten to know each other a little bit better over the past few months. You've seen our good side our not so good and our chocolate doughnut side:


I feel like we've gotten to the point in this relationship where we can ask each other some awkward questions. You're really wondering where this is going right? Well, don't worry! Pop some popcorn, flop on a sleeping bag and put your best Karen Smith expression on...


 I'll go first.


This...is awkward:


And, honestly, it has us a bit stumped.
This weird little wall cut-out is part of what used to be the chimney. The wall here is actually still made of brick that has been plastered over, which makes hanging something here a bit more challenging. But not impossible. We've considered a mirror. Either full-length or something smaller and more decorative. My only thought with that is this wall faces our bedroom door and I'm not sure my confidence could handle stumbling out of bed every morning and being confronted with my own squashy faced bed-headedness.
The other option we were considering was painting the recessed section with chalkboard paint and maybe adding some wooden strips on the edges to create a faux framed look.

Like this:


via


I'm a little hesitant to jump on the chalkboard paint bandwagon, but I do think they're fun and it would be a great place for random bursts of creativity. Always important.
So, what do you guys think? Originally, I think the plan was to continue the Board & Batten into the space and just kind of...pretend it wasn't there, but we are also open to other, unconventional, ideas. Maybe inserting a panel of lattice for an easily changeable kids artwork or photo display? Oh, the possibilities!
While we're on the subject of "awkward spaces", this confounds me:


It's so wide. And empty. It begs to be filled with something but...what?

A picture wall?


Honeycomb shelves?


via


Would that push our house over the edge into "too much bee theme"?

A velvet Elvis?


Okay, not that last one. Joseph would never go for that.

But maybe one day, Velvet Elvis, when I have a craft room of my own...

One day...


Does anyone else out there have any "awkward" spaces in their home? How have you dealt with it? Strategically placed plant? Lamp? Hung a Velvet Elvis so everyone is so distracted by The King that no one notices the awkwardness? (Or anything else about your home, for that matter?) That's it! My new solution for it all: Put a bird Velvet Elvis on it!

Thursday, April 24, 2014

Four Years

Four years ago today, I married a wonderful man with whom I now share a little house:


this wonderful boy:


this adorable girl: 


and all the other fantastic challenges (and containers of Bluebell ice cream in the freezer) in my life. 


Happy Anniversary. 

Wednesday, April 23, 2014

Buzz, buzz....

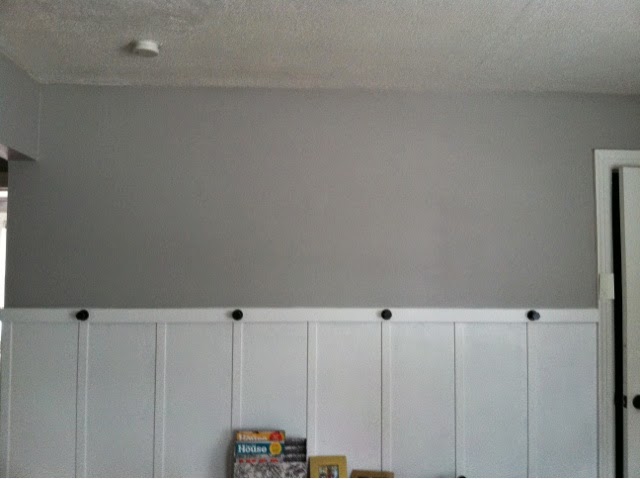
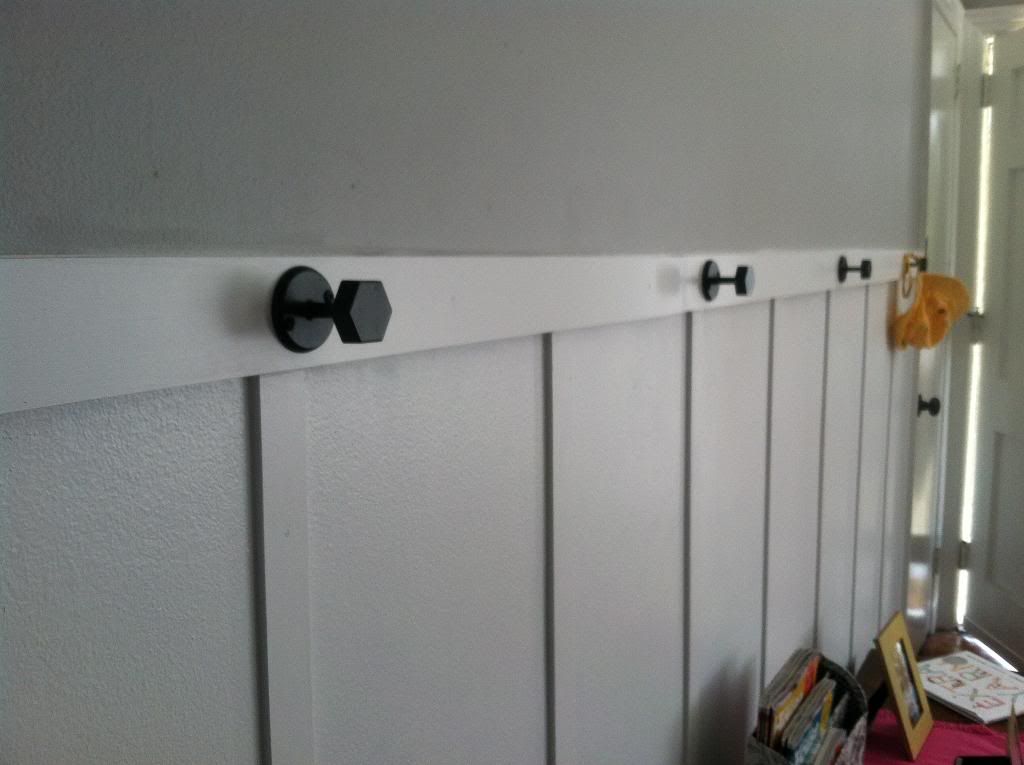
Thank you, everyone, who weighed in on The Hook Dilemma on Saturday. The results are in (and firmly attached to our wall). We chose....


...these! Ta-da! 

I think these won in the popular vote as well. We ended up siding with them because, to me, they looked a little more substantial and a little less awkward hanging there, empty, waiting to be useful...
The line of the other hooks going down the wall was kind of giving off a weird restaurant "hang your coat and right this way, please." vibe. But we really did like both of them. 

Hexagons = totally the new chevron. 

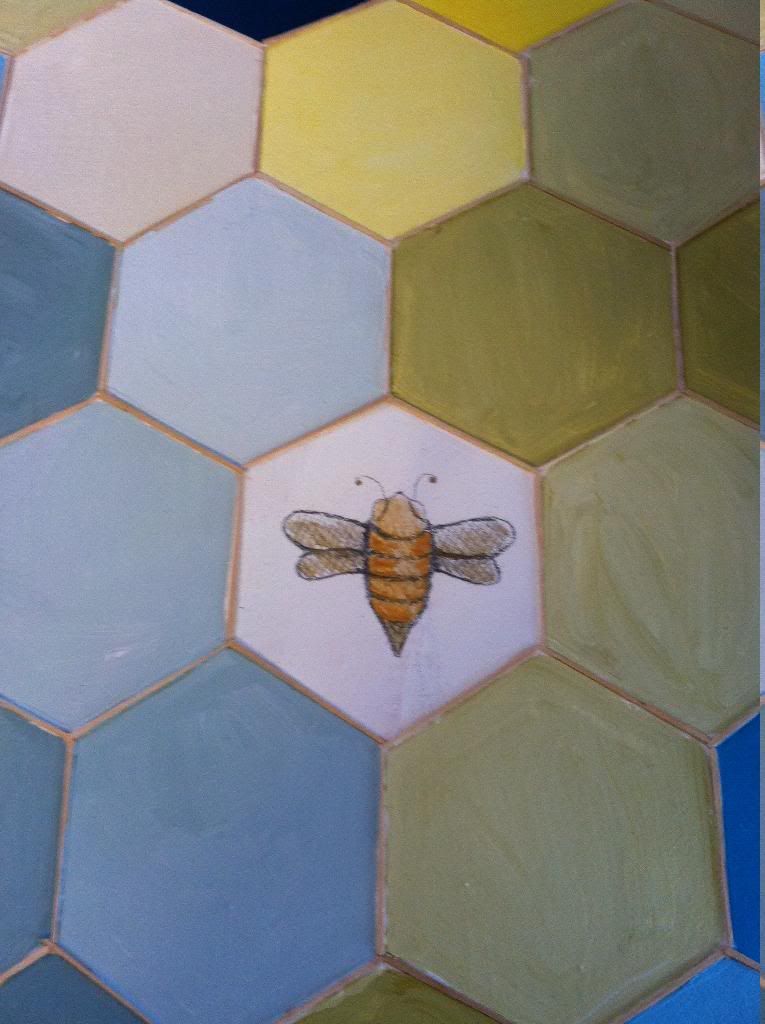
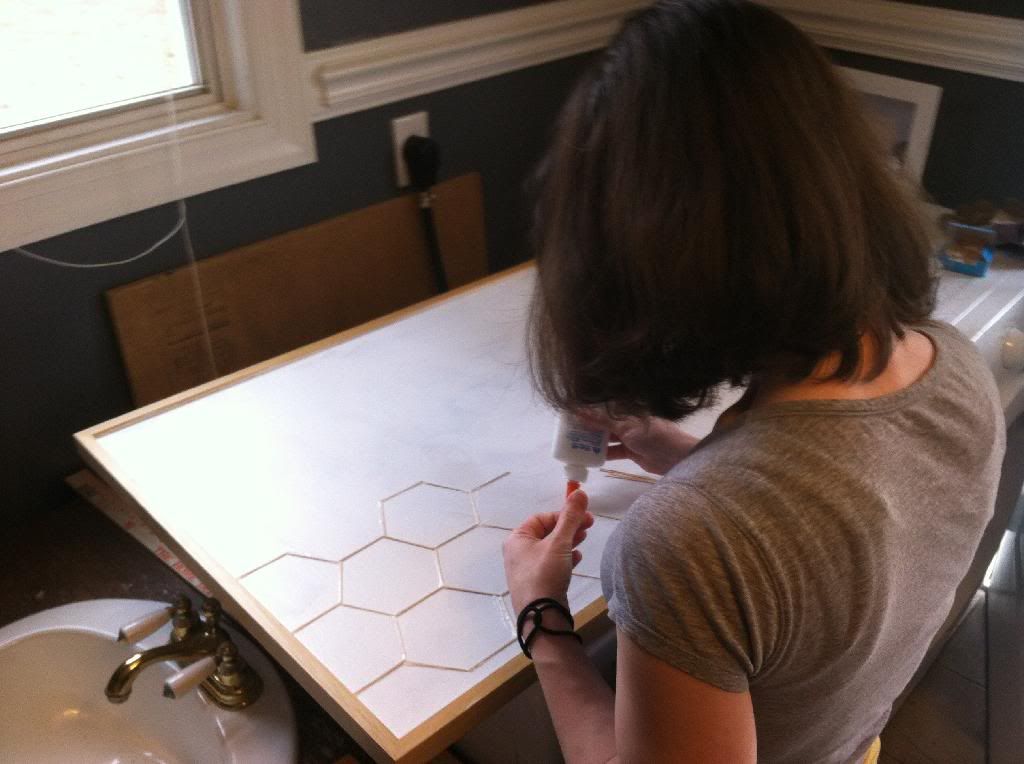
And speaking of hexagons, I made this last week:


After becoming obsessed with Mandi's hexagon wall but knowing I was neither skillful nor brave enough to style an entire wall, I decided to craft a similar look on canvas using left over test pots of paint and toothpicks. 


It was a lot of fun and I think it's kinda cute. 

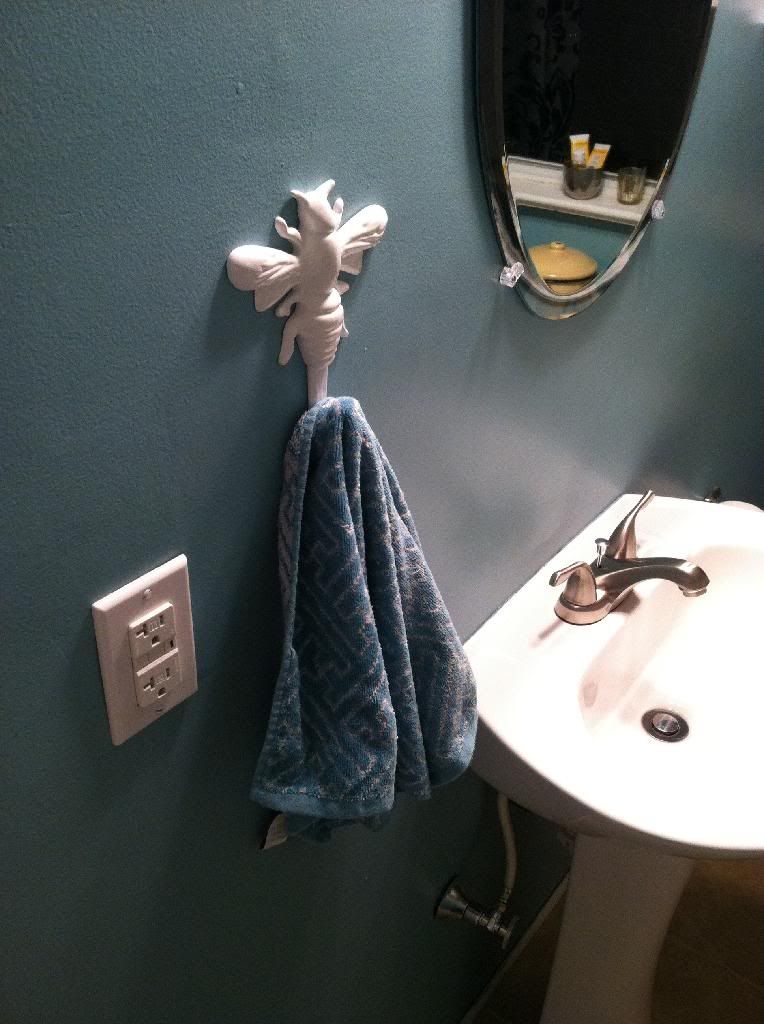
Between that, the hexagon hooks and the new YoungHouseLove Bee wall hook we just put up in the bathroom, we're becoming very "hive"-minded. The best part? Now the dusty yellow pollen that coats every surface of our home isn't gross, it's an accessory! 

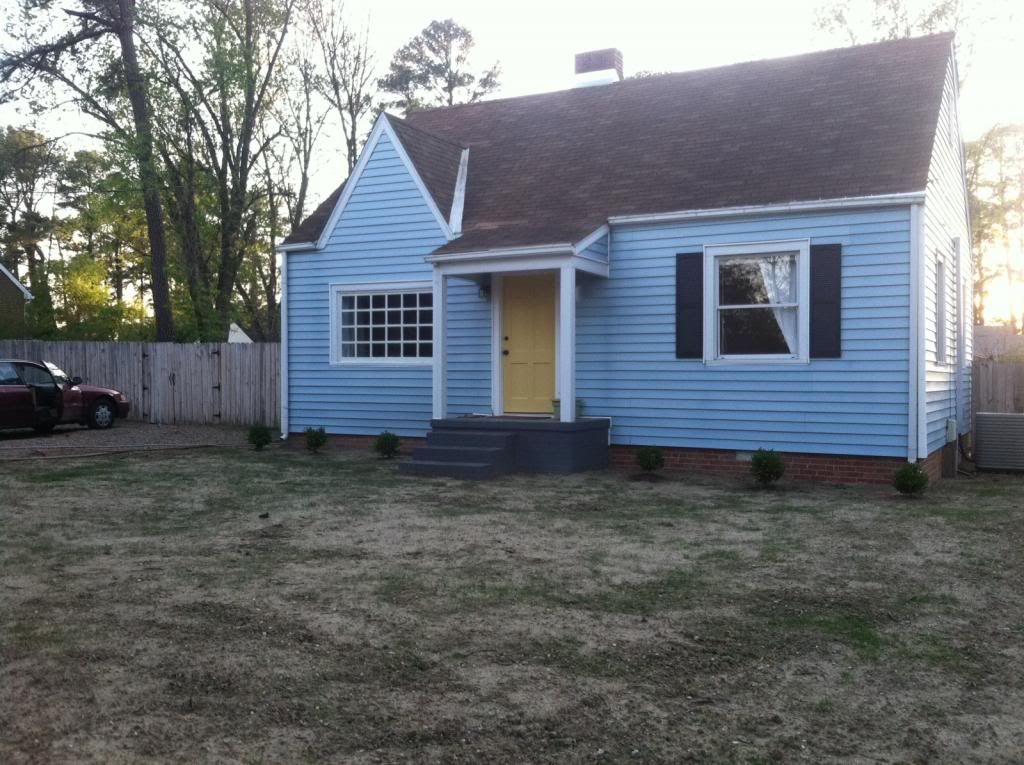
Also, it matches our newly-yellow door! 

I love our new yellow door. 

It's so happy. 

It's so cheerful. 

It brightens the whole house. The whole neighborhood!

It's actually a more muted yellow than we had originally planned, which , looking at it, is really saying something about our original thinking. 

We've had a couple incidents of "oops, this paint looks different on the wall than on the tiny paper swatch". (The playroom that we were hoping would be a muted but strong golden-yellow is actually closer to freshly churned butter. And our "deep, peacock inspired" nightstand is really, let's face it, "doctor's office teal".) So, we decided to follow the advice of many DIYers who have come before us this time. 

First, we hit up Home Depot where we giddily grabbed about 5,000 yellow-ish swatches. I then taped them all (ALL!) to our door and stared at them. 

Then I waited a couple of hours and came back and stared at them some more. 

Then Joseph came home and we stared at them together! (Talk about a hot date.) 

The point, which you probably know because it's what every responsible Internet Person advises you to do when picking a paint color, is to watch the way the changing light affects your color choices. 

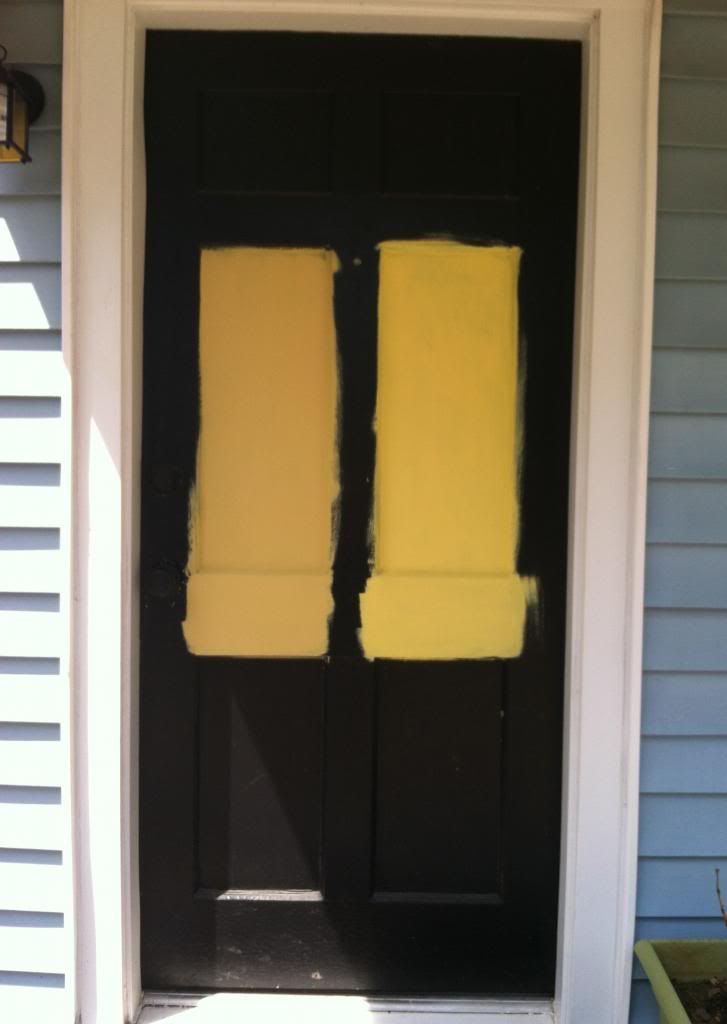
After all our staring, we settled on two colors: Zennia Yellow and Charismatic. (Both by Behr.)

We then did the next "responsible painter" thing: we purchased test pots. 

So, for a week our door looked like this:


I really wanted to get the neighborhood involved, I almost put up a sign: "Honk once for Zennia, twice for Charismatic!" But I didn't think anyone else would be as excited about a door color as I was. 

It was another tough decision, but we ended up choosing "Charismatic" , which is the more muted of the two. We are planning on replacing our door in the not-too-distant future (it's seen a lot of wear and tear) and we are considering replacing it with a light colored, non-stained, wooden door. So, we thought a muted yellow might give us an idea of what that would look like. 

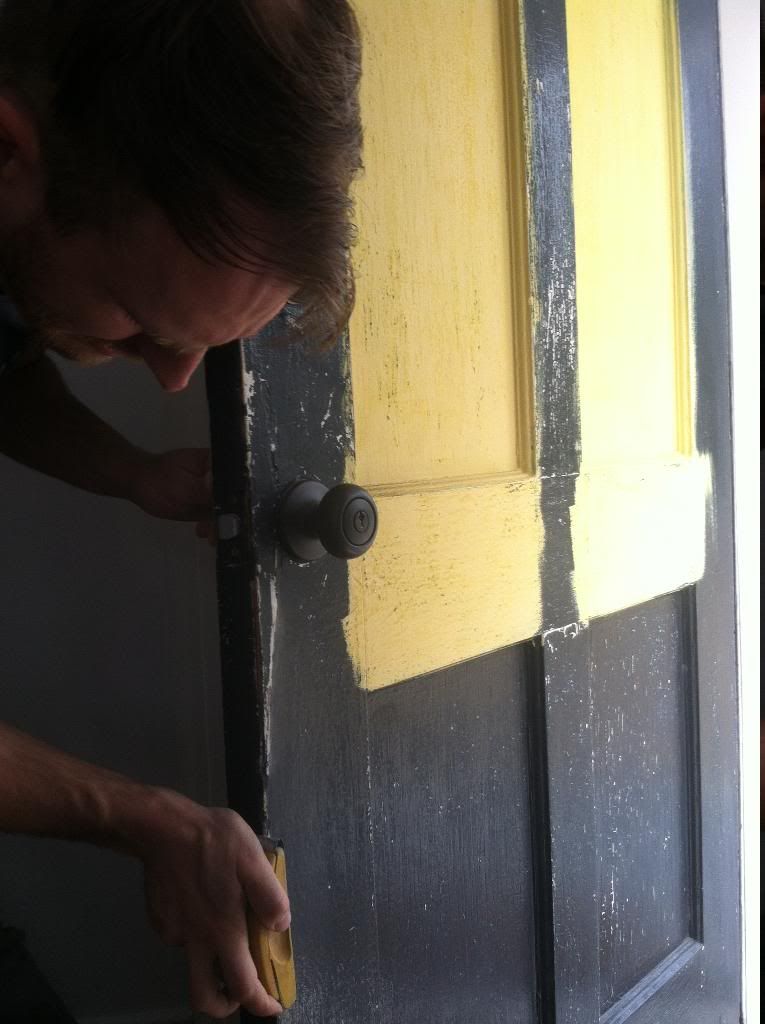
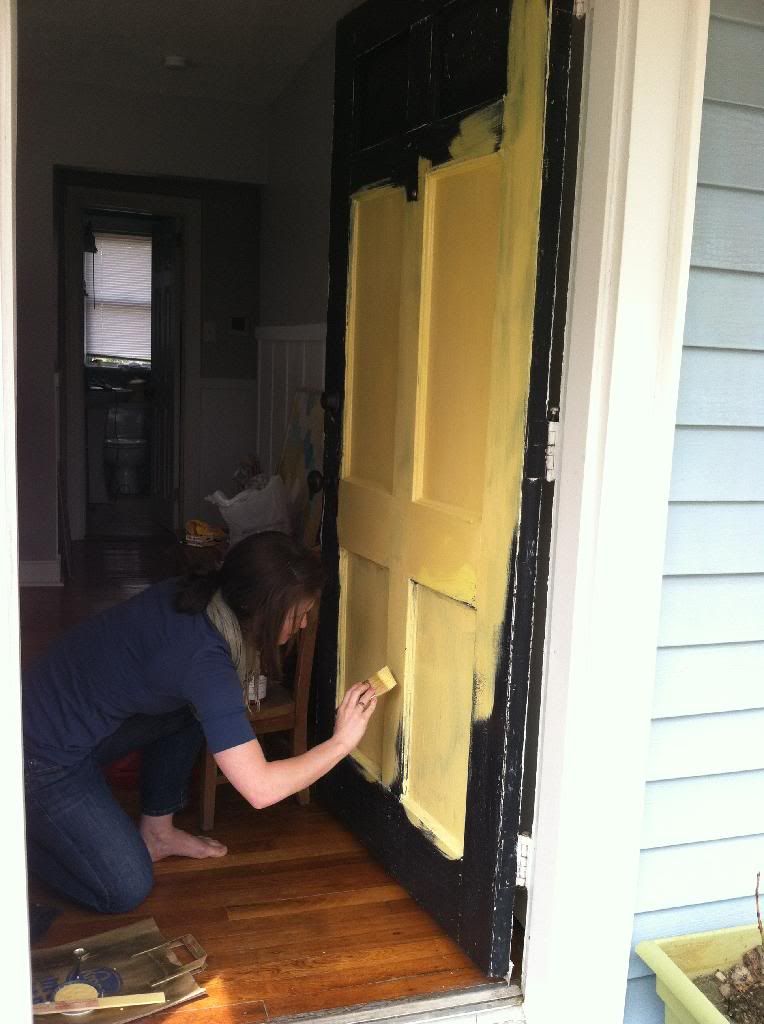
This weekend Joseph and I switched off door and baby duty and managed to finish it by Sunday afternoon. We opted to forgo a small roller and just did the whole thing with a 3" angled brush. We did remove the hardware to make things easier. (Except the peep-hole which seems pretty firmly embedded in there. Peep-hole....ew. I told Joseph I'm renaming it "the Spyglass". He does not approve.)

So, our process was simply: remove hardware, wash door, sand door using a hand sanding block with 100 grit sandpaper:


wash door again to remove left over sanding dust, paint door with three coats of Behr Premium Plus Interior/Exterior High Gloss Enamel,


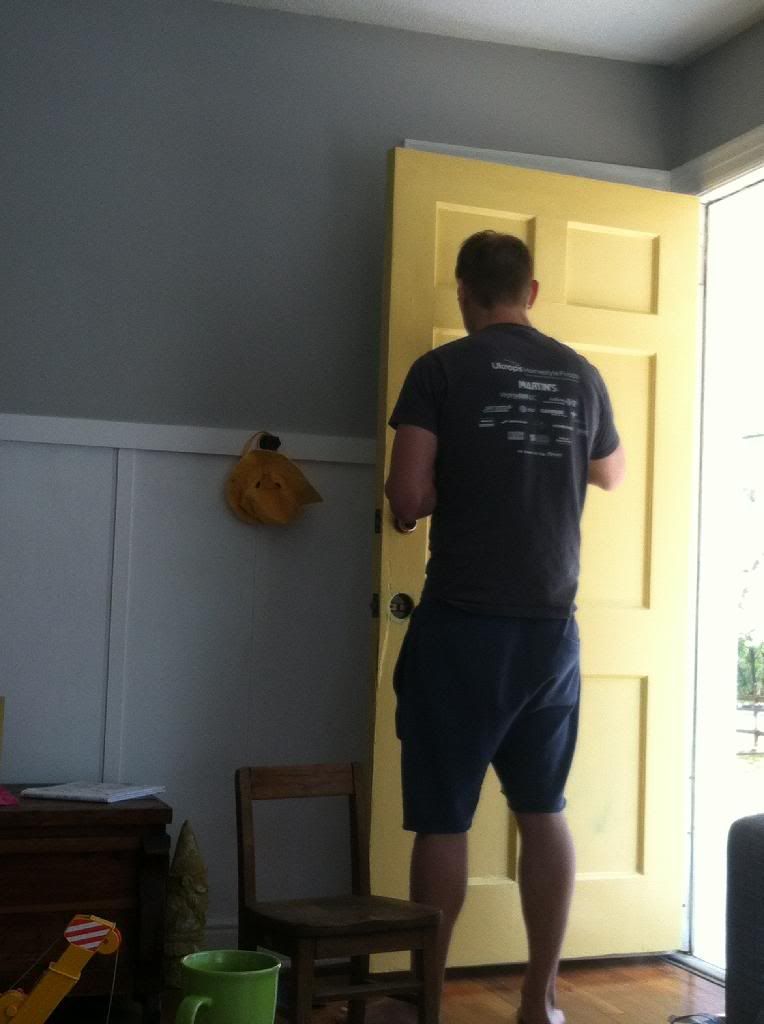
let dry for about four hours, replace hardware. Thaaaaat's it! Pretty easy. Aaaaand....


here it is!


It's a good thing. 

It's a touch brighter than we thought it would be, but we like it and we're definitely glad we picked this one over the even more bold Zennia yellow. 

Lesson learned (for me): following advice, going to the extra trouble and doing things the right way is totally worth it. 

....at least when it comes to picking a paint color. I'm still a "fly by the seat of your pants" kinda girl at heart. (Don't fence me in!)

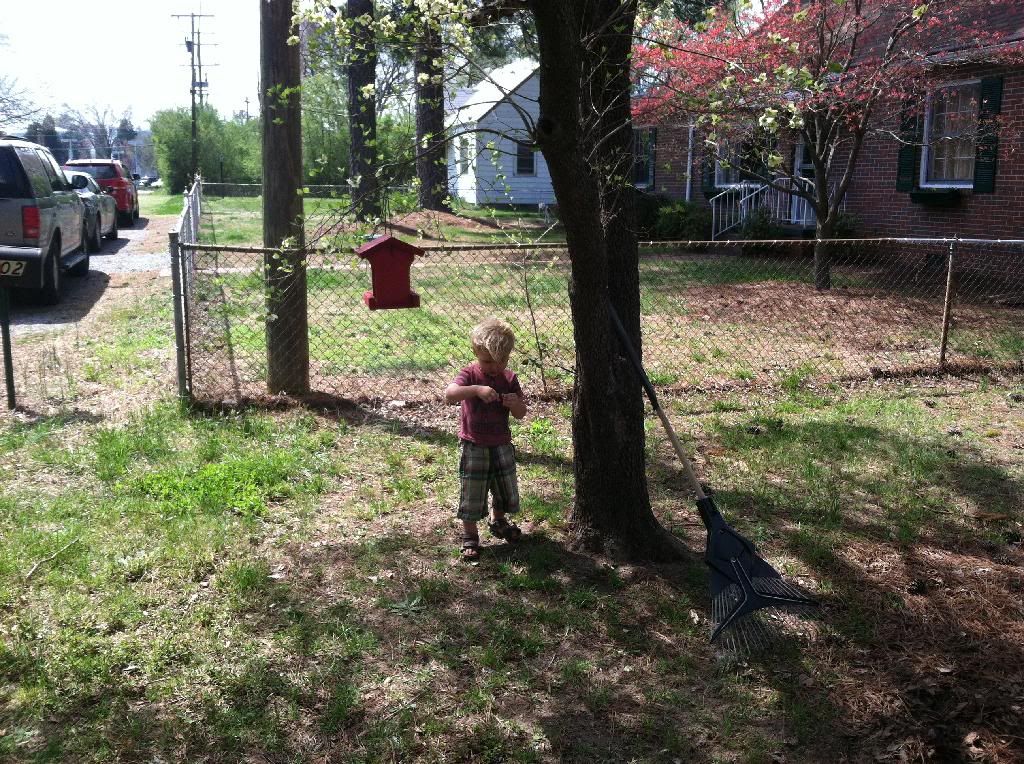
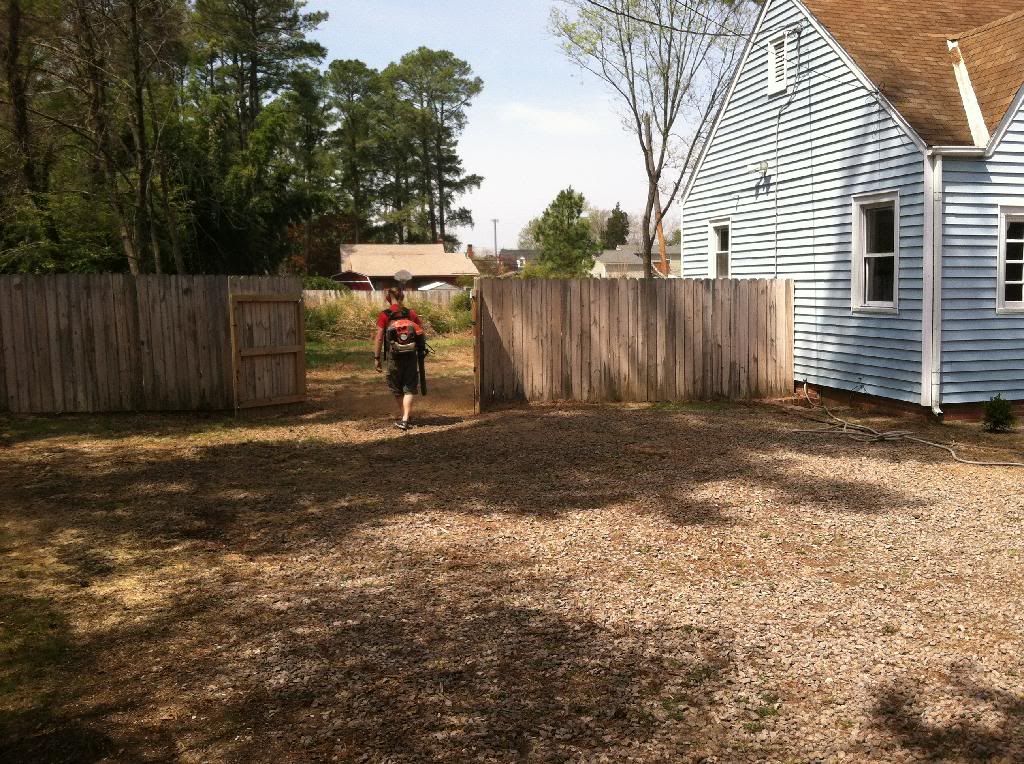
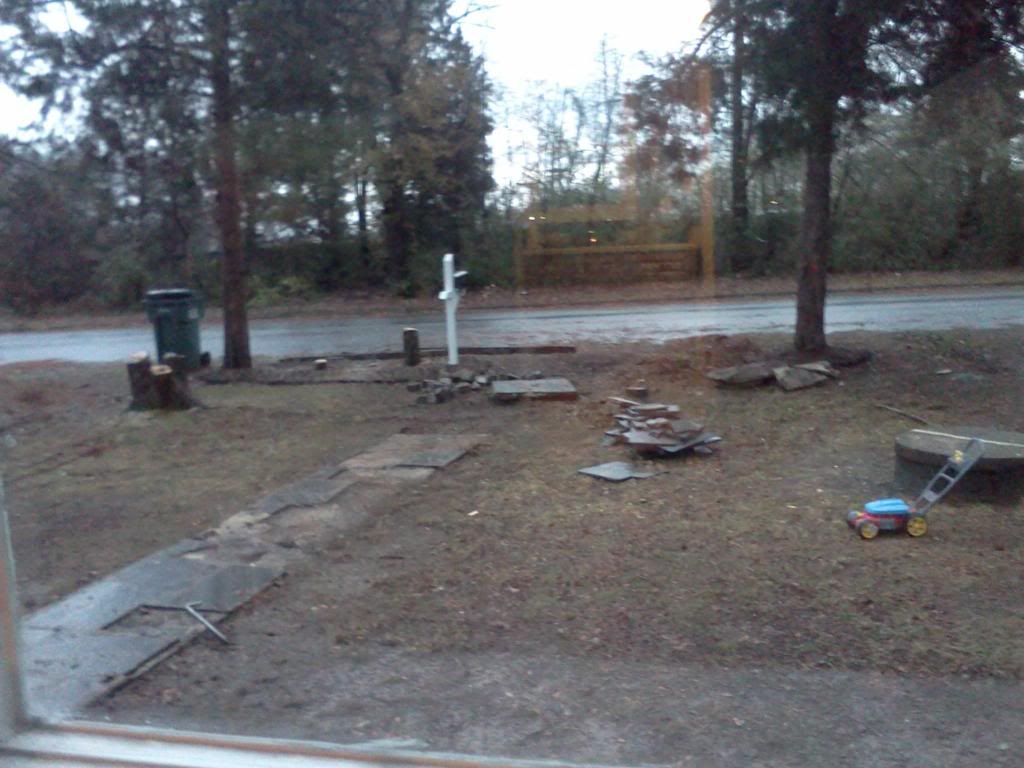
Anyway, with our new yellow door and our tiny green grass stubble, it's getting much more colorful around here.


In parting, I have a question: Are brightly colored doors on the way out? I still love driving through a neighborhood and seeing teal and coral and eggplant doors, but I've been wondering lately, since all good things must come to an end, if, given the kind of ...saturation we're experiencing, the design pendulum is due to swing back the other way soon. Back to crisp white with black hardware or natural wood with brass...

I'm not sure how I feel about the prospect. I love color...but I also love change....what do you guys think? Colors: so 2013, or here to stay ... *whispers ala Calvin Klein ad* ...forever. 


Monday, April 21, 2014

It's the Little Things

So after our recent string of big projects like putting up board and batten, pulling up the sidewalkgetting all of our trees cut down, and covering our yard in top soil and reseeding it (maybe we'll do a post on that once the grass has fully come in) we haven't been terribly keen on jumping into something huge. Instead we've been working on small things, or doing some small steps for things that have been sitting on our to-do list forever.

We picked up a wall hook from the Young House Love line at Target to use as a towel hook in the bathroom.


There's kind of a bumble bee theme in there so it was perfect.


Whatever you want to say about the energy efficiency and long life of those twirly new fangled light bulbs they are huge and ugly. Meredith replaced the ones in our bathroom with some standard old school bulbs and they look better, their light is better, and they don't make a buzzing sound (I don't know if you've ever noticed but those new bulbs hum). She also added a little detail on the rim of the lamps that looks quite nice.


Ain't it purty?


Meredith liked some decorative mud room/shoe storage options she saw online that utilized wooden crates so I made one out of scrap I got fo' free at work.


That's right, I saved us like five bucks! Really it was just for the fun of making it.


We hung this fruit basket that Meredith painted gold in our kitchen. Now this space feels more useful and we don't have to have as many bowls of produce taking up all of our counter space.


The observant nerd will notice The Wookie Cookbook amongst our more traditional cookbooks.


Meredith started some artwork that will be revealed as soon as she completes it and we think of a place to hang it.


Steps have been taken to replace the old ugly hedges we removed shortly after we moved in. This is only about halfway done so you'll have to wait for the full reveal on this as well.


Grayson and Meredith painted and hung this adorable bird house which I think adds a nice homey touch to the front yard.


We've started to remove the piles of pine needles we let sit all winter. After ten bags and not even being half done I'm really starting to feel this shouldn't be consider a "little thing"...


So. many. pine needles.


Meredith's brother Jesse was kind enough to come over with their dad's industrial strength leaf blower and blow off the driveway. After getting the trees taken down it just looked like a mess. Thank God for fathers-in-law with overpowered tools and brothers-in-law willing to wield them.


We added light kits to both bedrooms, which HOLY CRAP MAKES ME WONDER WHY WE HAVEN'T DONE THIS BEFORE.


This one was actually the wrong color (we got it on clearance at Decorator Outlet) so we painted it silver. It's not a perfect match but we just wanted it up. We'll probably fix it later.


We stained two of our dining room chairs. Just two of them because, frankly, we need a place to sit. Once these have a second coat and get sealed we'll do the other two.


We got some sample colors on our door. I actually really like the idea of a black door for some reason but it's just not the right choice for this house. We'll probably go into more detail about our choices when we complete this project but here's the two samples Meredith painted on. Guess which one we're going with?


And of course I saved the best for last. The most important little thing that's happened, and the one we're most excited about is our new baby... grass!


YAY! GRASS!
 
 
Have you knocked anything off of your to do list lately? Big things? Small things? Care to hazard a guess which paint color we picked?

Wednesday, April 2, 2014

I Been Workin' on the Sidewalk

So, chronologically I'm a bit out of order but I really wanted to include this post for my own posterity's sake and since we're mostly just waiting for grass to grow right now any update about our yard project would be rather underwhelming.


Have you ever watched grass grow? I have.  ...or at least I hope I'm watching it grow.


As we already explained in this post we decided to excavate our slate walk. There were lots of non-pictorially documented reasons why. There was the fact that we wanted to raise the level of the yard, the fact that tree roots had caused elements of the walk to not be level, the fact that it was pointed toward the driveway we don't use, the general sloppiness and lack of skill it was originally installed with, and the crumbling edges, loose slate, and general disrepair of its current state. Strike that, EX-current state.


To start off, this project was made easier by the state of our walk. Existing cracks made it come apart easier and loose slate gave me plenty of space to pick-axe the concrete without damaging the slate itself. I started by pulling up all the loose slate. Then working my way from the end of the walk toward the house I just started picking away at it, mostly with the pick side of the pick-axe. This worked pretty well for the end because it was in pretty bad shape and didn't need much strategy. Some of it broke off in huge chunks and, rather than continuing to break it up with the pick I would just prop it up and then tip it over onto other pieces of concrete. Usually the force of the fall and the hardness of the other pieces was enough to break it into smaller pieces. When the slate pieces were lodged in really well I would pick the sides until it crumbled away and then apply leverage under the walk which usually caused the concrete to crack away from the slate. If that didn't work I just had to pick all the way around the slate until I could pop it free. I also used the leverage under the sidewalk to break it up after I had removed the slate as well.


The sidewalk was actually a large L shape and unfortunately the side part that extended toward the old driveway was in much better shape than the main part. I used the same techniques to remove as much slate as I could but it was much harder and I had to fight a lot more to get them out intact. After I had removed a sufficiently large enough section of slate I would take the pick-axe and start picking in a line across the sidewalk. Then I would go back over the line until I had kind of a dotted line across it. Then I would jam the axe (or technically maddox) side under the sidewalk under the line I had done and leverage it until it cracked along where I had picked. If it didn't crack I would pick at the line more until it worked. I had to do this in 1'-2' sections because anything more than that I couldn't move very well. If the section ended up a little big I would use the same method of propping it up and letting it fall over on another piece.


I basically just kept at it until I had demo'ed the whole thing that way. Sometimes I would work at it for a while and get a lot done. Other times I would take out a couple feet when I got home from work. The main length of sidewalk was 32' long with another 15' on the side portion. In total it ended up being a whopping 158 square feet of sidewalk.

After I was done I was left with quite a lot of slate and concrete rubble. I've spent a fair amount of time on Craigslist and I've always laughed at the listings that appear to be people attempting to get others to haul their junk away for them, but Meredith was reading in This Old House and they recommended using concrete rubble as filler for the bottoms of raised garden beds. So, we figured, heck, what's to lose. I posted it on craigslist and within the first day we had three people asking about it. Half of it was gone that night and the other half the next evening.


Note: Concrete rubble not shown.

The slate was a different story. On a weekend visit to The Great Big Greenhouse I saw pallets of slate about the same size as what we had going for around $300 so there was no way I wasn't going to make some money off that stuff. We listed it on Craigslist and sure enough we got some bites on that one as well. Several of them fell through before we actually caught one but finally someone showed up and I helped them load it into their truck.


While we were loading it up they asked about the cobblestones we had, which had previously been around the mulch beds around our trees, and I made them a deal on those as well. We had already talked about wanting to find a different solution for those so I was happy to not have to list those separately, or lug them around anymore.


So that's the story of how we got rid of our cracking, crumbling, pointing in the wrong direction sidewalk, AND made a pretty penny doing it! Anyone else have any fun Craigslist stories? Or advice on what to do while waiting for grass to grow? Seriously, we're just twiddling our thumbs here.