
Now, don't get me wrong, I don't have anything against wells. Truth be told, I much prefer drinking well water to drinking city water. That being said, wells open up whole cans of worms that I wasn't sure we wanted to deal with on our first house. Worms like having to worry about your personal water table level and not overtaxing it, worrying about what's in your soil and having to get it tested, losing water when your electricity goes out and the pump can't run, etc. These issues were potentially even bigger with the fact that the cover was broken.
So the first thing we did was check to see whether or not the well was still in use. It was not. I was slightly relieved.
Any remaining doubt about where our water comes from vanished when we got our first bill. Maybe the well would have been nice after all...
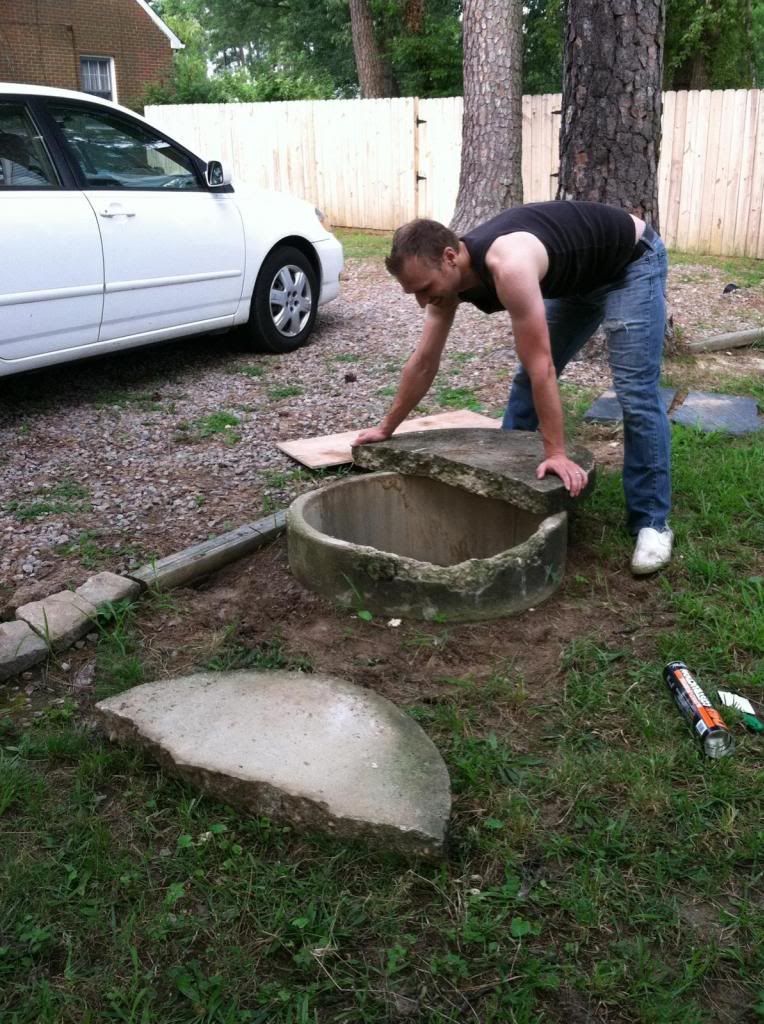
Regardless of whether or not the well was in use, something had to be done about the broken lid. We can't have our neighbor Timmy falling in there one day (side note: we don't actually have a neighbor Timmy). Luckily for me a bunch of cases of QB300 had been damaged at work and had to be thrown out! QB300 is a construction adhesive and I figured before we spent the money to replace the cover I could try gluing it together... with free glue!
Thankfully the cover was split almost perfectly in half and was pretty much all there. It was still incredibly heavy. Like, "it was all I could do to even move half of it at a time" heavy. I pulled both pieces off and realized that the well itself was a tad "deteriorated" on one side. Boo. I pressed ahead because at this point that's not something I can deal with and it really doesn't change the fact that the lid needs to be fixed.
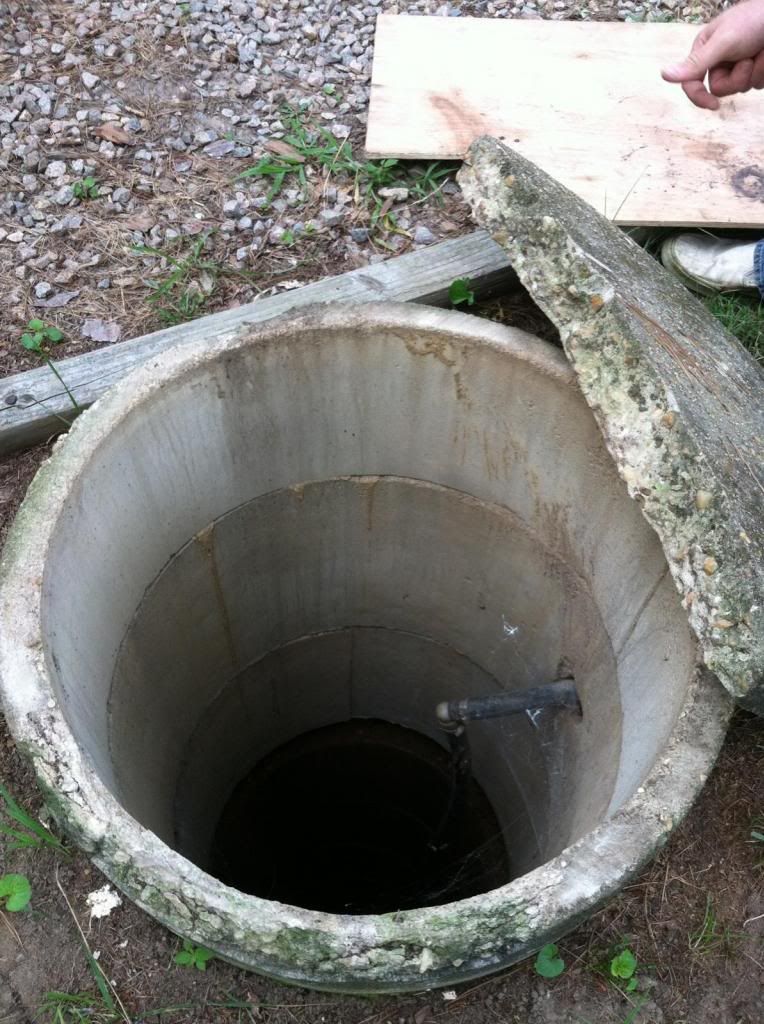
I put a board over the well while I had the cover off, just to make myself feel better, but not before getting a good look down there first. Ooooh a pipe! Yeah, I don't know anything about what I'm looking at.
The glue was in a 29oz caulk tube. I don't have a giant sized caulk gun, but the tubes were in pretty bad shape anyway so all I did was cut the tube open and use a plastic spreading tool (it's actually something meant to smooth bubbles out when applying tape) to spread the glue on the broken edge of the concrete. I thought it needed a good amount of pressure to help the seal so I balanced it on top of itself on it's side so it would create its own pressure.
This ended up not really working since I would have had to hold it like this for hours for the glue to set up and I held it there for somewhere around five minutes. As soon as I laid it down it came back apart.
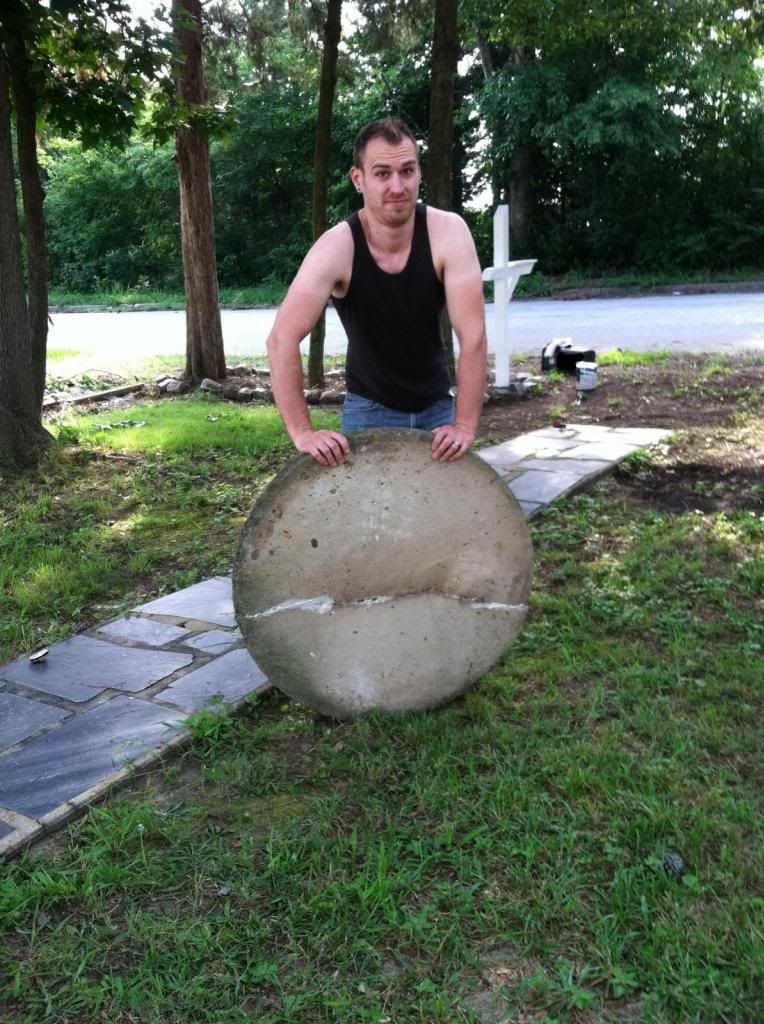
Instead I just positioned both pieces on top of the well and Meredith and I pushed them together. Then I smeared more glue on it to make sure that the crack was completely filled. I would have loved to have one of those perfect seams that just snapped together and became almost undetectable but the condition of the edge wasn't THAT good.
Now our well has a
The important part is that the cover is fixed!
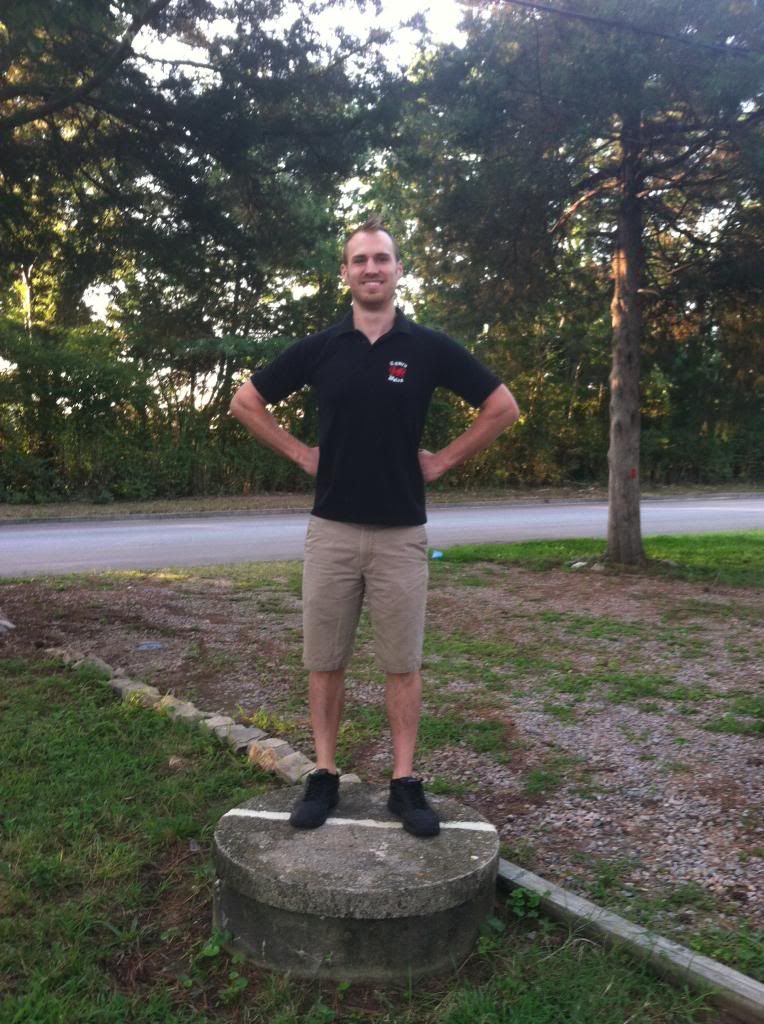
Even though I let it dry for days before I did this it was still slightly terrifying.
No comments:
Post a Comment