But this week, there's a twist!
*pause for musical sting*
I'm not too proud to admit that's a term I learned from Peg + Cat.
I know we mentioned last week that we were re-doing Grayson's room. (To reflect his maturing, three year old taste.) Unfortunately, it looks like that's going to take us a little longer than we thought because we made a mistake ...
We got inspired.
As I believe I have previously mentioned, I'm really digging the sparse, light, unfinished wood, vaguely Scandinavian trend that's beginning to happen now. We also found ourselves contemplating some "bolder" design elements than we usually do: leather, a stenciled accent wall, various mundane things (like baskets and boxes) but done in metallics.
Then, it dawned on us.
The best way to unify the design trends we were thinking and also keep it from feeling to "adult decorating takeover":
Viking.
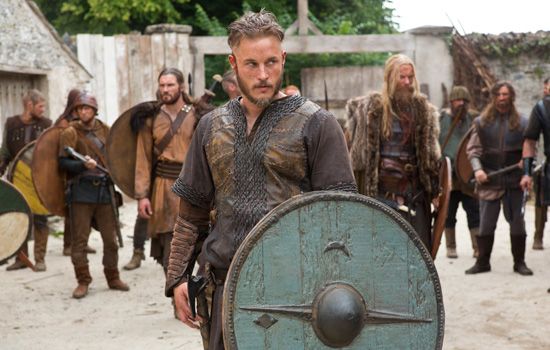
Swords, arrows, runes, leather, gold, fur...does this theme not have it all?
(Alright, maybe our enthusiasm is getting the best of us. Just a touch.)
So, while we're re-tooling some of our plans to be a little more, err, Nordic, I thought I would share five things I would love to have for Grayson's castle bedroom.
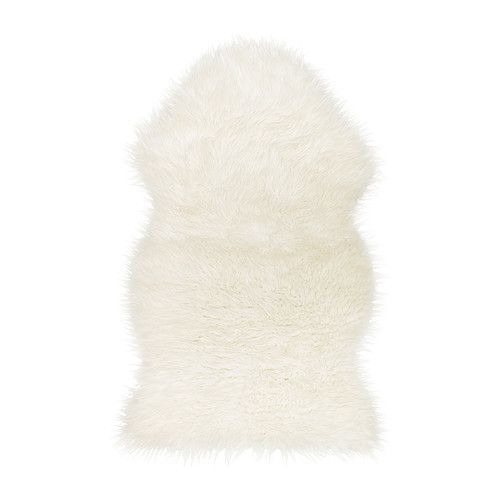
1. Faux Sheepskins
Ikea has this great faux sheepskin for $10! Can you believe it? Well neither can we but we plan on snagging one or ten for some super snuggly floor covering, bed covering, everything covering, etc.
 |
| via |
Ikea has this great faux sheepskin for $10! Can you believe it? Well neither can we but we plan on snagging one or ten for some super snuggly floor covering, bed covering, everything covering, etc.
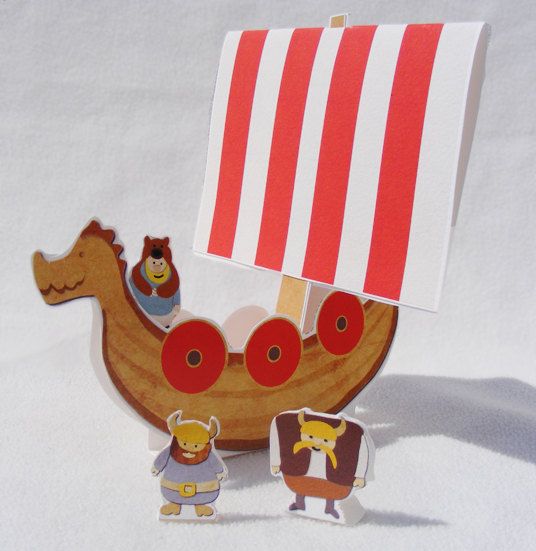
2. Toys
This adorable paper doll-esque Viking ship is from etsy but it's just the tip of the iceberg when it comes to Viking toy possibilities. There's playmobil, toy swords, Legos, etc.
 |
| via |
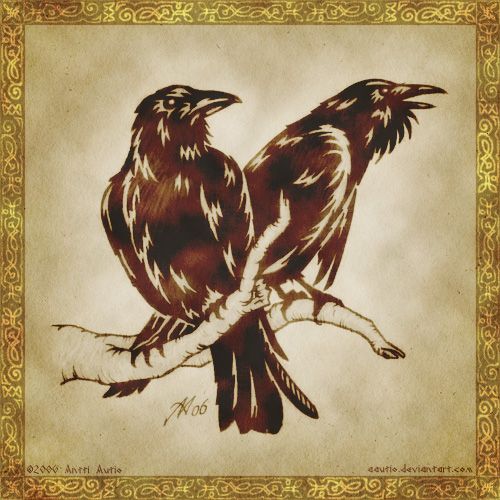
3. Prints
What's more Viking that Odin's Ravens? Or you could go with pictures of Viking warships, but we've always been fans of crows.
 |
| via |
What's more Viking that Odin's Ravens? Or you could go with pictures of Viking warships, but we've always been fans of crows.
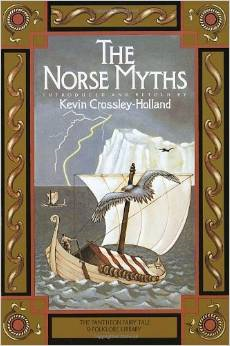
Books make fantastic decorations. They're the only ones you can read too!
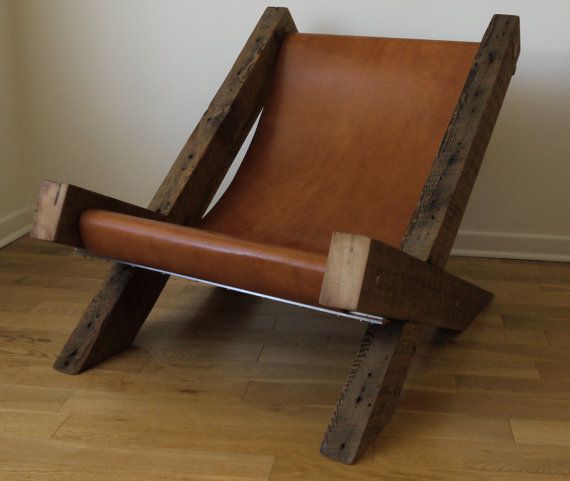
Here's that mention of leather. Some sort of chair or ottoman done with leather would be a great touch and perfect place to read that decoration up there.
Now, I'm not a total slacker, I do have one little project to share. (Let's make this post super long, 'kay? Okay!)
We wanted to update Grayson's bed, (which was my bed when I was little and, before that, my dad's when he was little), showing it a little love, but we didn't want to just paint it. So we thought adding some textural interest might be fun. I like the idea of soft bedding against more rugged materials, the contrast feels cool. We thought of wrapping the headboard in rope but (and this is where you learn something about us) rope is kind of expensive. Or, it was more than we were planning on spending for a spur of the moment project. ($9 for 50 feet and we would need about 200) So we ended up picking up four rolls of Jute Twine.

(Oh, my goodness, this is seriously the only picture I have of the twine. Me with vaguely purple skin holding it in my Giant Alien Hand! But, the twine! Let's remember what this picture is about, people, the twine!)
Much thinner than we had originally planned, but we thought it would give a similar look. And at $2.33 for 190 feet, much wallet friendlier.
Before we bought our twine we measured our headboard. The area we wanted to cover was 3 feet wide and 1 foot high (which actually meant 2 feet high, since we'd be wrapping the twine, front and back). So four spoils of twine at 190 feet each was more than enough.
Here is the headboard before:

Now, the one little challenge was this area here:

We thought wrapping the twine around that area might be a problem. The twine might just bunch and not be able to bridge the gap or it might leave the edge of that curve sticking out.
To the rescue...duct tape!

Classy, right?
But by running a thin strip of duct tape across the gap we were able to wrap the twine as if the cut out wasn't there at all; just a gentle curve.
Attaching the twine on the back of the top left corner with some hot glue, we began to wrap.
And wrap.

And wrap.
The whole process actually went fairly quickly, maybe an hour all together. We added a dab of hot glue every so often to make sure the twine wouldn't shift and...
Ta-da!
Finished!

(I apologize for the seasick angle of this photo, I was holding a baby and laying on a lumpy pillow.)
There, that's a little better.
Our first step toward our Viking bedroom is complete.
We're super excited about this new decorating direction, so if you see anything that screams "Valhalla!", please, send it our way!
Abelard looks very comfortable. Isn't he worried he will be made into some kind of Viking fricassee or something?
ReplyDelete