
For two years in our apartment we barely touched the walls and in our own home I think we've just been uncertain about pictures. We don't have a lot of practice hanging things and we put all that time into painting every room...
So after putting up a meager selection of things we finally decided to jump in and do something a little bigger.
Enter, the Picture Wall.
The Picture Wall has been employed by many a DIYer to fill awkward spaces, bring excitement to a boring wall, show off all of the exciting places they've visited, or simply copy other currently trendy DIYers...
Anywho, Meredith found an awesome clearance sale on some nicely sized white frames (they were like $4 a pop!) at Michael's and snapped up a few in a couple different sizes. This whole project was actually a bit of a whirlwind since the sale was only for that weekend and we wanted to make sure we liked the set up and number of frames before the sale ended. That way if we needed a few more we could still grab them at the same sale price.
We started by tracing the frames onto brown paper and cutting out a bunch of them as templates. We taped them to the wall in various arrangements to get a feel for what we liked.

We quickly realized this would be harder than it looked.
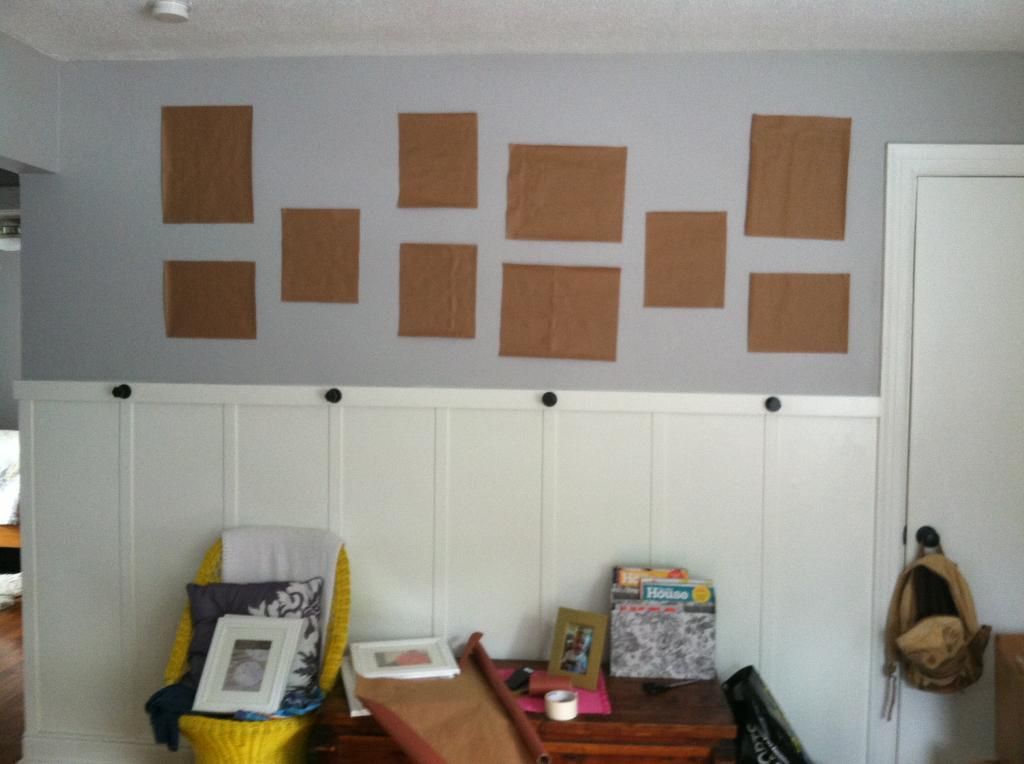 |
| What was this supposed to be? |
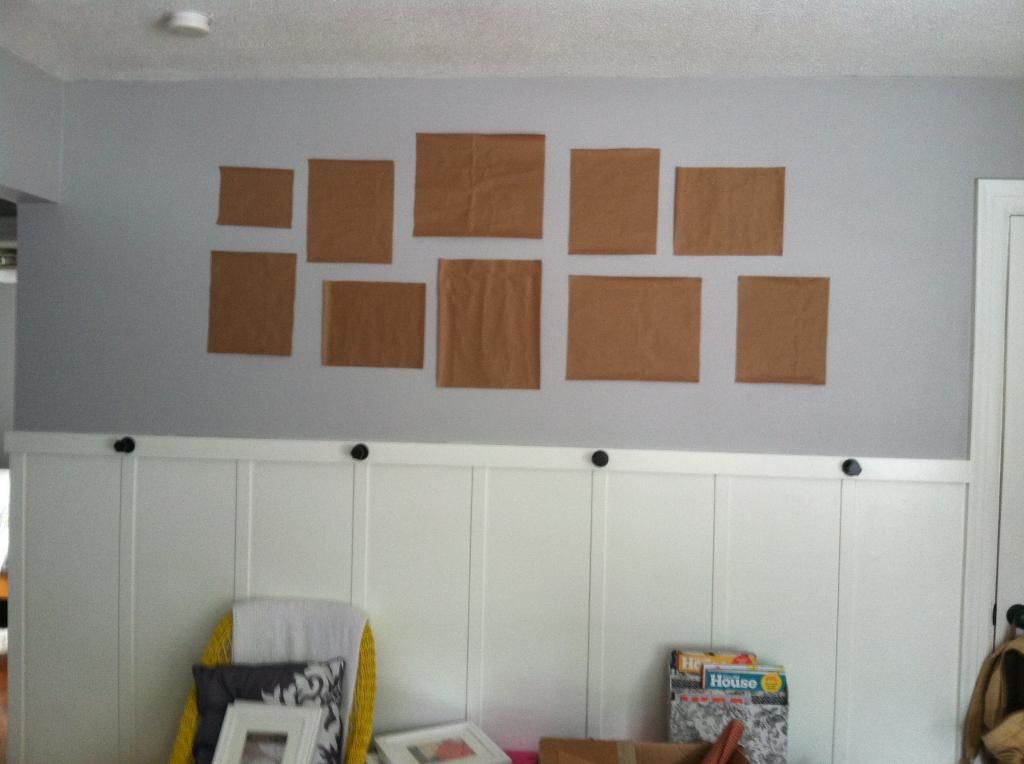 |
| A little better. |
After trying numerous different options, including a more "random" style (which Meredith did not approve of), at least one that we dismissed because it looked too much like a gallery wall, and a couple that looked (quote) "too much like a cloud", we settled on a fairly basic design that we felt used the space well and fit in with the surroundings too.
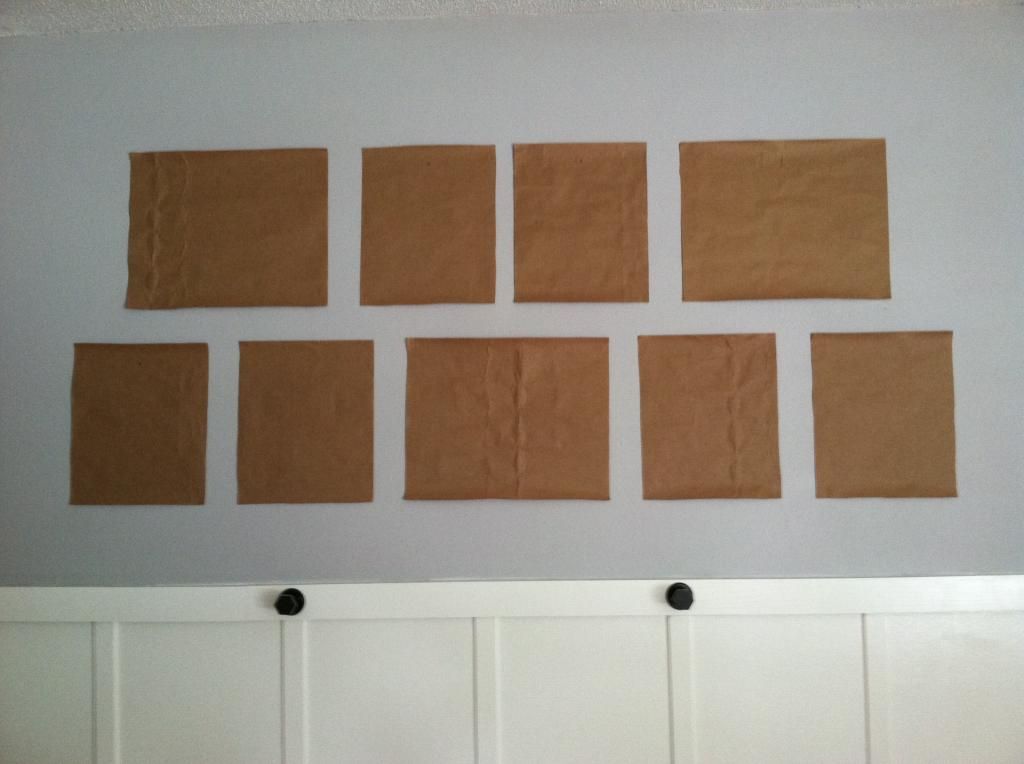
This design did require us to buy some more frames (I think just 2 more of the smaller size) but without them it just didn't fill the space like we felt it needed too.
Once we had an arrangement we liked we set to measuring everything, checking our spacing, leveling things out, and marking nail holes on the paper (They're not centered between the ceiling and the Board & Batten because we still want to add crown moulding). I hammered nails in with the paper templates still up and then just ripped the templates off... like a boss.

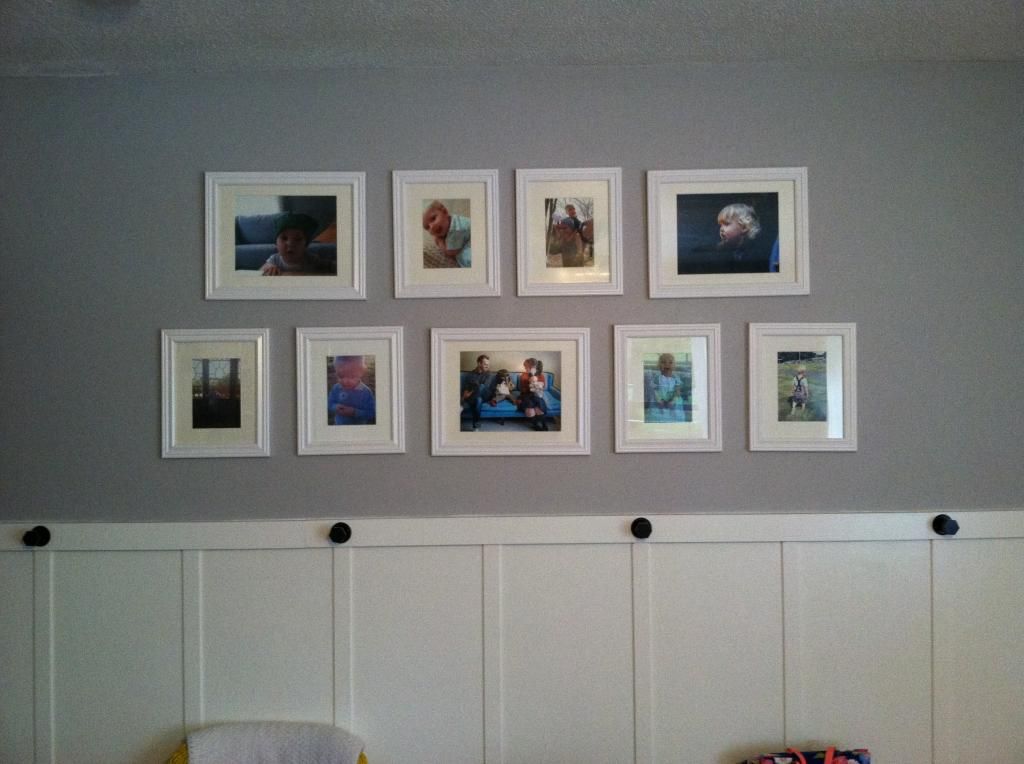
We put the frames up right away even though we didn't have pictures to go in them yet because, you know, why not?
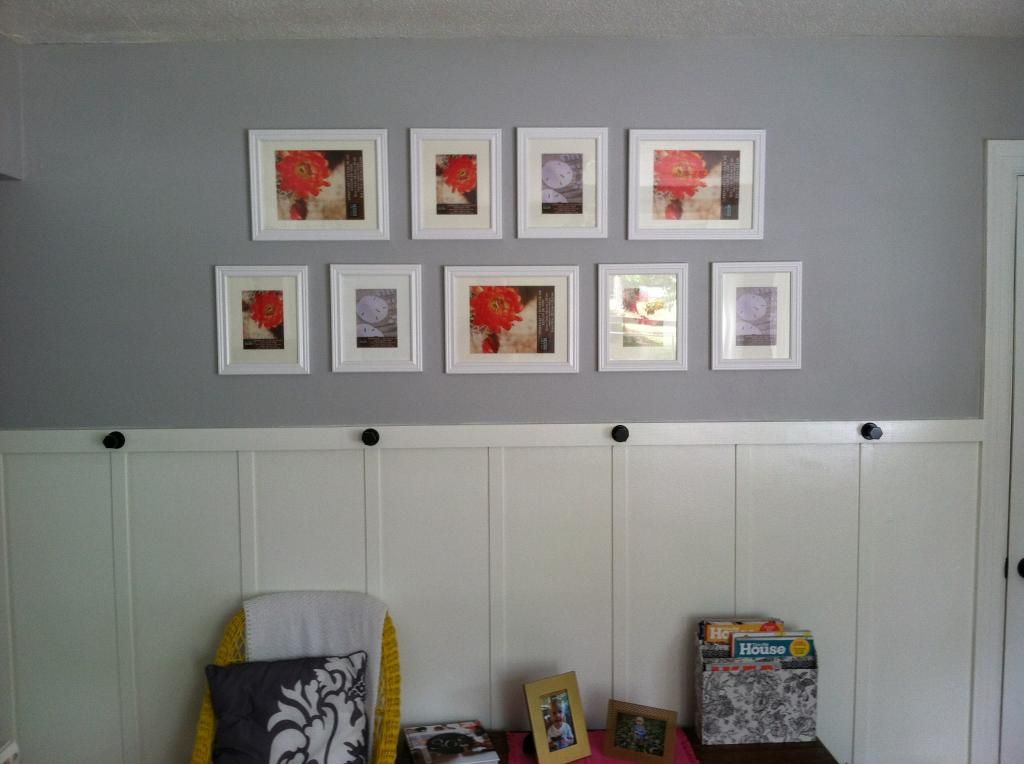
Yay! No blank wall anymore! We picked through our family photos until we had a selection we liked, uploaded them to the Target website, and had them printed out in the store.
I think the total cost of this project (including printing the pictures) clocks in at a little over $50 which is pretty decent considering it would have been over a hundred bucks if those frames had been regularly priced! We both like the fact that with the current arrangement we can add to it if we want to without it looking overly crowded but it also still looks pretty full now. We also had no idea arranging them would be so difficult. Every time we moved one to fix one area it would make another area look funny. With this project under our belt maybe we'll start covering the rest of the house with pictures! Or maybe not, but it at least makes us feel a little more confident about picture placement.
No comments:
Post a Comment