Showing posts with label Crafts. Show all posts

Monday, April 21, 2014

It's the Little Things

So after our recent string of big projects like putting up board and batten, pulling up the sidewalk, getting all of our trees cut down, and covering our yard in top soil and reseeding it (maybe we'll do a post on that once the grass has fully come in) we haven't been terribly keen on jumping into something huge. Instead we've been working on small things, or doing some small steps for things that have been sitting on our to-do list forever.

We picked up a wall hook from the Young House Love line at Target to use as a towel hook in the bathroom.
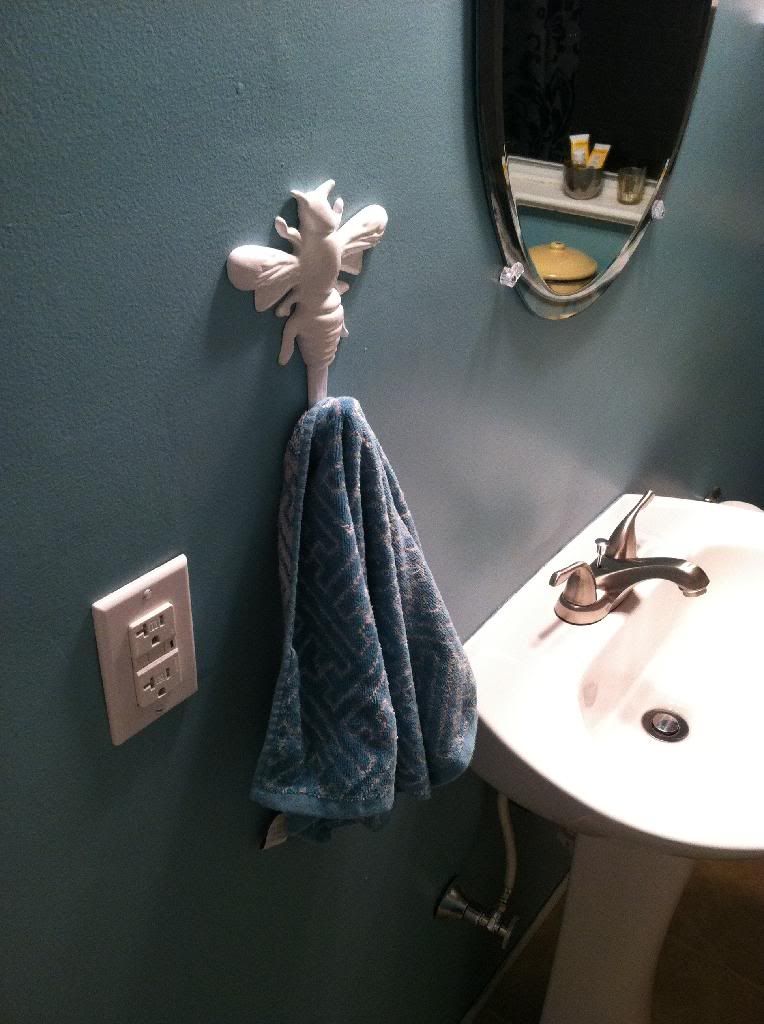

There's kind of a bumble bee theme in there so it was perfect.


Whatever you want to say about the energy efficiency and long life of those twirly new fangled light bulbs they are huge and ugly. Meredith replaced the ones in our bathroom with some standard old school bulbs and they look better, their light is better, and they don't make a buzzing sound (I don't know if you've ever noticed but those new bulbs hum). She also added a little detail on the rim of the lamps that looks quite nice.
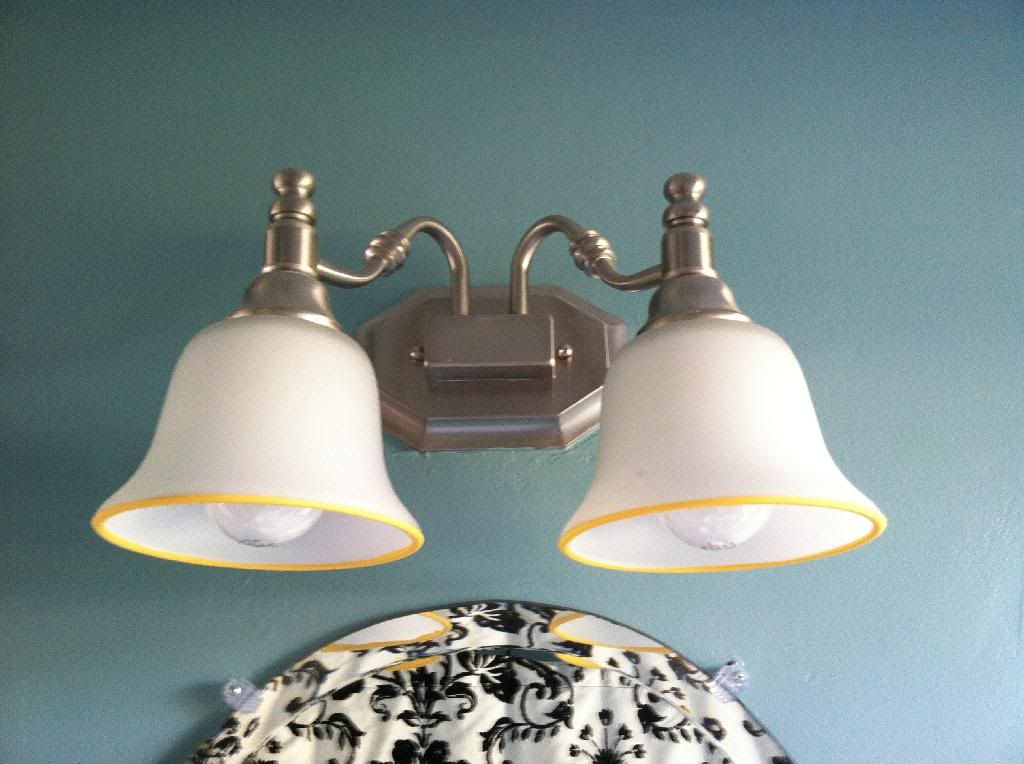

Ain't it purty?


Meredith liked some decorative mud room/shoe storage options she saw online that utilized wooden crates so I made one out of scrap I got fo' free at work.
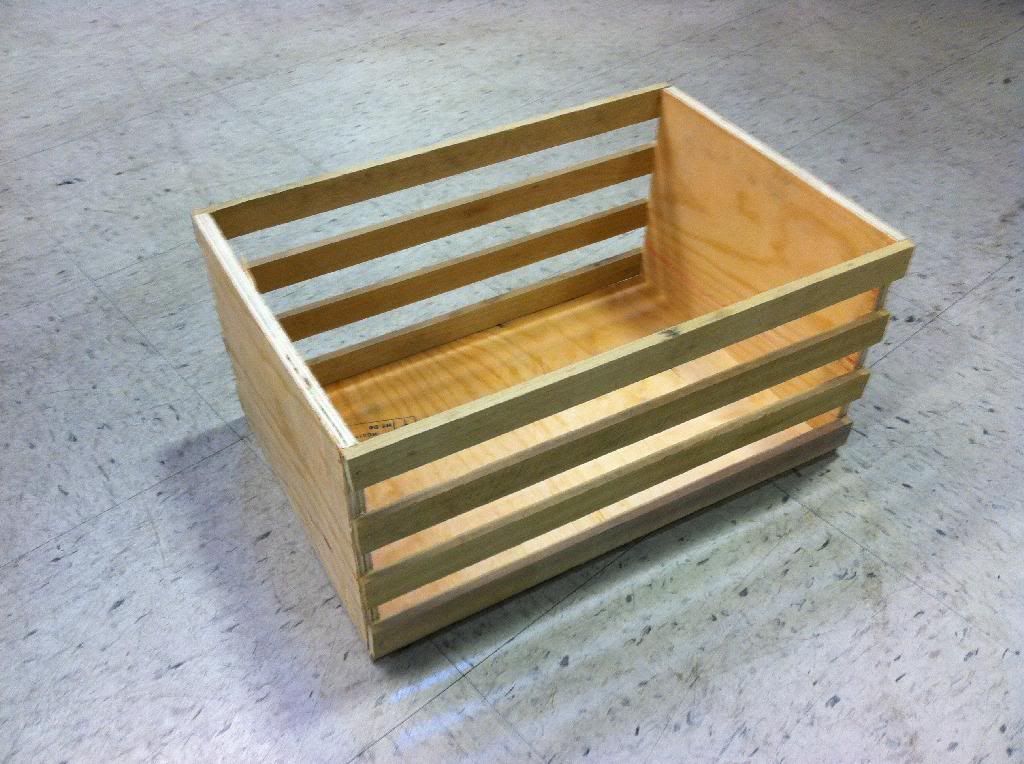

That's right, I saved us like five bucks! Really it was just for the fun of making it.


We hung this fruit basket that Meredith painted gold in our kitchen. Now this space feels more useful and we don't have to have as many bowls of produce taking up all of our counter space.
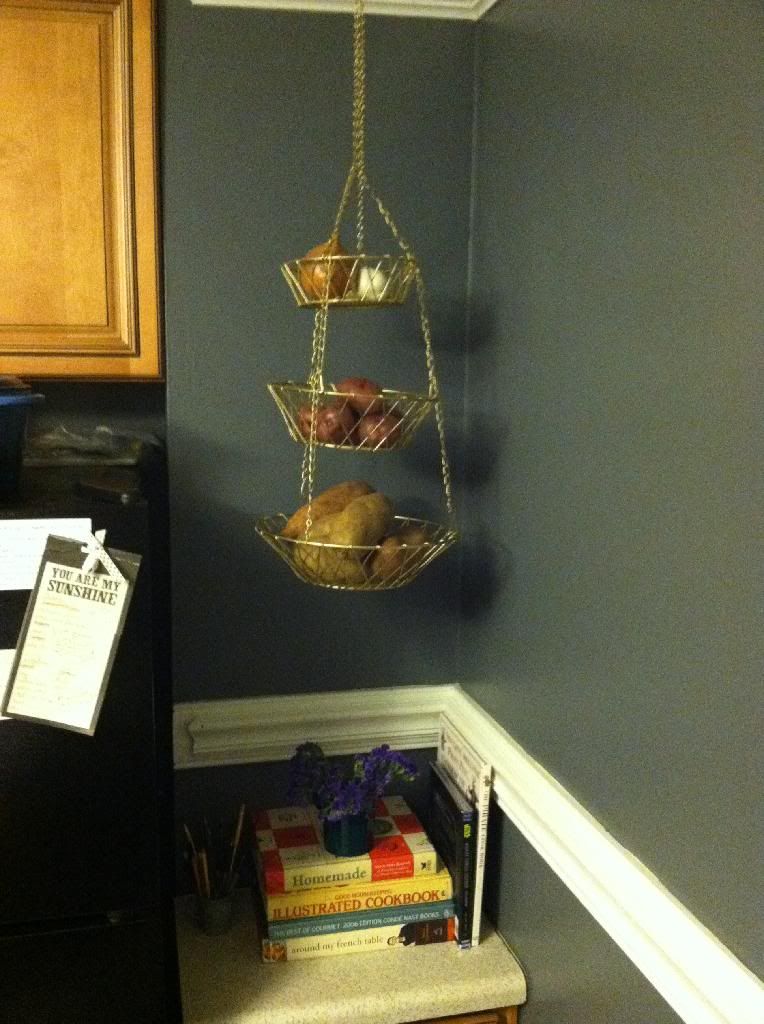

The observant nerd will notice The Wookie Cookbook amongst our more traditional cookbooks.


Meredith started some artwork that will be revealed as soon as she completes it and we think of a place to hang it.
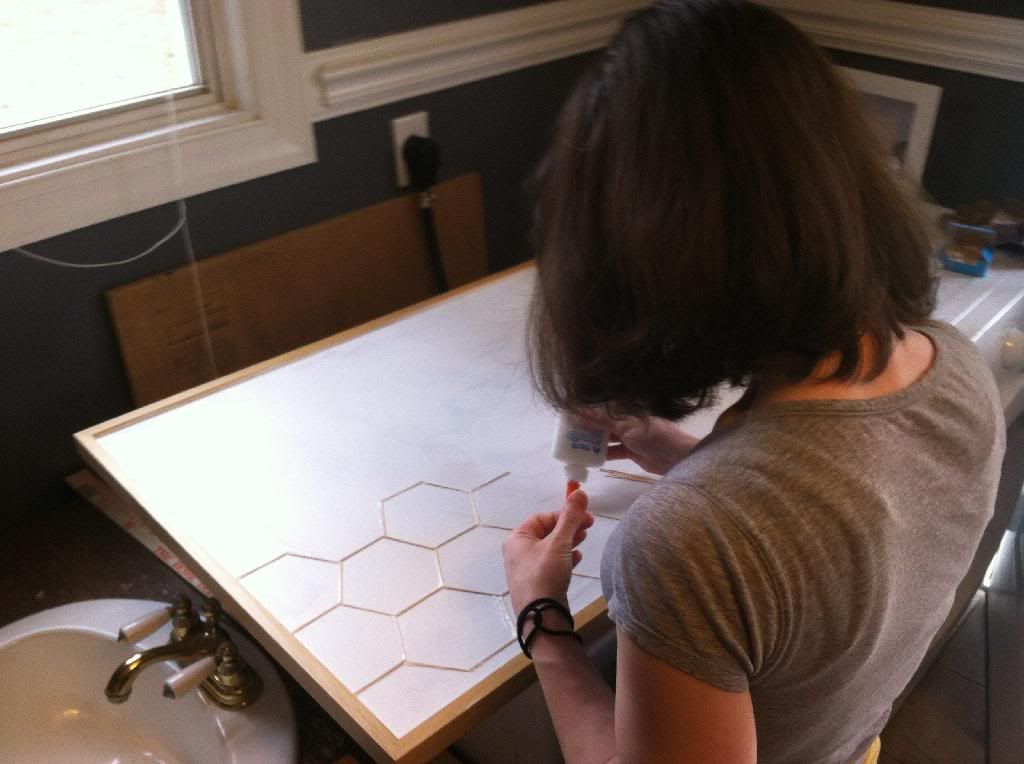


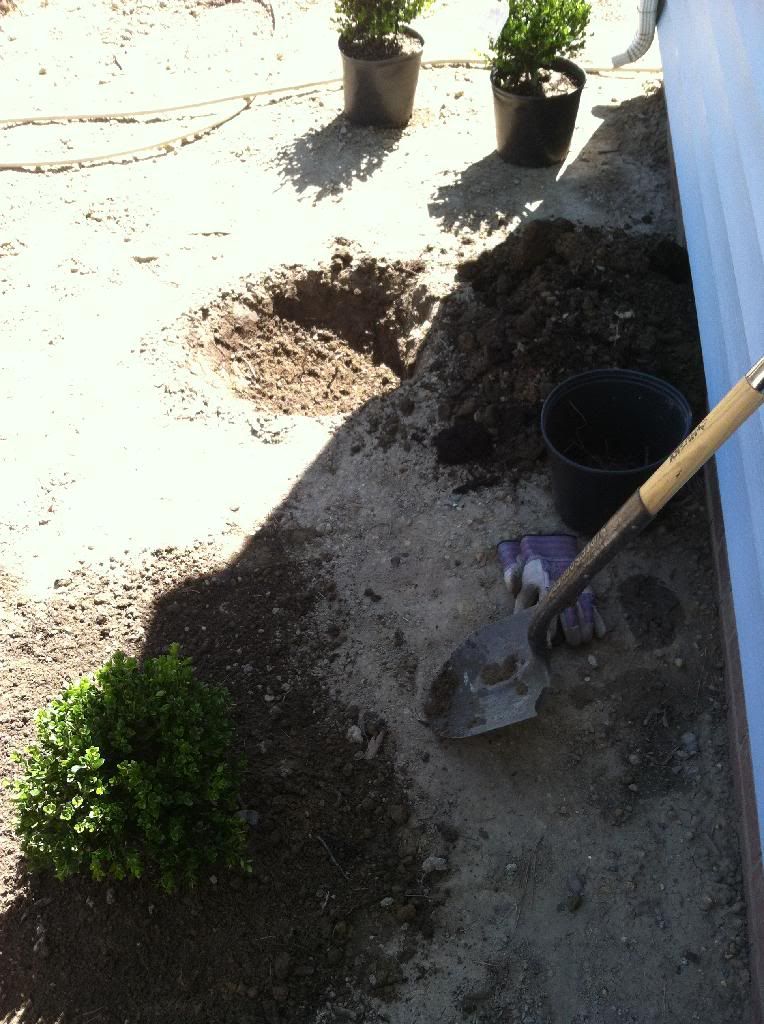
Steps have been taken to replace the old ugly hedges we removed shortly after we moved in. This is only about halfway done so you'll have to wait for the full reveal on this as well.


Grayson and Meredith painted and hung this adorable bird house which I think adds a nice homey touch to the front yard.
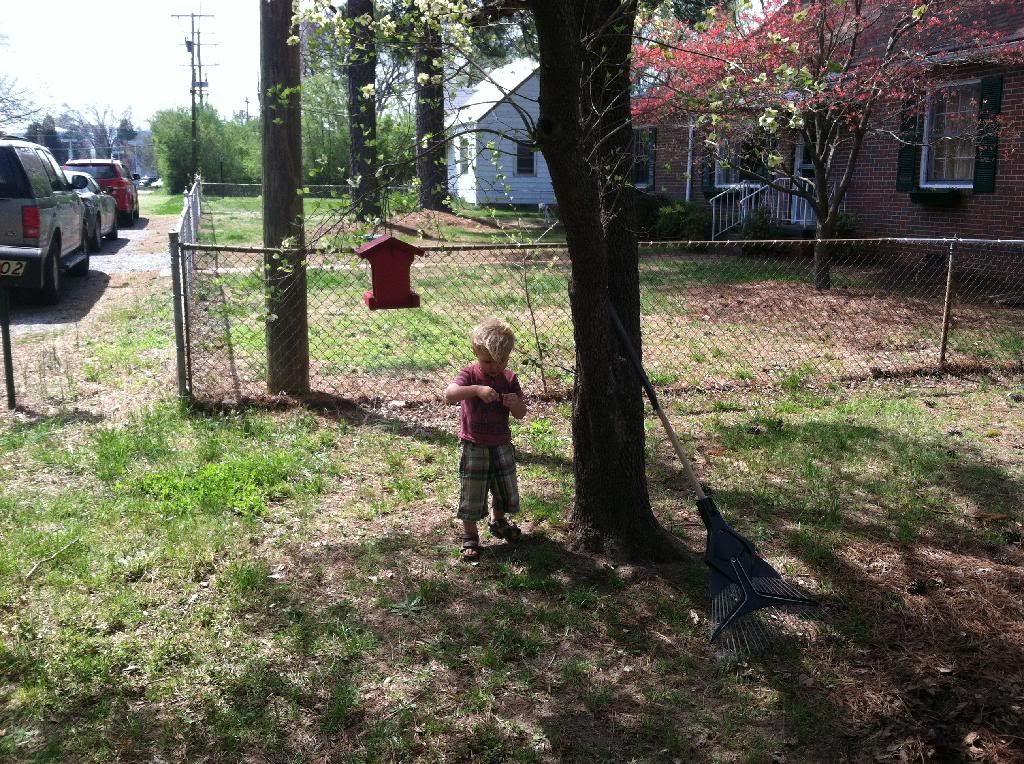


We've started to remove the piles of pine needles we let sit all winter. After ten bags and not even being half done I'm really starting to feel this shouldn't be consider a "little thing"...
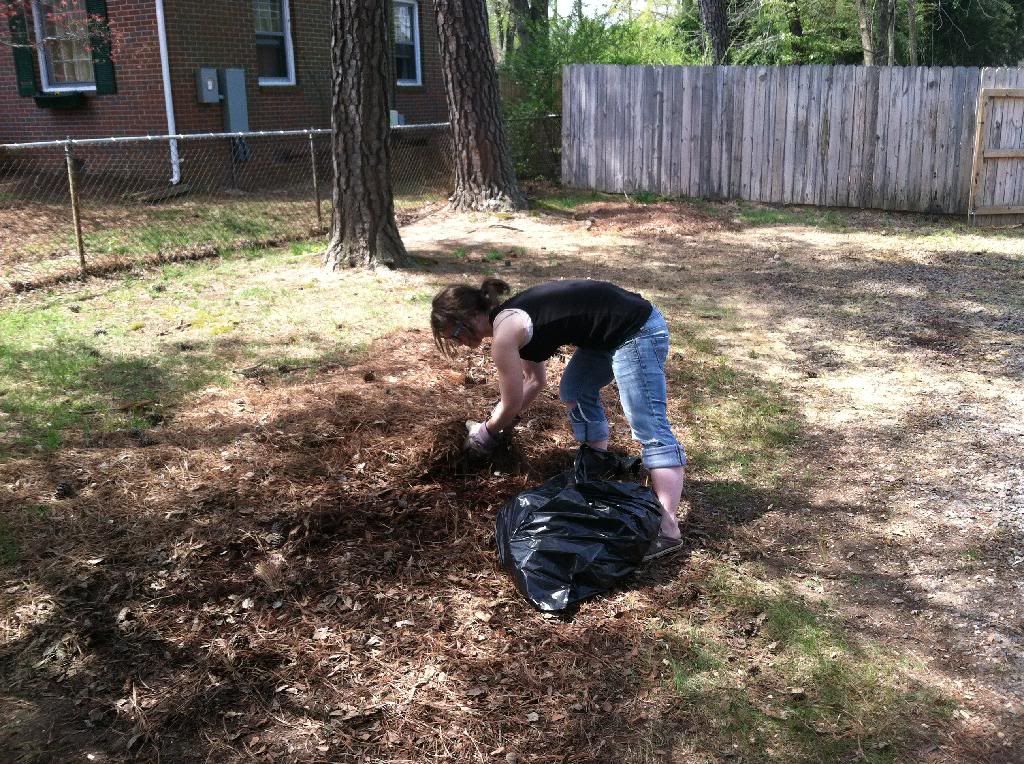

So. many. pine needles.


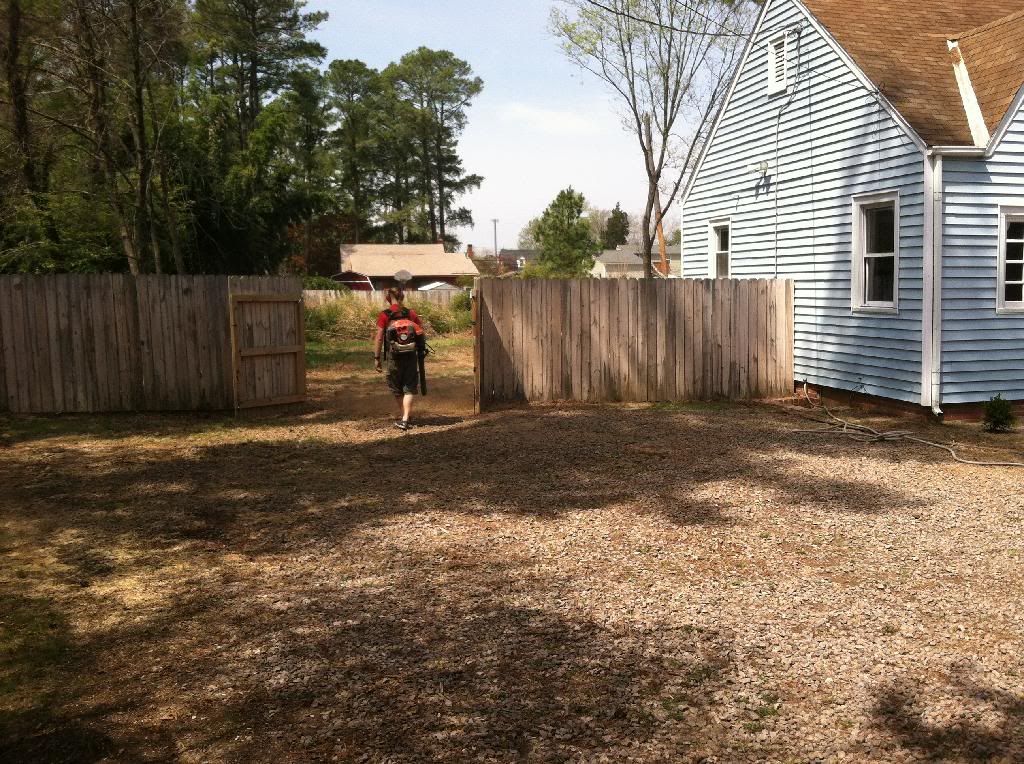
Meredith's brother Jesse was kind enough to come over with their dad's industrial strength leaf blower and blow off the driveway. After getting the trees taken down it just looked like a mess. Thank God for fathers-in-law with overpowered tools and brothers-in-law willing to wield them.


We added light kits to both bedrooms, which HOLY CRAP MAKES ME WONDER WHY WE HAVEN'T DONE THIS BEFORE.
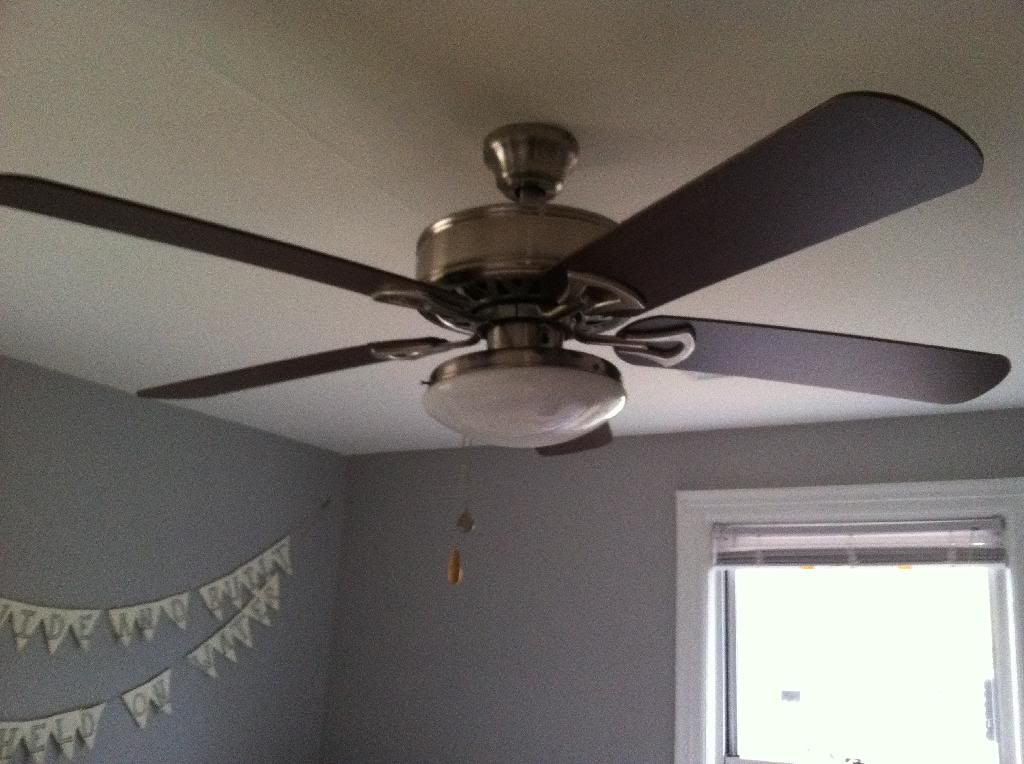
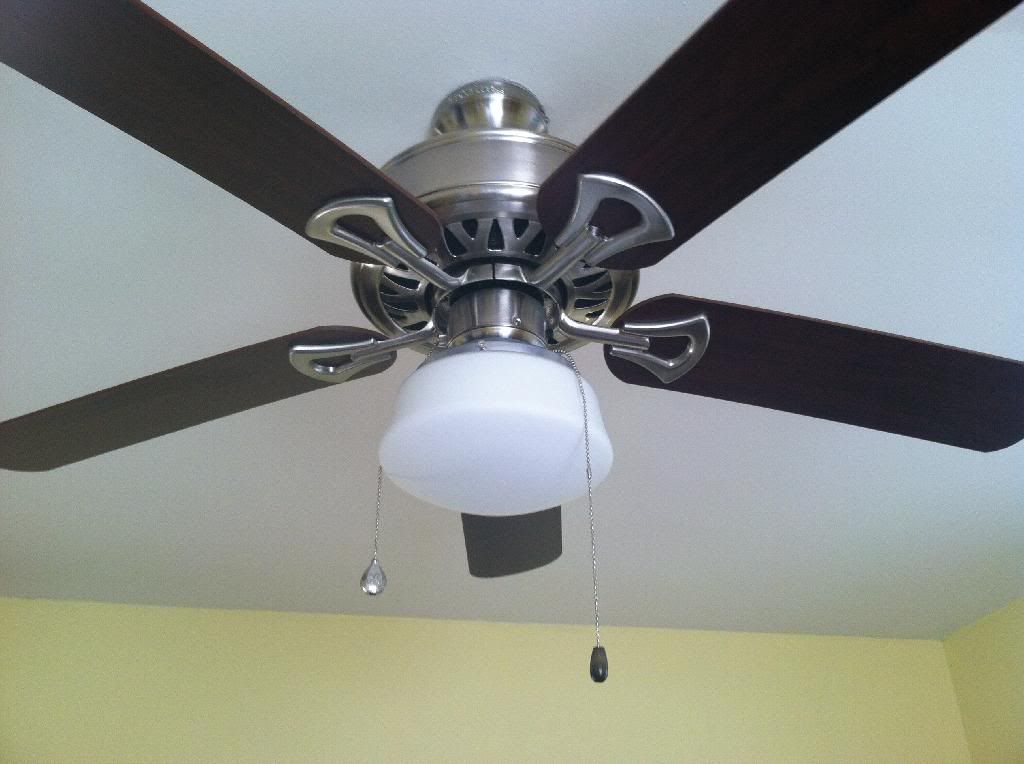


This one was actually the wrong color (we got it on clearance at Decorator Outlet) so we painted it silver. It's not a perfect match but we just wanted it up. We'll probably fix it later.


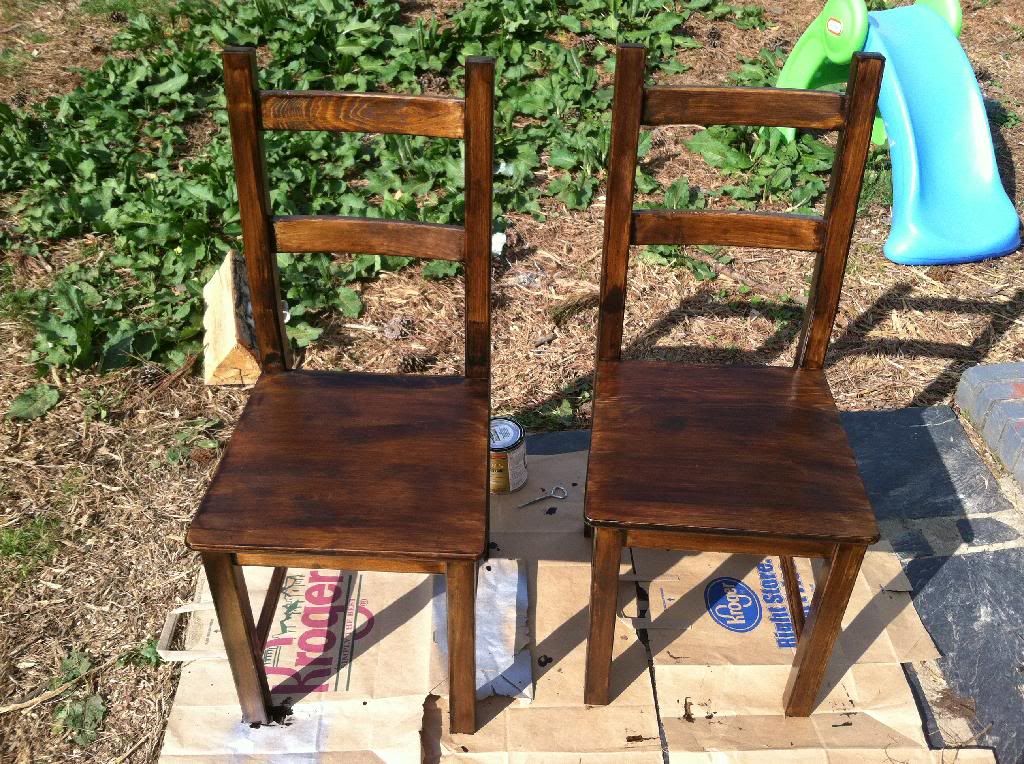
We stained two of our dining room chairs. Just two of them because, frankly, we need a place to sit. Once these have a second coat and get sealed we'll do the other two.


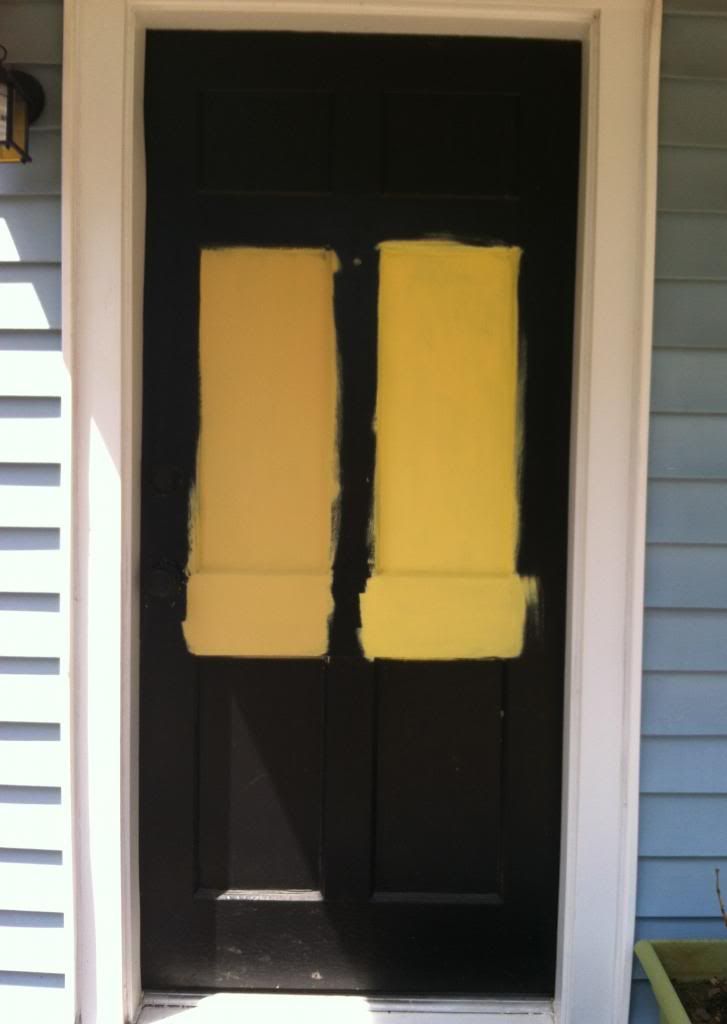
We got some sample colors on our door. I actually really like the idea of a black door for some reason but it's just not the right choice for this house. We'll probably go into more detail about our choices when we complete this project but here's the two samples Meredith painted on. Guess which one we're going with?


And of course I saved the best for last. The most important little thing that's happened, and the one we're most excited about is our new baby... grass!
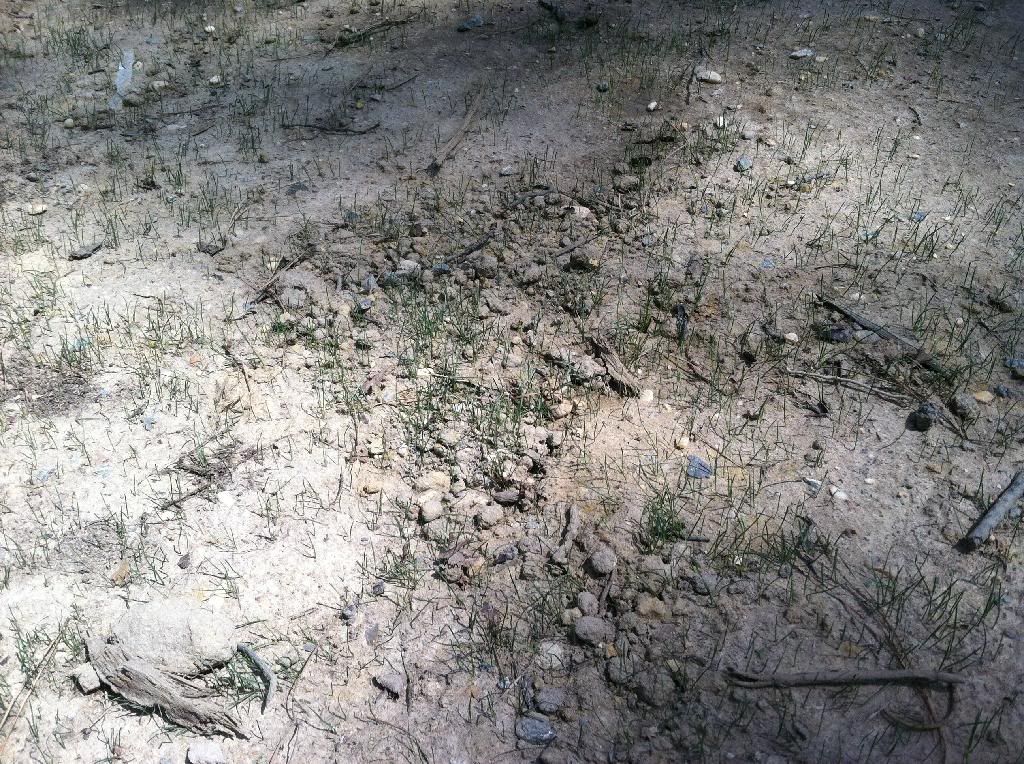


YAY! GRASS!
 
 
Have you knocked anything off of your to do list lately? Big things? Small things? Care to hazard a guess which paint color we picked?

Wednesday, September 4, 2013

Our Personal Painted Pallet

So, everyone's got one right? It seems the whole DIY/Blogging culture has embraced pallets as the perfect source for building and decorating. To be honest I'm not a big fan of making furniture out of pallets. Most of the ones I've seen are dirty, broken, full of nail holes, etc. They always seem like way more work than they're worth. Frankly, I wonder where people are getting all of these pristine looking pallets I see online.

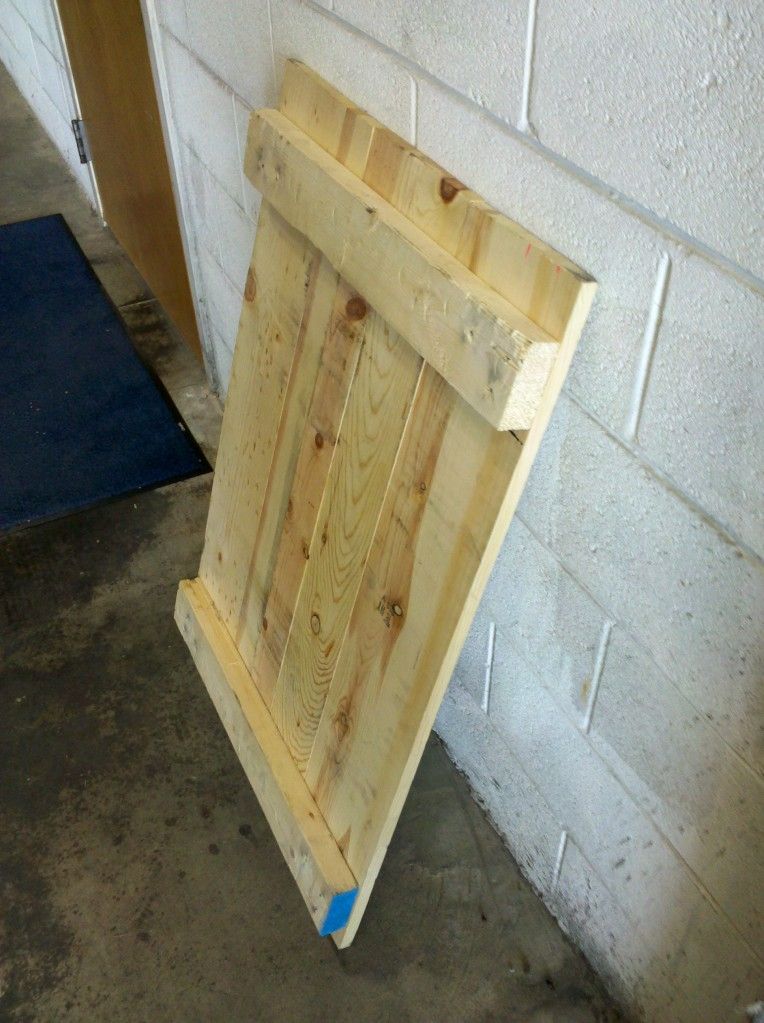
That being said my wife ran across a piece of art that someone had made (sorry, but we lost the link) that we both thought was really nice. It was a pallet that someone had painted and hung on the wall, and it looked pretty darn cool. Soon after we saw it I ran across an adorable little pallet at work that was too small to be any good so I snapped it right up.

All I had to do was pull these feet off and it was ready to go!


Look at that. I couldn't believe my luck on this pallet. It's one of those pristine ones!


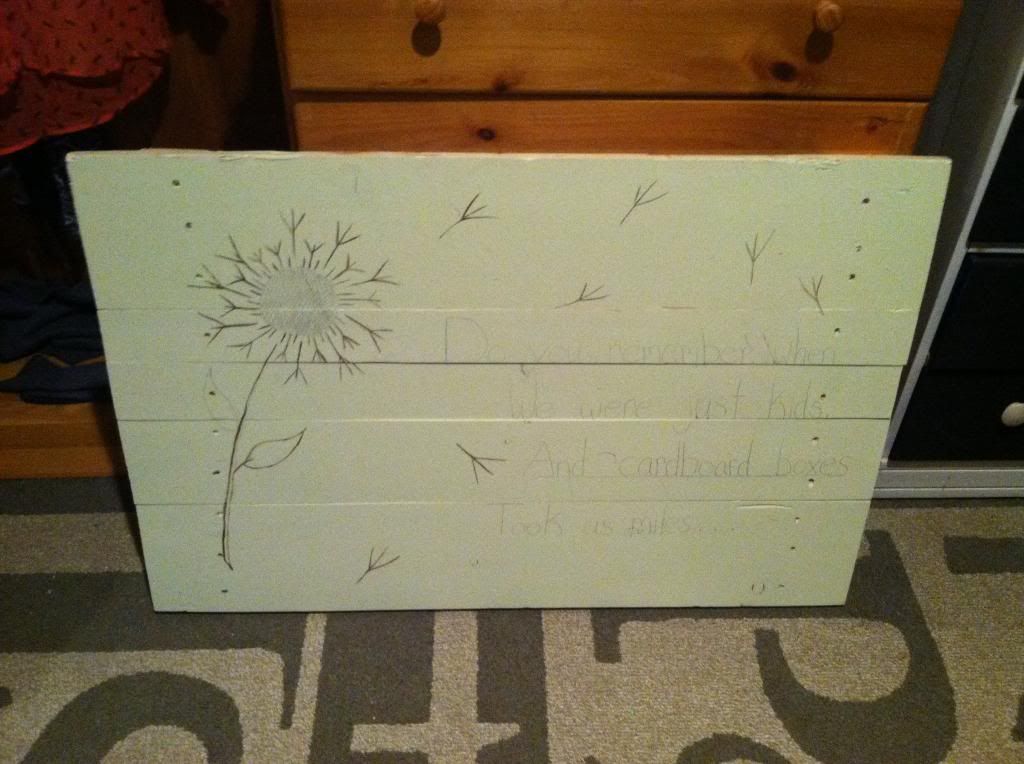
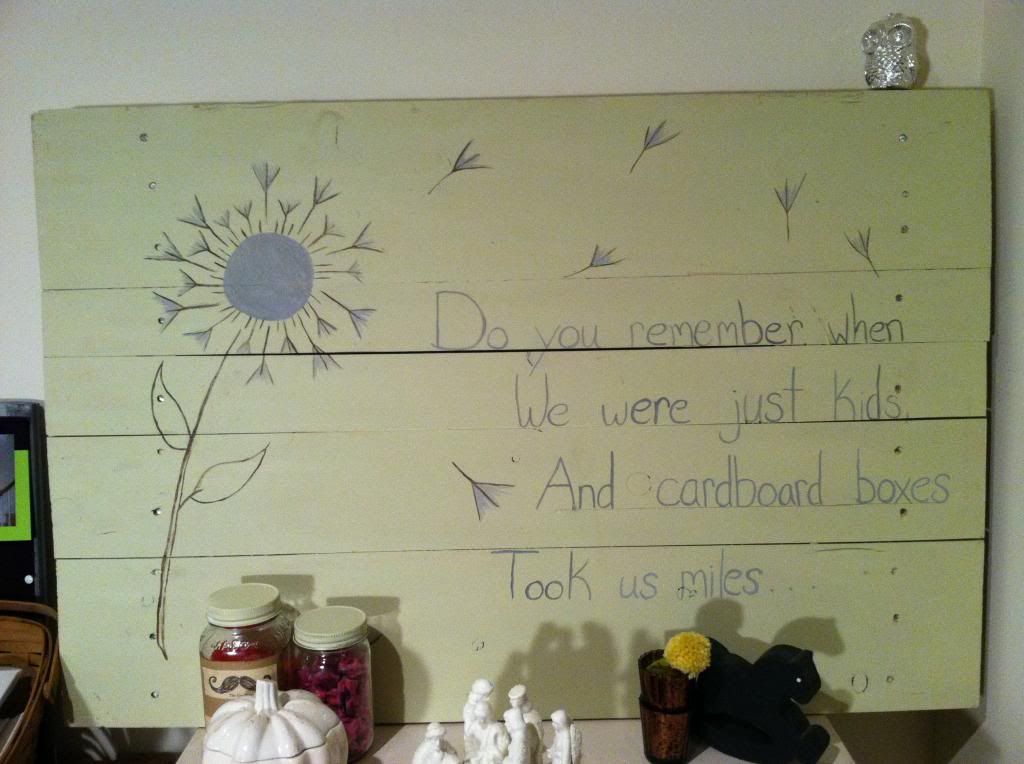
My wife set about painting it (she's the real artist, I just pretend sometimes and she's nice enough to indulge me). The quote is from Inevitable by Anberlin.


It sat on top of our dresser for a while.


Lookit that adorable wittle owl!
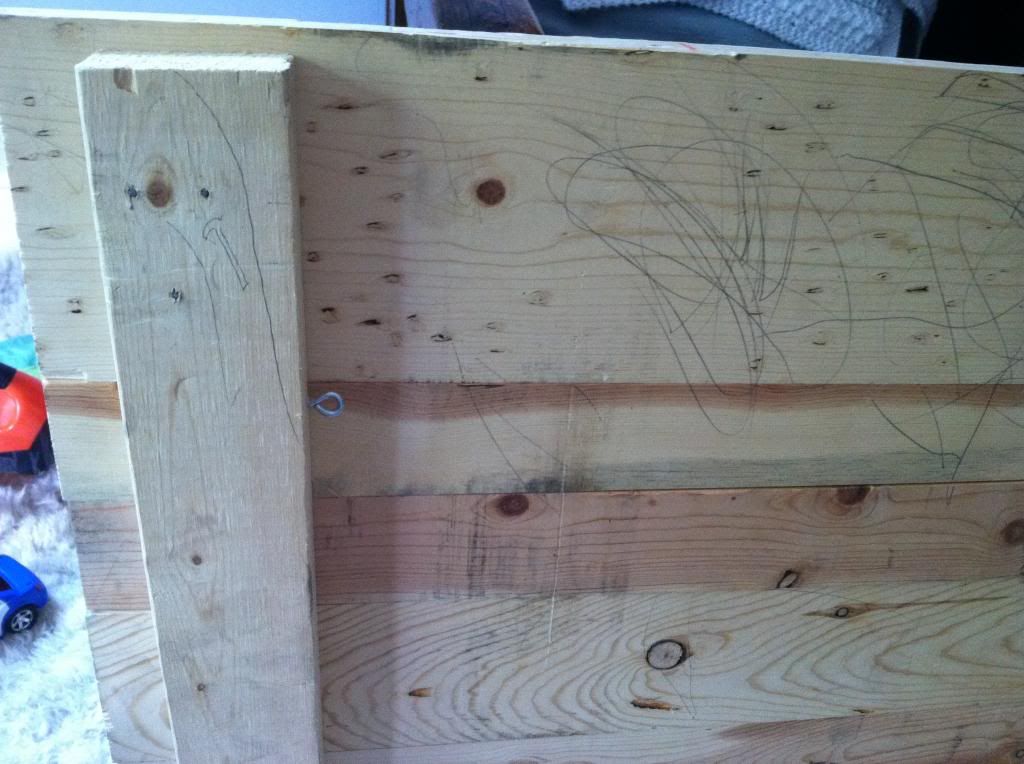
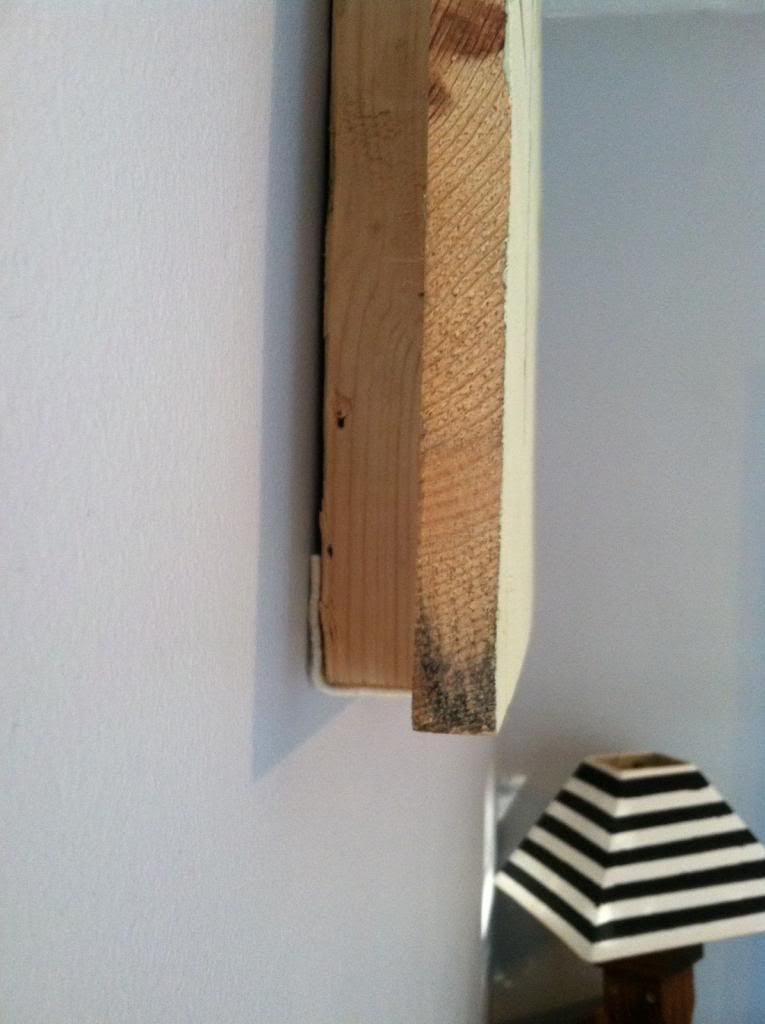
 Once we were ready to hang it, I grabbed some strong wire and some eye-hooks. I screwed the eye-hooks into the support pieces opposite of each other and strung the wire through them.


Grayson helped color the back.
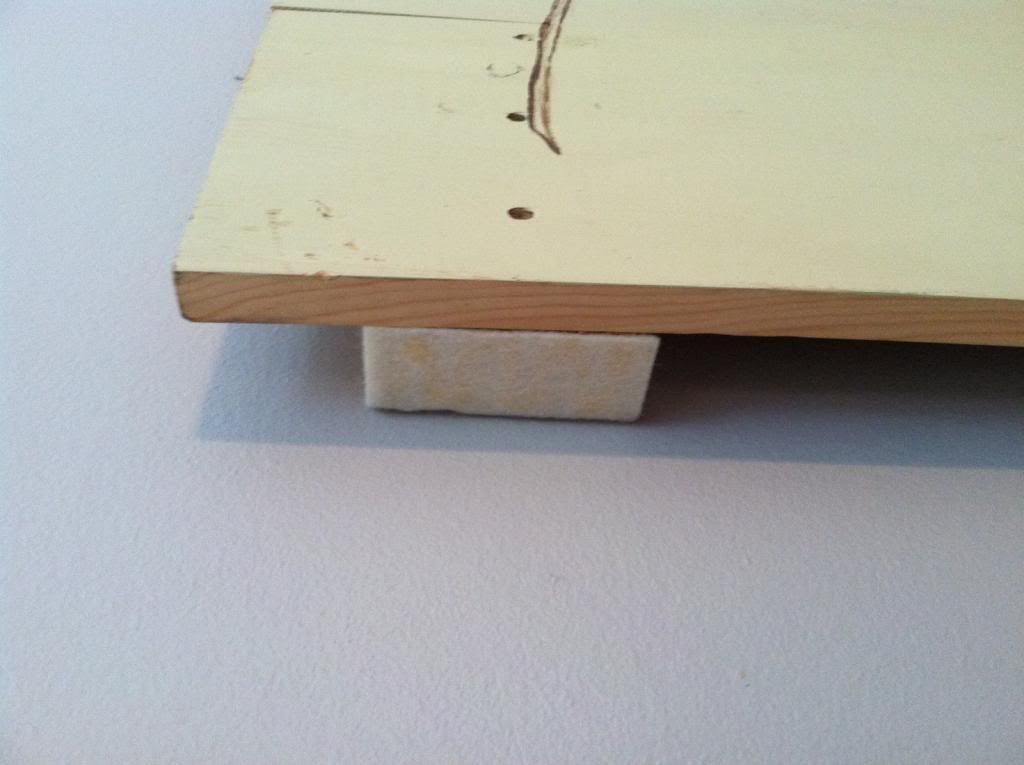
 We glued felt onto the bottom of the support pieces so they wouldn't scuff up the wall


I tried looking up how to hang a pallet, but only found one or two links actually dealing with hanging it as artwork (most of the results were for creating a pallet wall which is cool but just slightly different). The one I did find (here) talked about using a special bracket so it would be, you know, really safe.

I didn't go that route.

As far as pallets go ours was pretty small, so I wasn't too worried. I've seen pictures bigger than it. I happened to have some pretty big nails in my tool box and I figured one of them should be more than strong enough to hold it so long as I made sure to nail it into a stud. To find the stud I knocked along the wall until it didn't sound hollow. Then I hammered the nail in.

On about the third tap the nail sunk deep. I had definitely missed the stud.

I knocked on the wall and discovered that the wall sounded even less hollow about 4-5 inches to the right. So I hammered the nail in there. And missed again.

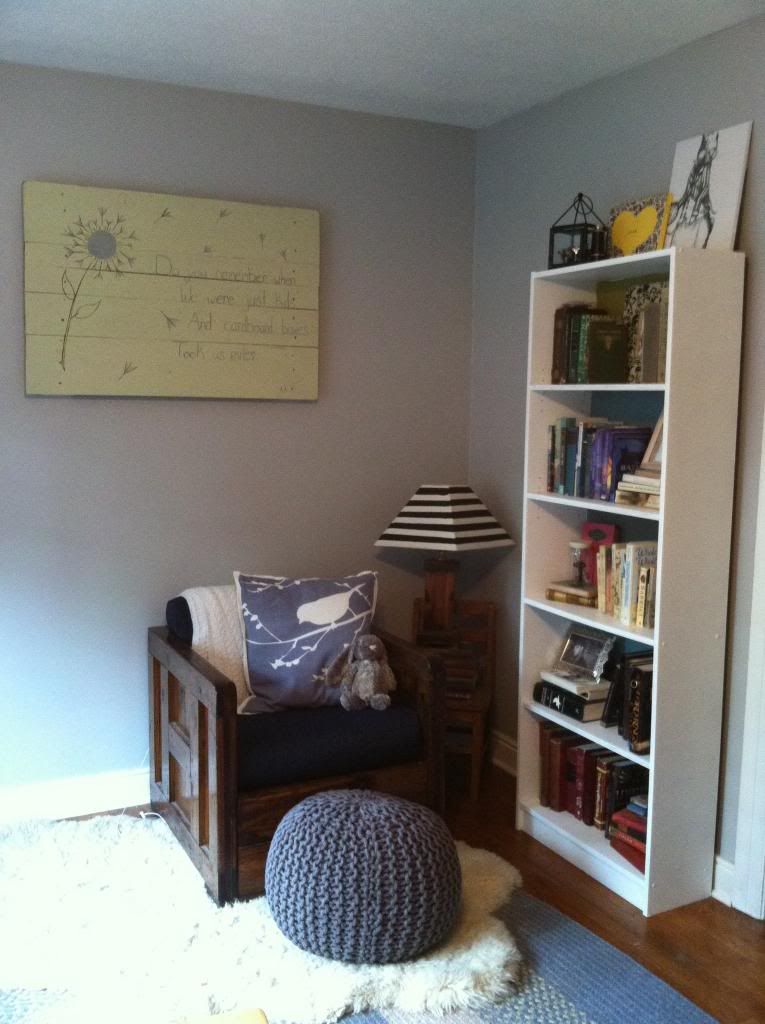
At this point I thought there had to be a way to figure out where this thing was that didn't involve nailing more holes into the wall or buying a stud finder. I know my studs are 16" on center so all I had to do was find one stud and I could measure from there. I did a quick internet search that revealed that I was completely overlooking the obvious. Directly below where I was hammering was an outlet. Outlets are always attached to studs so all I had to do was remove the outlet cover to see which side the stud was on. Lo and behold that stud was right in between the two nail holes I had made. I nailed it in, hung the pallet, and presto changeo, WALL ART!


What do you think?

Thursday, August 8, 2013

The British Invasion (of the mind)

Has anyone else been jonesing for a British fix lately? I've never been much of an Anglo-phile, all those reserved, proper personalities and men with no chins. (No, thank you, Mr. Darcy, I have a previous engagement with Dr. Jones.)


But lately I find myself yearning for tea time, bonnets and an afternoon of catching up on Downton Abbey.

Maybe it's the desire for everything in my life to be neat and tidy, in its proper place ala Mary Poppins. Or maybe it's finding out our next little one is going to be a girl that's brought out some hidden part of me that loves foofy skirts and bows.

Maybe I'm still reeling from the Royal Baby.

Whatever the reason, I finally gave in yesterday to both my desire for organization and my yearning for something British.

So, while Grayson napped, I fixed myself a giant mug of tea (a beaker? Is that right Hyacinth?), put on Love Actually (apparently I was also in the Christmas spirit), and got my craft on.

After spiffy-ing  up our closets this weekend I was seriously excited to put everything back in its own labeled, color-coded bin. (Ha! I can dream, right?) Alright, really I just wanted bins that, in a flurry of "people will be here any minute" I could chuck things in and it would still look nice.

But, here's the thing about bins, they're expensive! At least, in the style and size I was looking for. A 6" x 12" basket seemed to average around $15 a pop. And I wanted many, many baskets!

How, oh, how to solve my terrible problem?

(Sorry, I was having a Wuthering Heights moment.)

Joseph had brought home several small-ish cardboard boxes from work the other day and I thought, "I bet I can cover those in some pretty fabric and they'd work just fine." And I figured free boxes and fabric that I already had = not a lot to lose.

This is what I started with:


So attractive, right? Well, I mean, great bone structure.

Aaaand this is what it looked like after I cut it in half with a box cutter:


I liked that, by cutting this one in half, I could get two matching boxes, but you could cut just the top off for a deeper storage space (for books or DVDs) or turn it on its side for a wider, shallower bin.

Then I just took some extra cotton fabric we had lying around, roughly cut out a piece for each side of the box and the bottom (with some over hang to cover the seams) and, using good old Elmer's Glue, glued the pieces to the box. 

I chose to attach the smaller ends first, then the longer sides (with the edges folded under to hide my raggedy cutting) and then the bottom (again folding the edges under).


As I went along I also used a hot glue gun every so often to more securely attach the fabric. (I liked starting with Elmer's Glue, though, because it's more forgiving if you want to reposition the fabric.)


Waiting and Weighting...

Ta-da!


Or maybe more like "Eh, not bad..."


If I do another one I will probably go out and pick up some felt for the inside. It's easy to cut, doesn't fray and it's pretty durable. As it was yesterday I only had bits and pieces of fabric to work with (and I wanted to keep this free. I always feel like I'm impressing Joseph more if I can say, "See what I just threw together today? Oh, it was nothing. And, also, it was free. Oh, what's that? You want to take me out for a fancy dinner and then buy me flowers and a puppy? Oh, well, if you really want to...")
So I ended up using some purple corduroy for the bottom and then just some gray card stock for the sides. I figured since I wasn't planning on storing anything damp inside the paper would be fine.

So, when Joseph got home the floor still looked like this:


There was no dinner. And the table was covered in fabric scraps and empty tea cups. But there was a happy wife to greet him. (Which may have been a side effect of all the caffeine in that tea...or maybe the residual sappy- ness from my British movie fix. But, for blog purposes, I'll credit the satisfaction of making this basket.)

And here's how it looks in our linen closet (it holds my hair dryer and flat irons):


This is what's on deck for today:


Hello, Target basket. Hope you like silver....